

Receipt templates
In the sidebar, under Settings, click Device settings, then open the Receipt template tab. Receipt settings apply to your whole business, not to one location.
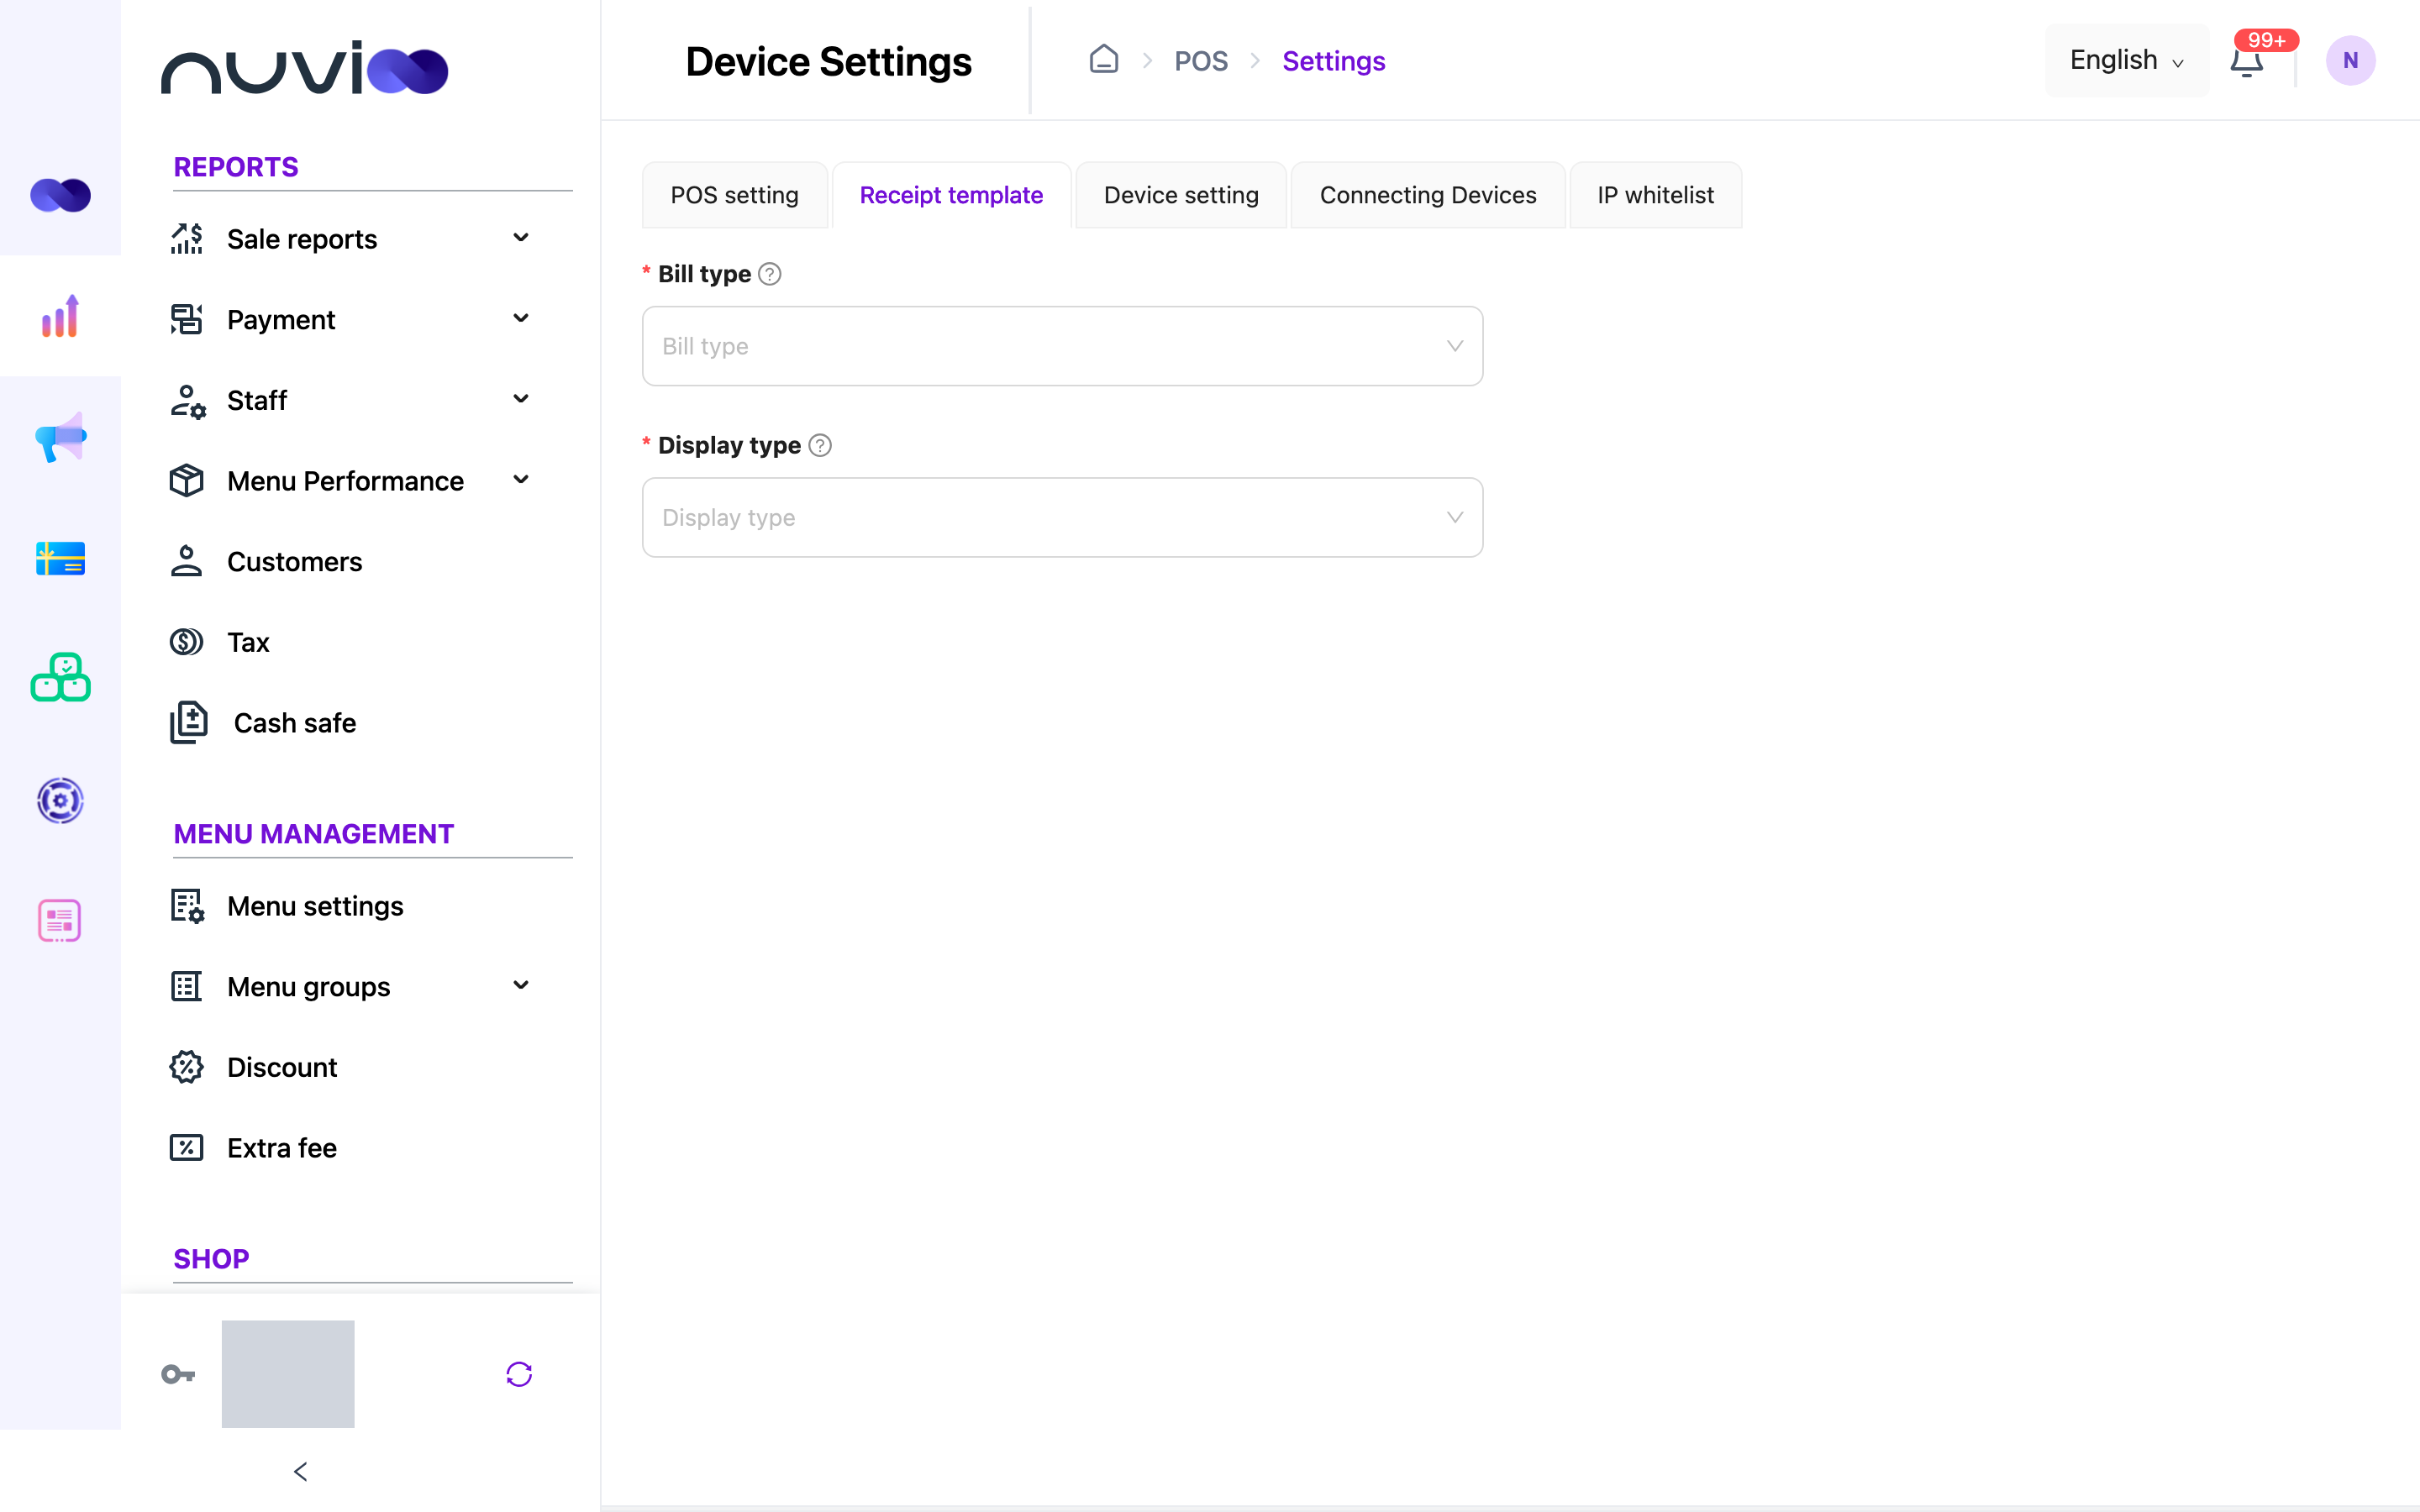
Choose a Bill type and a Display type. The template, its options and a live Preview appear. The preview uses sample data.
Bill type and display type
Section titled “Bill type and display type”Bill type is the document you want to change. The list on a Nuvioo-branded portal is below.
| Bill type | Display types | Can you save changes? |
|---|---|---|
| Customer Receipt | THERMAL - 80mm or SMS | Yes. |
| Shift Report - Product | THERMAL - 80mm | No. Preview only. |
| Shift Report - Inventory Stock | THERMAL - 80mm | No. Preview only. |
| Shift Manager Withdraw Receipt | THERMAL - 80mm | No. Preview only. |
| Transaction Receipt | THERMAL - 80mm | No. Preview only. |
| Shift Total Report | THERMAL - 80mm | Yes, for the individual sales option. |
Only Customer Receipt can use SMS. Other bill types use THERMAL - 80mm only.
Other portals can list a different set of bill types, for example an older Shift Total Report.
Buttons
Section titled “Buttons”| Button | What it does |
|---|---|
| Save | Saves your changes. Shown for Customer Receipt and Shift Total Report only. |
| Apply Latest Layout | Updates the template to the newest layout. Your show and hide settings are kept, and new options start at their defaults. Asks you to confirm. |
| Reset Everything | Resets both the layout and all settings to the platform default. Your current settings are lost. Asks you to confirm. |
If the settings stop working as expected, use Reset Everything, then set up the receipt again.
Customer Receipt, THERMAL - 80mm
Section titled “Customer Receipt, THERMAL - 80mm”This view has four tabs. Changes show in the Preview straight away. Click Save to keep them.
Business Details
Section titled “Business Details”| Setting | Default | What it does |
|---|---|---|
| Show Business Logo | Off | Prints your business logo. The preview shows a placeholder. Logos are set in General settings. |
| Show Business Name | On | Prints your business name. |
| Show business address | On | Prints the address. |
| Show Phone Number | On | Prints the phone number. |
The business details come from your system configuration, not from this page. This page only shows or hides them.
Receipt Fields
Section titled “Receipt Fields”Each field has a switch. Drag a field by its icon to change its order on the receipt. A field marked Required can’t be turned off.
| Field | Default | Required |
|---|---|---|
| Receipt Number | On | Yes |
| Date & Time | On | Yes |
| Item List | On | Yes |
| Subtotal | On | Yes |
| Total Amount | On | Yes |
| Customer Name | On | No |
| Customer Phone | On | No |
| Cashier Name | On | No |
| Discount | On | No |
| Tax | On | No |
| Gratuity | On | No |
| Extra Fee | On | No |
| Payment Method | On | No |
| Refund | On | No |
The default order is the order in this table.
Layouts and Format
Section titled “Layouts and Format”| Setting | Options | What it does |
|---|---|---|
| Font Size | Small, Medium or Large. Default Medium. | The text size on the receipt. |
| No Spacing Between Lines | On or off. Off by default. | Prints lines closer together to save paper. |
| Show QR Code | On or off. Off by default. | Prints a QR code on the receipt. |
Header and Footer
Section titled “Header and Footer”| Setting | What it does |
|---|---|
| Header Text | Text at the top of the receipt, below the business details. Empty by default. |
| Footer Text | Text at the bottom of the receipt. Empty by default. Type <br> to start a new line. |
Keep both short so they read well on a narrow paper roll.
Customer Receipt, SMS
Section titled “Customer Receipt, SMS”The Template box holds the text message. It is required and can be up to 255 characters. Click Save to keep it.
Shift Total Report
Section titled “Shift Total Report”For this bill type, an Individual Sales switch appears. Turn it on to show individual sales for the categories you choose. Tick All Categories, or clear it and pick one or more in Select categories. Click Save.
Where receipts print
Section titled “Where receipts print”Which printer prints which receipt is set on each printer. See Devices and printers.