

Devices and printers
In the sidebar, under Settings, click Device settings. The page has up to five tabs.
| Tab | What it covers |
|---|---|
| POS setting | Order types and the add-on layout. |
| Receipt template | How receipts look. See Receipt templates. |
| Device setting | Printers and printer profiles for each location. |
| Connecting Devices | The POS devices allowed to sign in. |
| IP whitelist | Limits POS sign-in by network address. |
You only see the tabs your role has permission for. You need at least one location first. See Locations.
POS setting
Section titled “POS setting”POS setting has two sub-tabs, Ordering Type Mode and Layout setting.
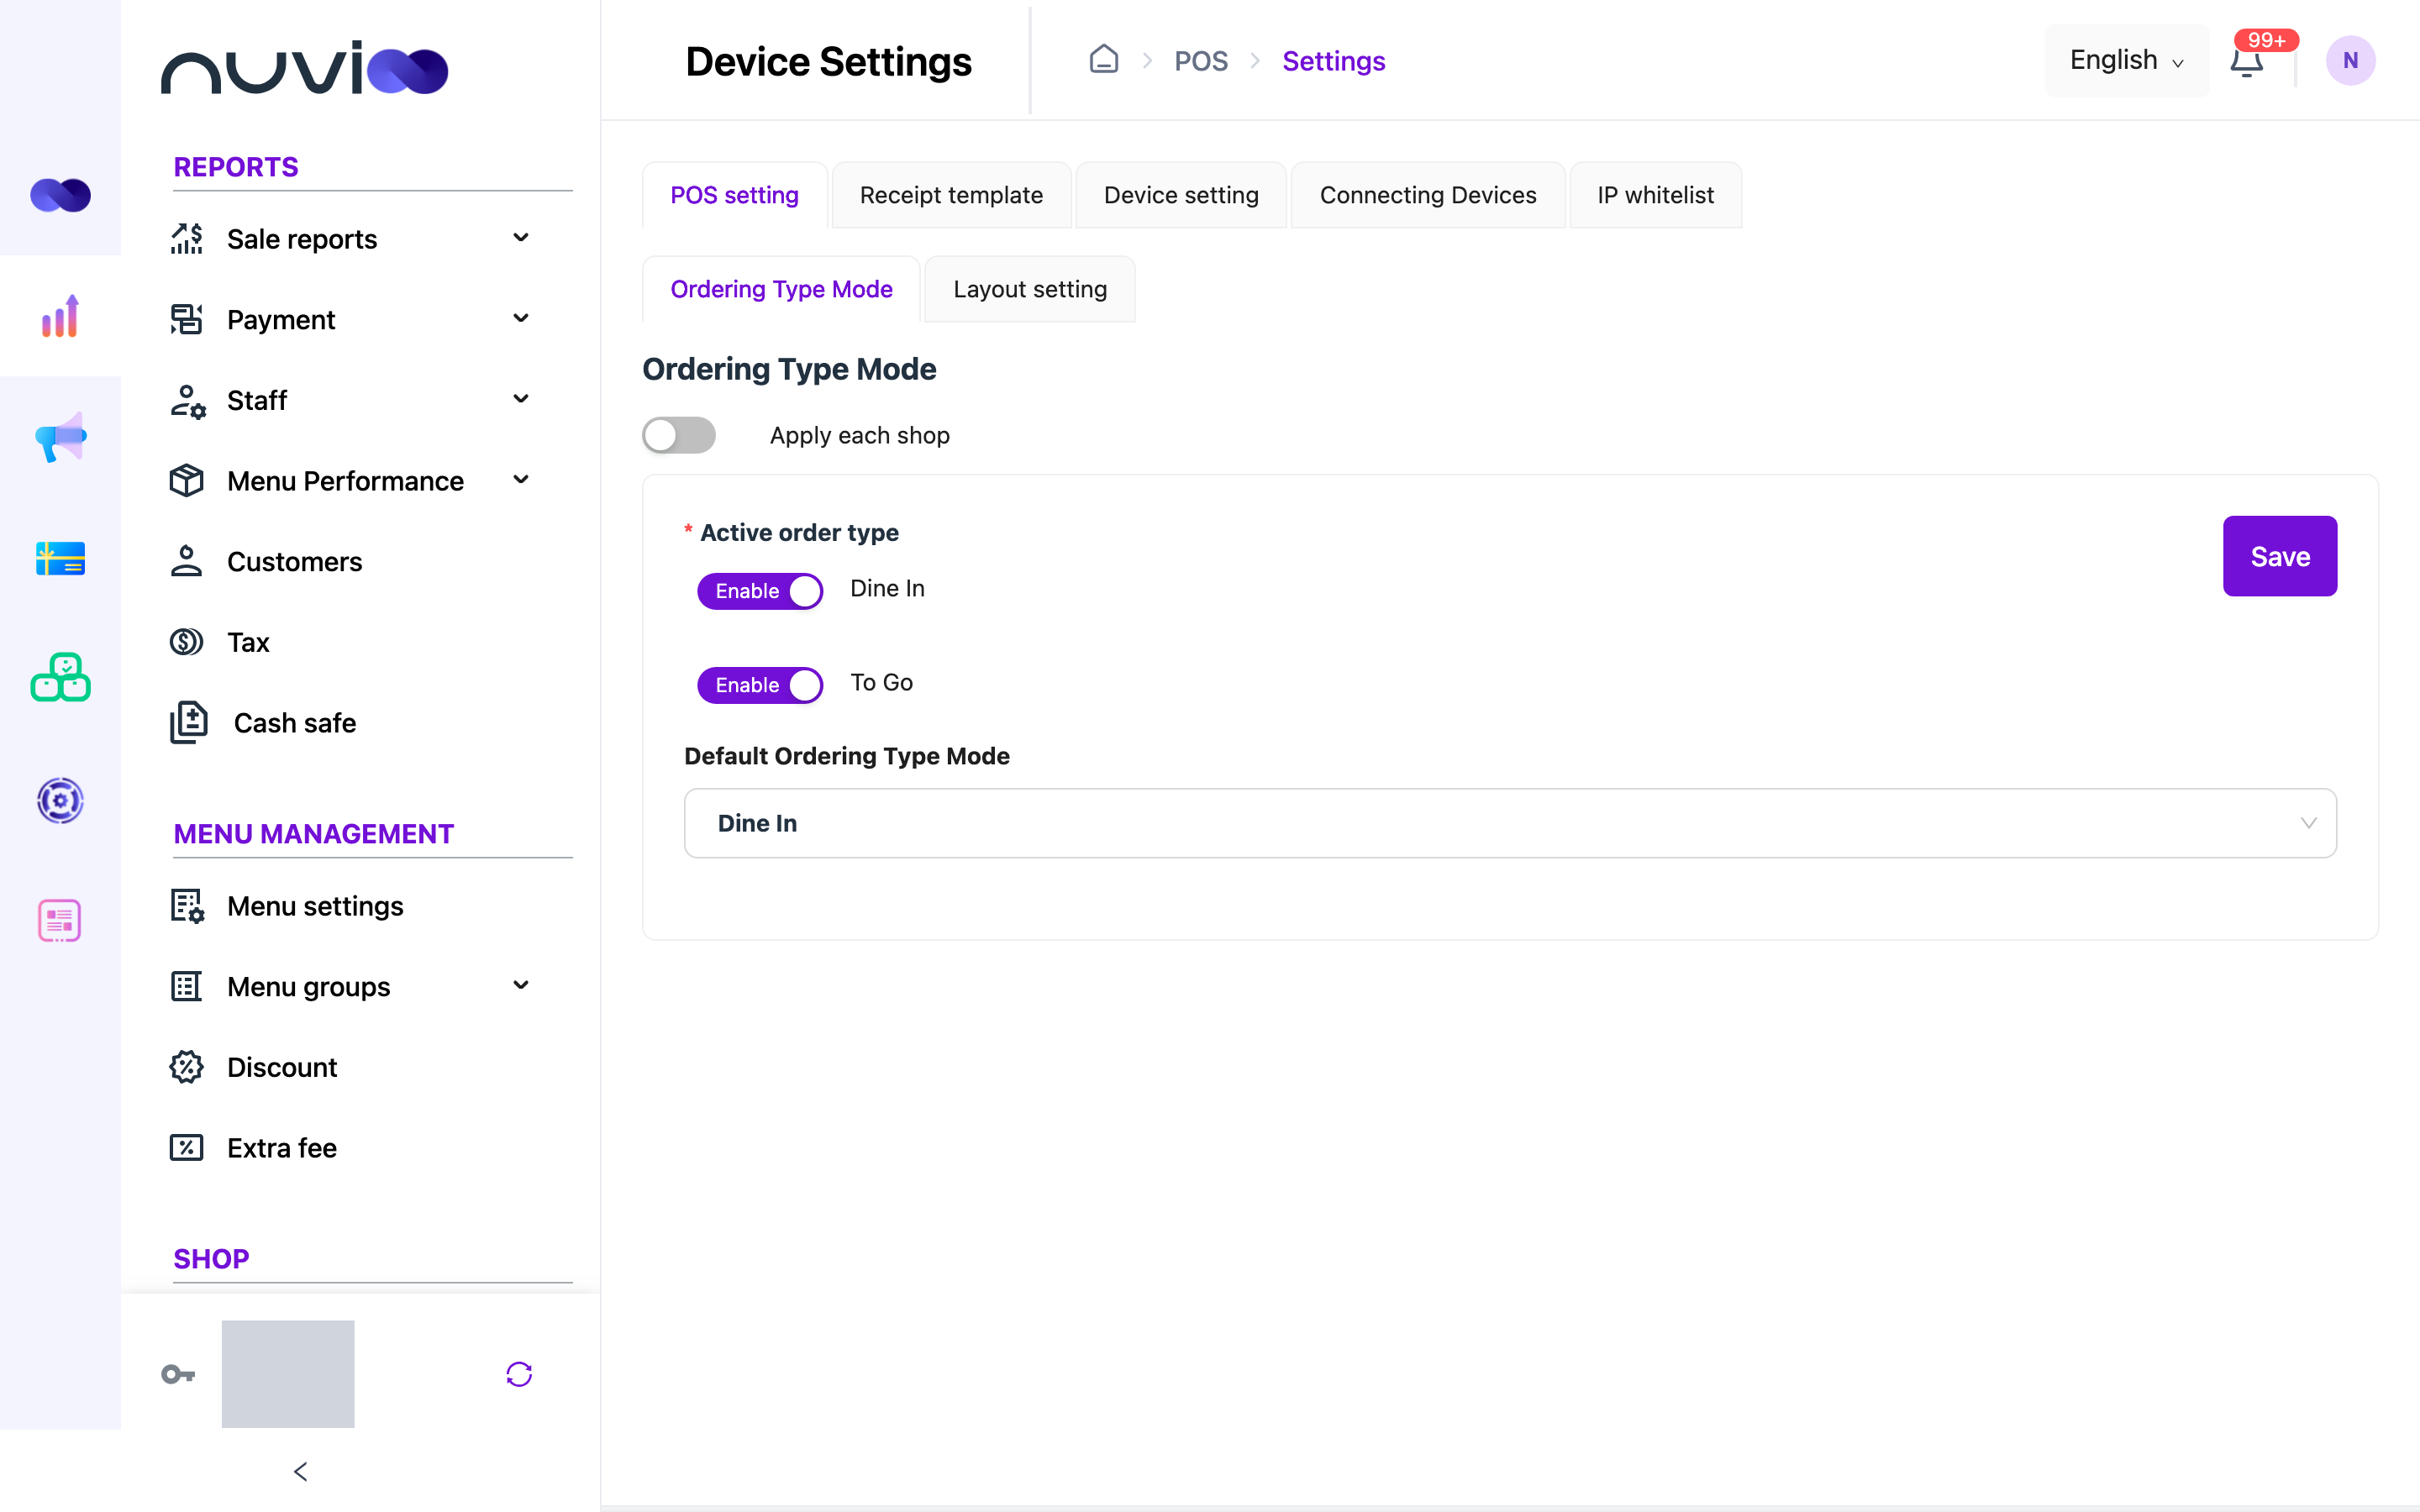
Ordering Type Mode
Section titled “Ordering Type Mode”| Setting | Options | What it does |
|---|---|---|
| Apply each shop | On or off. Off by default. | Off: one setting for all locations. On: a list of locations appears. Click the gear on a row to set that location alone. |
| Dine In | Enable or Disable. | Offers Dine In when staff start an order. |
| To Go | Enable or Disable. | Offers To Go when staff start an order. |
| Default Ordering Type Mode | Dine In or To Go. | The order type selected first. You can only pick a type that is enabled. |
Keep at least one order type on. Nuvioo won’t save with both off. If only one is on, it becomes the default automatically. Click Save to apply.
Layout setting
Section titled “Layout setting”| Setting | Options | What it does |
|---|---|---|
| Apply each shop | On or off. | The same switch as in Ordering Type Mode. It applies to both sub-tabs. |
| Active auto expand addons/options | Enable or Disable. On when never set. | Opens add-ons and options automatically when staff pick an item on the POS. |
Device setting
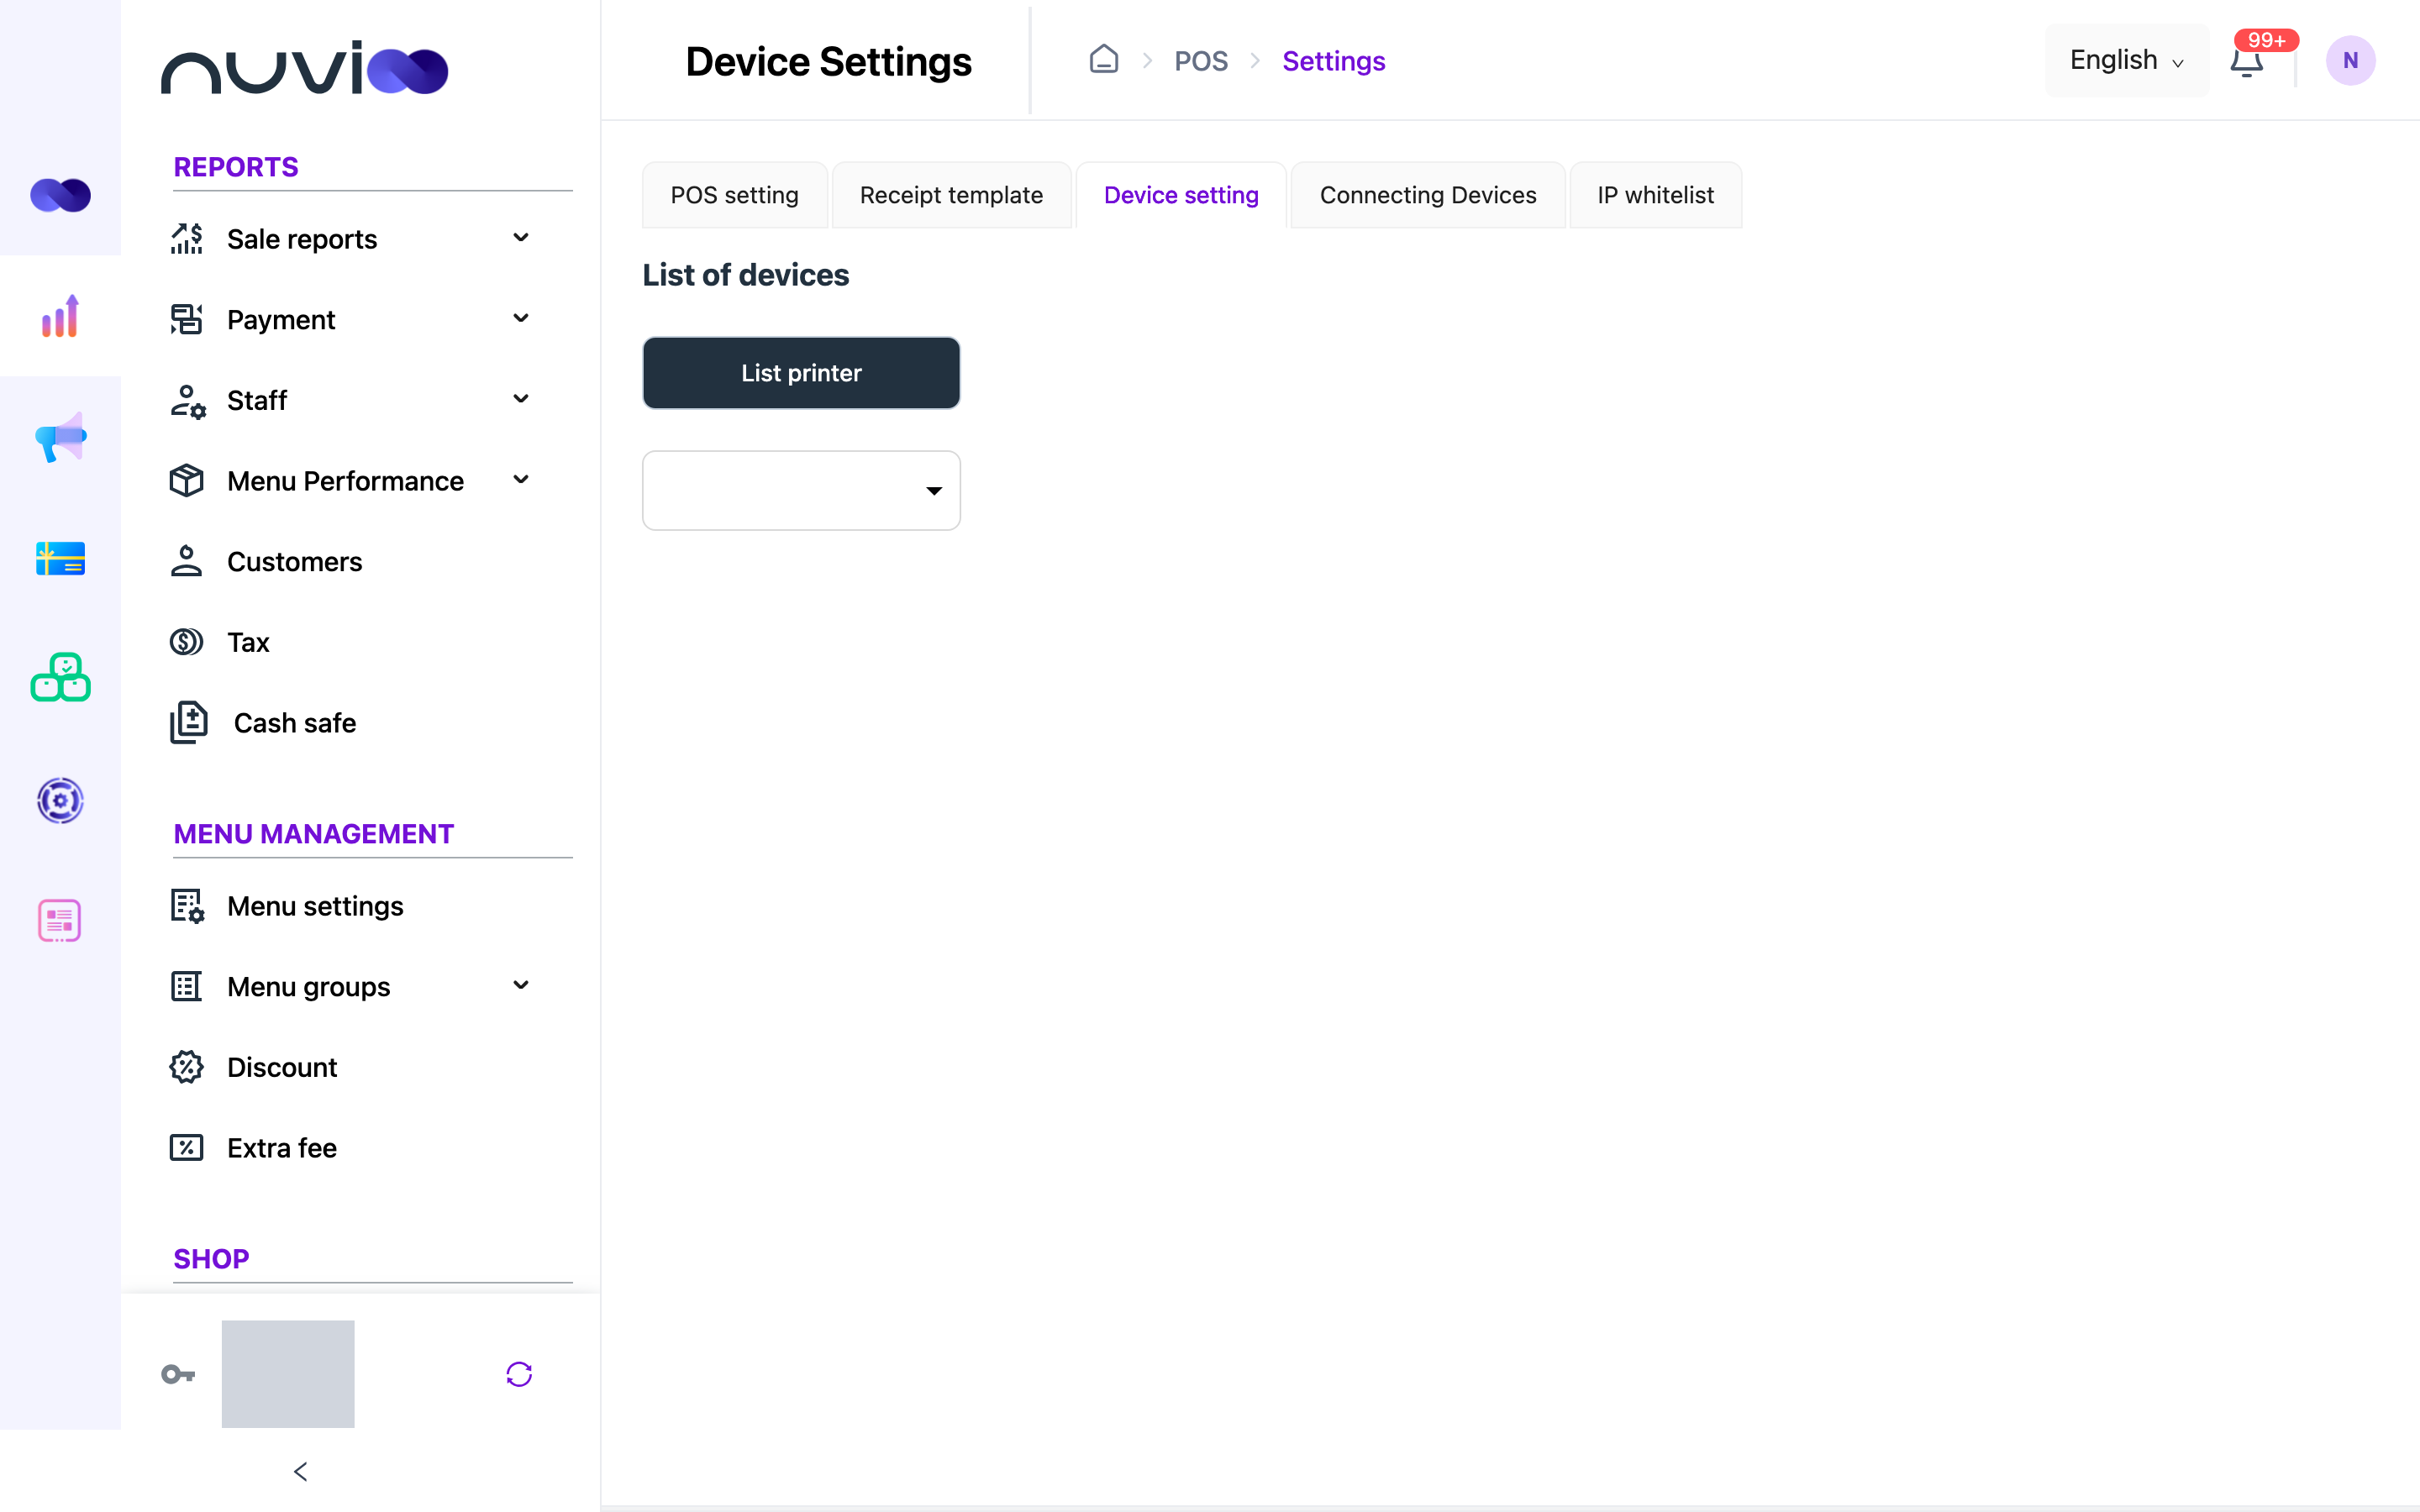
Section titled “Device setting”Printers belong to one location. Choose the location in the picker at the top, under List of devices. The tab shows Printer profile and Printer station lists for it.
Your plan may limit how many printers you can add. If you reach the limit, Nuvioo says the used quantity has exceeded your plan.
Add a printer
Section titled “Add a printer”Under Printer station, click Add New. The list shows Number, Name, IP address and Print type. Use the dots on a row to edit or delete a printer. You can’t delete a printer that is in a printer profile. Remove it from the profile first.
| Setting | Options | What it does |
|---|---|---|
| Name | Text, up to 150 characters. Required. | The printer’s name in lists. |
| Print type | LAN, USB, or PAX (Sunmi on some deployments). | How the printer connects. PAX and Sunmi are the built-in printer of the POS device. |
| IP Address | IPv4 address, such as 192.168.1.50. Shown for LAN. Required. |
The printer’s address on your network. |
| Port | Number, 1 or more. Default 9100. Shown for LAN. Required. | The printer’s network port. |
| Vendor Id and Product Id | Text. Shown for USB. Required. | Identify the USB printer. |
| Device type | Thermal or Dot Matrix. Default Thermal. | The kind of printer. |
| Paper size | Thermal: 58 mm or 80 mm, default 80 mm. Dot Matrix: 76 mm. | Switching Device type resets the paper size. |
| Device mode | Receipt or Label. Default Receipt. | Receipt prints tickets and receipts. Label prints labels. |
Choosing PAX or Sunmi locks Device type to Thermal, Device mode to Receipt and Paper size to 80 mm. These printers can’t print Kitchen Ticket or Food Runner Ticket.
Choose what a printer prints
Section titled “Choose what a printer prints”In Receipt mode, Use the printer for lists the documents the printer can print. Turn on the switch next to one, then click its button to open its options.
| Document | Available when | Options |
|---|---|---|
| Customer Receipt | Not on Dot Matrix. | Auto print switch, on by default for a new printer. Number of copies, 1 by default. |
| Kitchen Ticket | Not on PAX or Sunmi. | See below. |
| Shift Report | Not on Dot Matrix. | Auto print switch, off by default. Number of copies, 1 by default. |
| Food Runner Ticket | Not on PAX or Sunmi. | Number of copies, 1 by default. |
A printer with Kitchen Ticket turned on works as a kitchen printer. You choose which items it prints, as described below.
Kitchen Ticket options in Receipt mode:
| Setting | Options | What it does |
|---|---|---|
| Font | Small or Medium. Default Small. | The text size on the ticket. |
| Show price | On or off. Off by default. | Prints item prices on the ticket. |
| Not grouping same items | On or off. Off by default. | Prints identical items on separate lines. |
| Auto print: Print when pay | Checkbox. On by default. | On: the ticket prints when the order is paid. Off: it prints as soon as staff place the order. |
| Auto print voided items | Checkbox. Off by default. | Prints a ticket when an item is voided. |
| Number of copies | Whole number. Default 1. | How many copies print. |
| Apply for | Category or Product. Default Category. | Chooses how to route items to this printer. |
Routing works like this.
- Category: tick Apply for all categories, or clear it and pick one or more under Select Categories. Only categories sold at this location are listed.
- Product: pick the products under Select products. You can search.
- With specific categories or products chosen, Allow print open items also appears. Turn it on to print open items on this printer.
In Label mode, the documents list is replaced by an Additional setting button. It opens these options.
| Setting | Options | What it does |
|---|---|---|
| Paper label width (mm) | 20 to 200. Default 50. | Label width. |
| Paper label height (mm) | 20 to 100. Default 30. | Label height. |
| Label DPI | 200, 300 or 600. Default 200. | Print resolution. |
| Auto print: Print when pay, Auto print voided items, Number of copies, Apply for | As in the table above. | Same as for a kitchen ticket. |
Click Complete to save the printer.
Printer profiles
Section titled “Printer profiles”A printer profile groups printers under one name. Under Printer profile, click Add New, enter a Name, choose one or more printers in Select printer, then click Complete. The list shows Number, Name and Printers. Create the printers first.
Connecting Devices
Section titled “Connecting Devices”Connecting Devices controls which POS devices, such as an iPad, can sign in to your business.
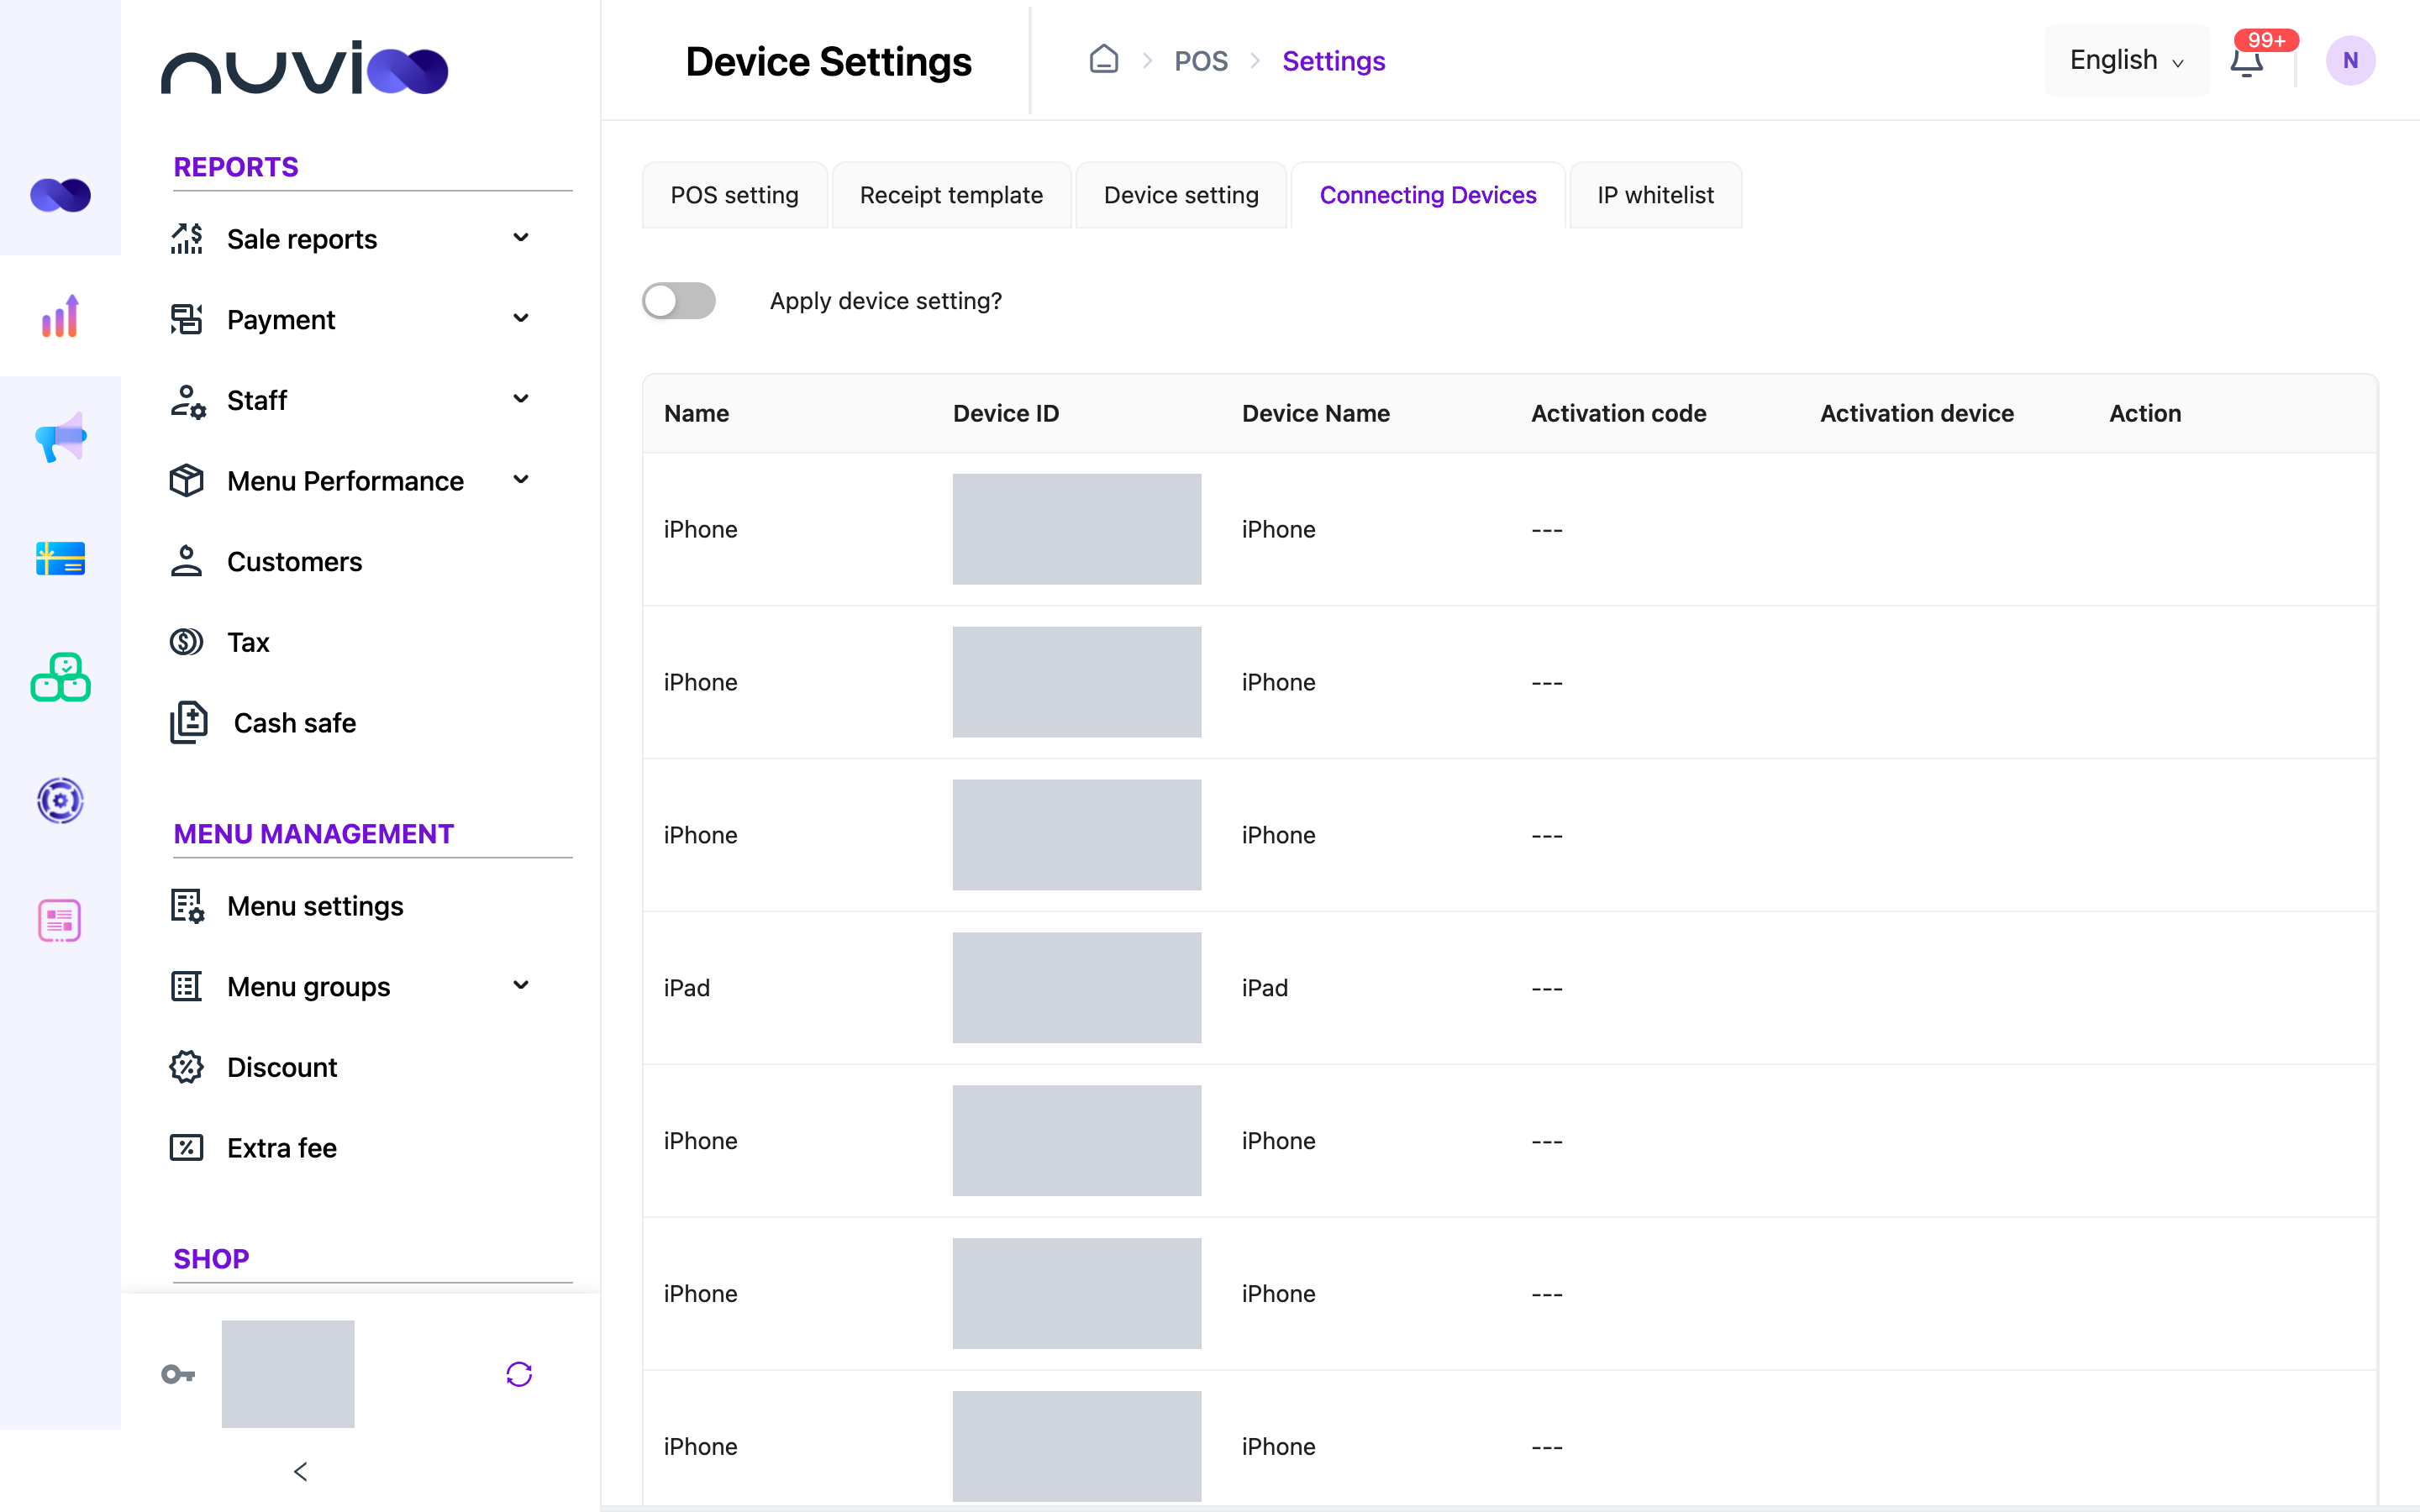
The Apply device setting? switch chooses the rule.
- Off: any device can sign in. Devices that sign in may be added to the list.
- On: only registered devices can sign in. A new device needs an activation code from this page.
Register a device
Section titled “Register a device”Turn on Apply device setting?
The Add New button appears.
Add the device
Click Add New, type a Name for the device, such as “Front desk iPad”, then click Complete.
Copy the code
A window shows the activation code with a QR code and links to download the POS app. Copy it.
Enter the code on the device
Open the POS app on the new device, sign in to your business and enter the code when asked. The device then shows as active in the list.
The list shows Name, Device ID, Device Name, Activation code and Activation device. Device ID and Device Name fill in after the device uses its code. A tick in Activation device means the code was used. Click the copy icon next to a code to copy it.
Use the dots on a row to edit or delete a device. Before a device is active, you can change its Name and the code, or make a new code with the refresh button. After it is active, you can’t change the code. Device Name and Device ID then appear in the form.
With the switch on, a device that isn’t in the list can’t sign in until you register it.
IP whitelist
Section titled “IP whitelist”IP whitelist limits POS sign-in at one location to the networks you list. Choose the location with Select shop. You need permission to edit locations to use this tab.
| Setting | What it does |
|---|---|
| Check IP whitelist switch (Config IP whitelist) | Turns the check on for this location. When on, staff can only sign in from a listed address. |
| List of IP whitelist | The allowed IPv4 addresses, one per row. Click Add New for another row, then Save. |
Each address must have four parts from 0 to 255, such as 203.0.113.10. Use your shop’s public internet address. If you turn the check on with an empty list, Nuvioo adds a blank row. If you save an empty list, the check turns off.