

Payment settings
Payment settings are per location. In the sidebar, under Settings, click General settings, then open the Payment Setting tab. Use Select shop at the top to choose the location. Everything below applies to that location only.
You need at least one location first. With none, the tab shows “Please create a shop to set up your payment method”. See Locations.
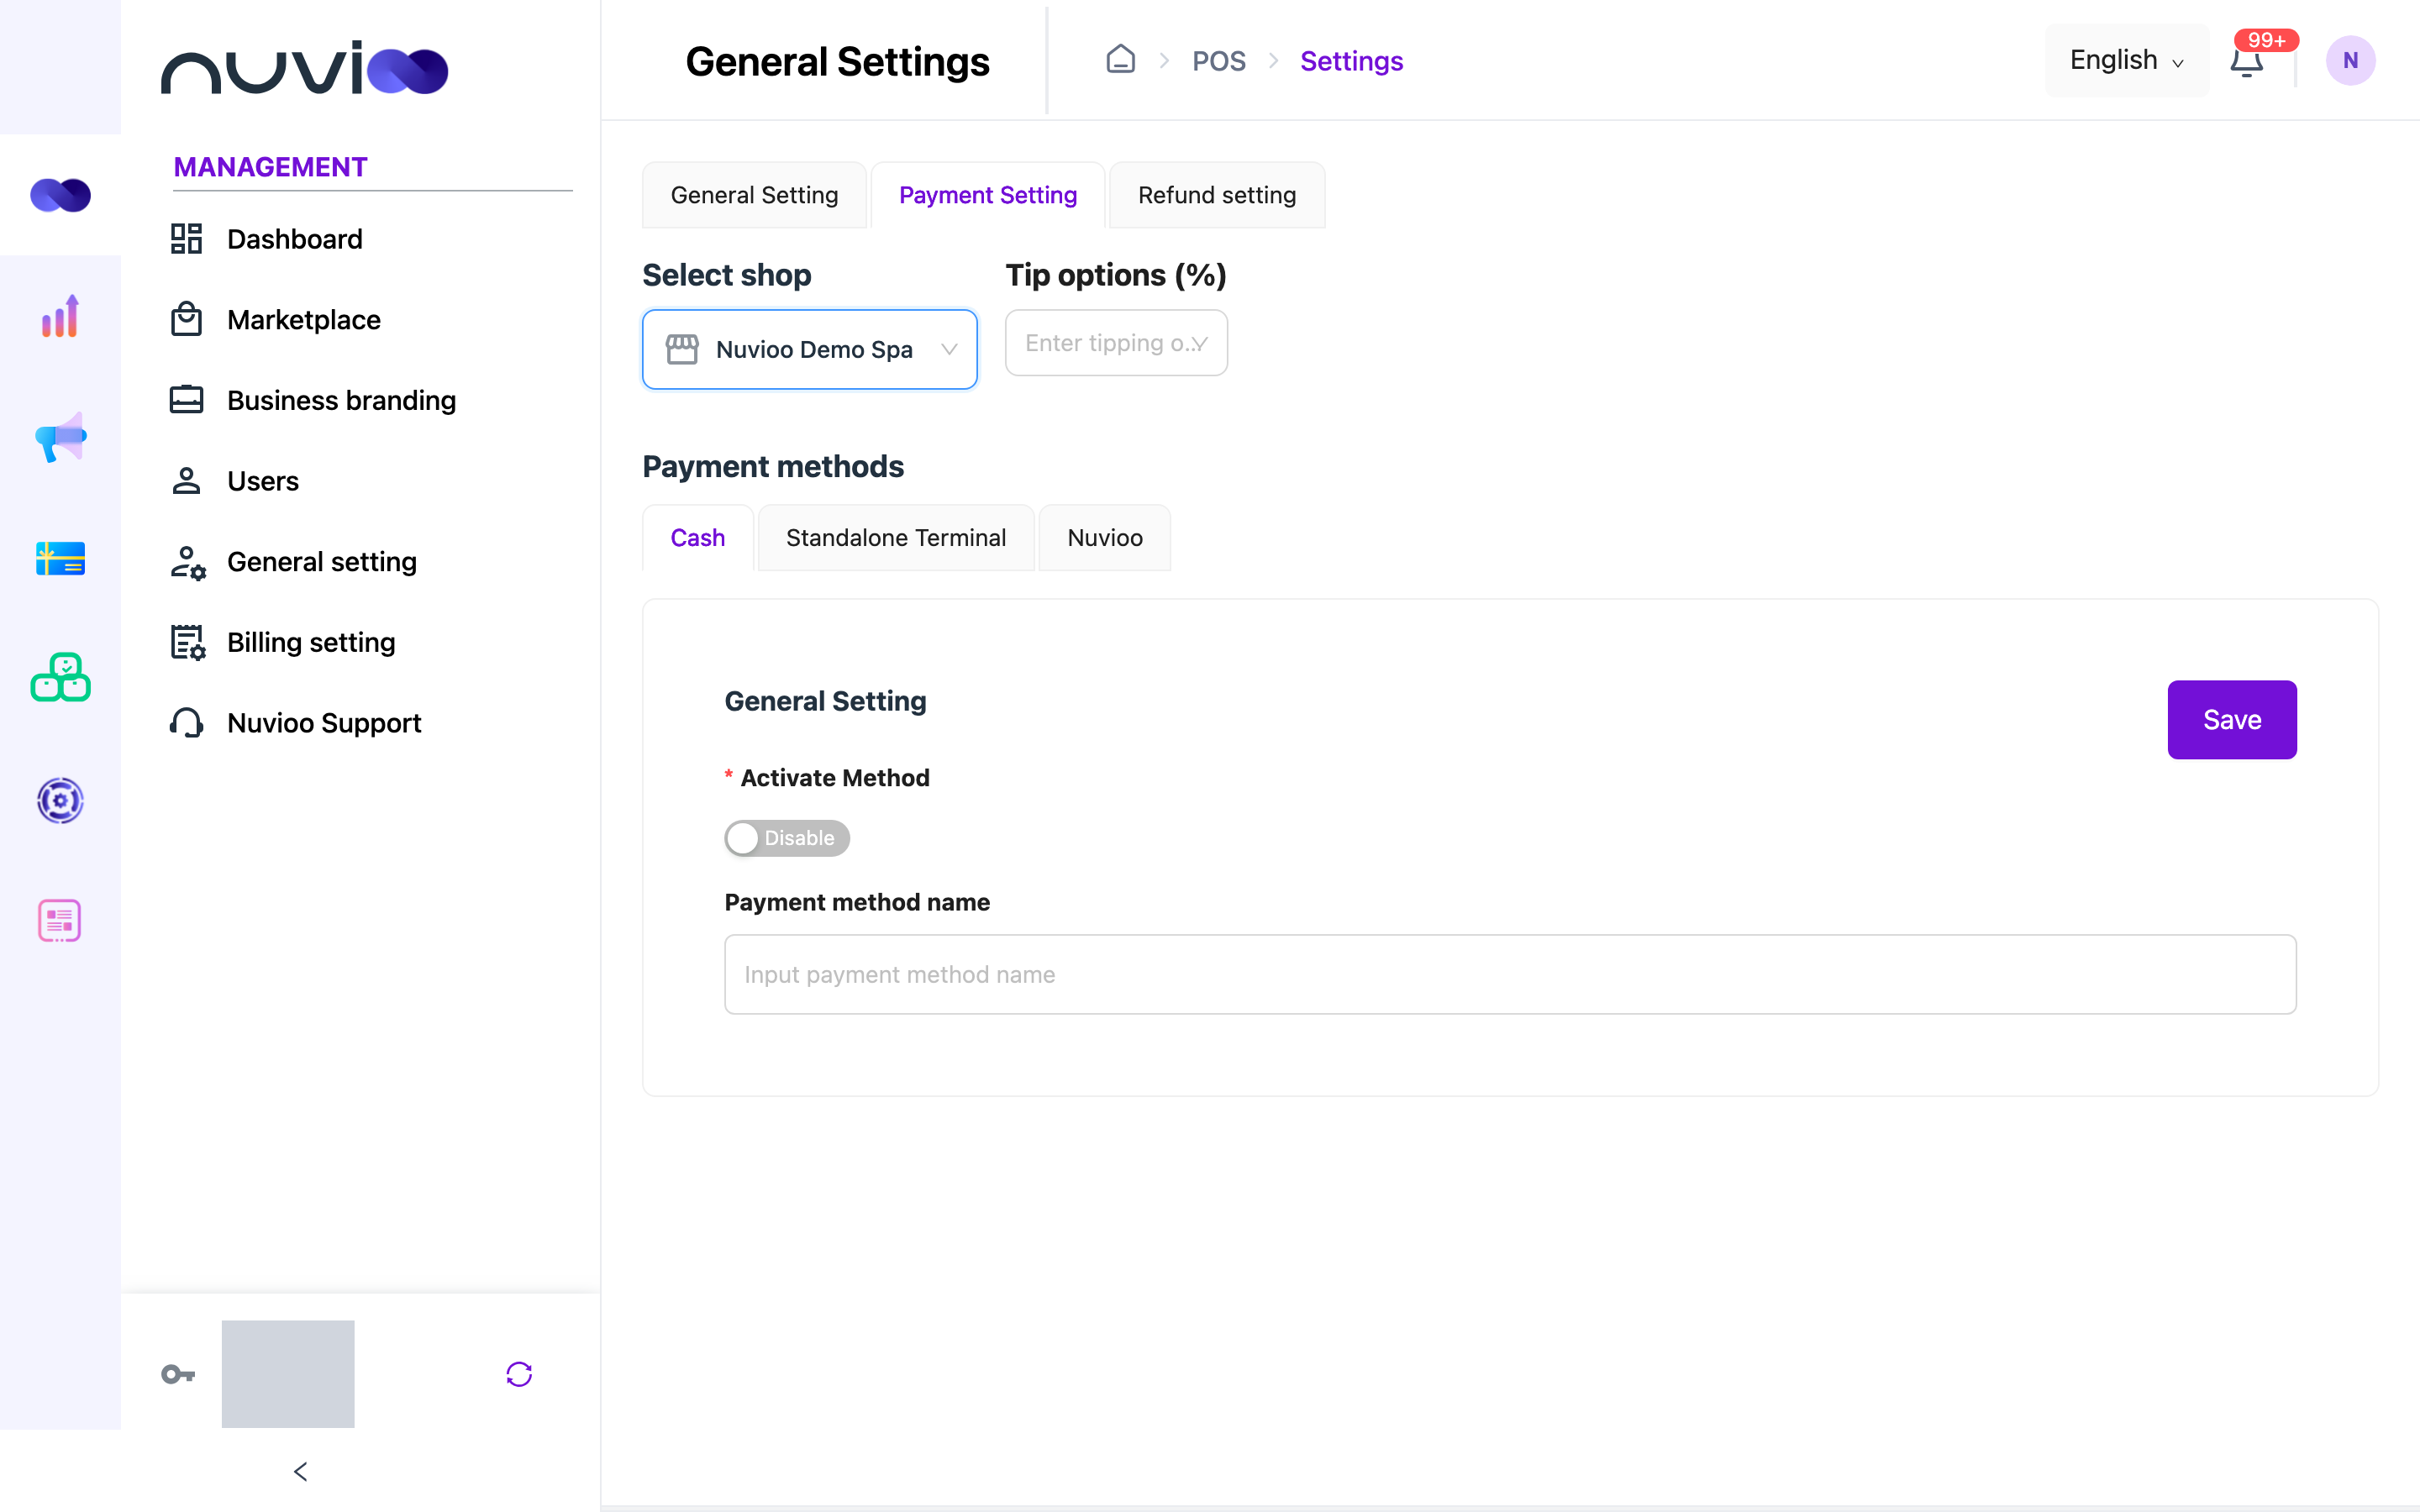
Tip options
Section titled “Tip options”Tip options (%) sets the tip percentages offered at checkout.
- Enter exactly three whole numbers, each from 1 to 99, for example 15, 18 and 20.
- Type a number and press Enter to add it.
- Click Save. The button appears after you change the field.
- If you save the field empty, the location has no tip options.
Payment methods
Section titled “Payment methods”Each method has its own tab: Cash, Standalone Terminal and Nuvioo. Only methods that are turned on are offered on that location’s POS.
Cash and Standalone Terminal
Section titled “Cash and Standalone Terminal”These two tabs have the same fields.
| Setting | Options | What it does |
|---|---|---|
| Activate Method | Enable or Disable. Off by default. | Turns the method on or off at this location. |
| Payment method name | Text. Required when the method is on. | The name staff see for the method on the POS. |
Click Save on the tab to apply the change.
Use Standalone Terminal for a card machine that isn’t connected through Nuvioo.
Nuvioo card payments
Section titled “Nuvioo card payments”The Nuvioo tab is for card payments through Nuvioo’s payment partner. It has three parts.
1. Connect your merchant account. Until a merchant ID is saved, the tab offers two choices.
| Button | What it does |
|---|---|
| Click to Join with us | Starts the merchant application. If you started before and didn’t finish, the button reads Continue connect devices. It is turned off if you already completed the form. Use Manual input configuration instead. |
| Manual input configuration | Lets you type in a merchant ID you already have. |
2. Set the payment options. After a merchant ID exists, these fields appear.
| Setting | Options | What it does |
|---|---|---|
| Activate Method | Enable or Disable. | Turns card payments on or off at this location. |
| Payment method name | Text. Required when on. | The name staff see on the POS. |
| Merchant Id | Text. Required when on. | Your merchant ID. Nuvioo checks it with the payment partner when you save, and rejects an invalid one. |
| Tip distribution | Enable or Disable. | Turns on automatic capture of tip distribution. |
| Auto run capture | Enable or Disable. | Captures card authorizations automatically at a set time. You can’t edit tips after that time. |
| Config hour | A time, in 15-minute steps. Shown when Auto run capture is on, and required. | The time of day the capture runs. |
| Time zone | Pick from the list. Shown when Auto run capture is on, and required. | The time zone for Config hour. |
| E-Signature | Enable or Disable. | Turns on electronic signatures for card payments. |
| Minimum amount | A price. Shown when E-Signature is on, and required. | The amount that applies to signatures. |
| Close batch manually for all devices | Enable or Disable. | Turns on manual batch closing for this location’s devices. |
Click Save to apply the changes.
3. Add card terminals. When Activate Method is on, a Terminal list appears under the settings. Click Add Terminal and fill in the form.
| Field | What it does |
|---|---|
| Name | A name for the terminal. Required. |
| Serial Number | The serial number printed on the device. Required. |
| Model | PAX A800, PAX A920 PRO, SUNMI P2 or SUNMI P3 MIX. Required. You can’t change it later. |
The list shows Serial Number, Name, Model and Status. A new terminal starts Inactive. Click the dots on a row to:
- Edit the name or serial number.
- Switch the terminal to Active or Deactive.
- Use Check connection to see whether the device is connected.
- Delete the terminal.
What isn’t a setting
Section titled “What isn’t a setting”Nuvioo has no settings for card surcharges, processing fees or split payments on this screen.
- To add a fee to orders, see Extra fees.
- Splitting a bill between payments happens at the POS when staff take payment.
To report on payments, see Payments and refunds. To print the payment method on receipts, see Receipt templates.