

Work with a contact's timeline
Open a contact to see their details on the left and their history on the right: activity, tasks, notes, emails, calls, appointments, texts, deals, tickets and billing. For the left panel, adding and editing contacts, see Contacts.
What you can do depends on your role. If a button described here is missing, ask an admin to check your role in Manage users and roles.
Open a contact
Section titled “Open a contact”In the sidebar, under Main Hub, click Contacts, then click the contact’s name.
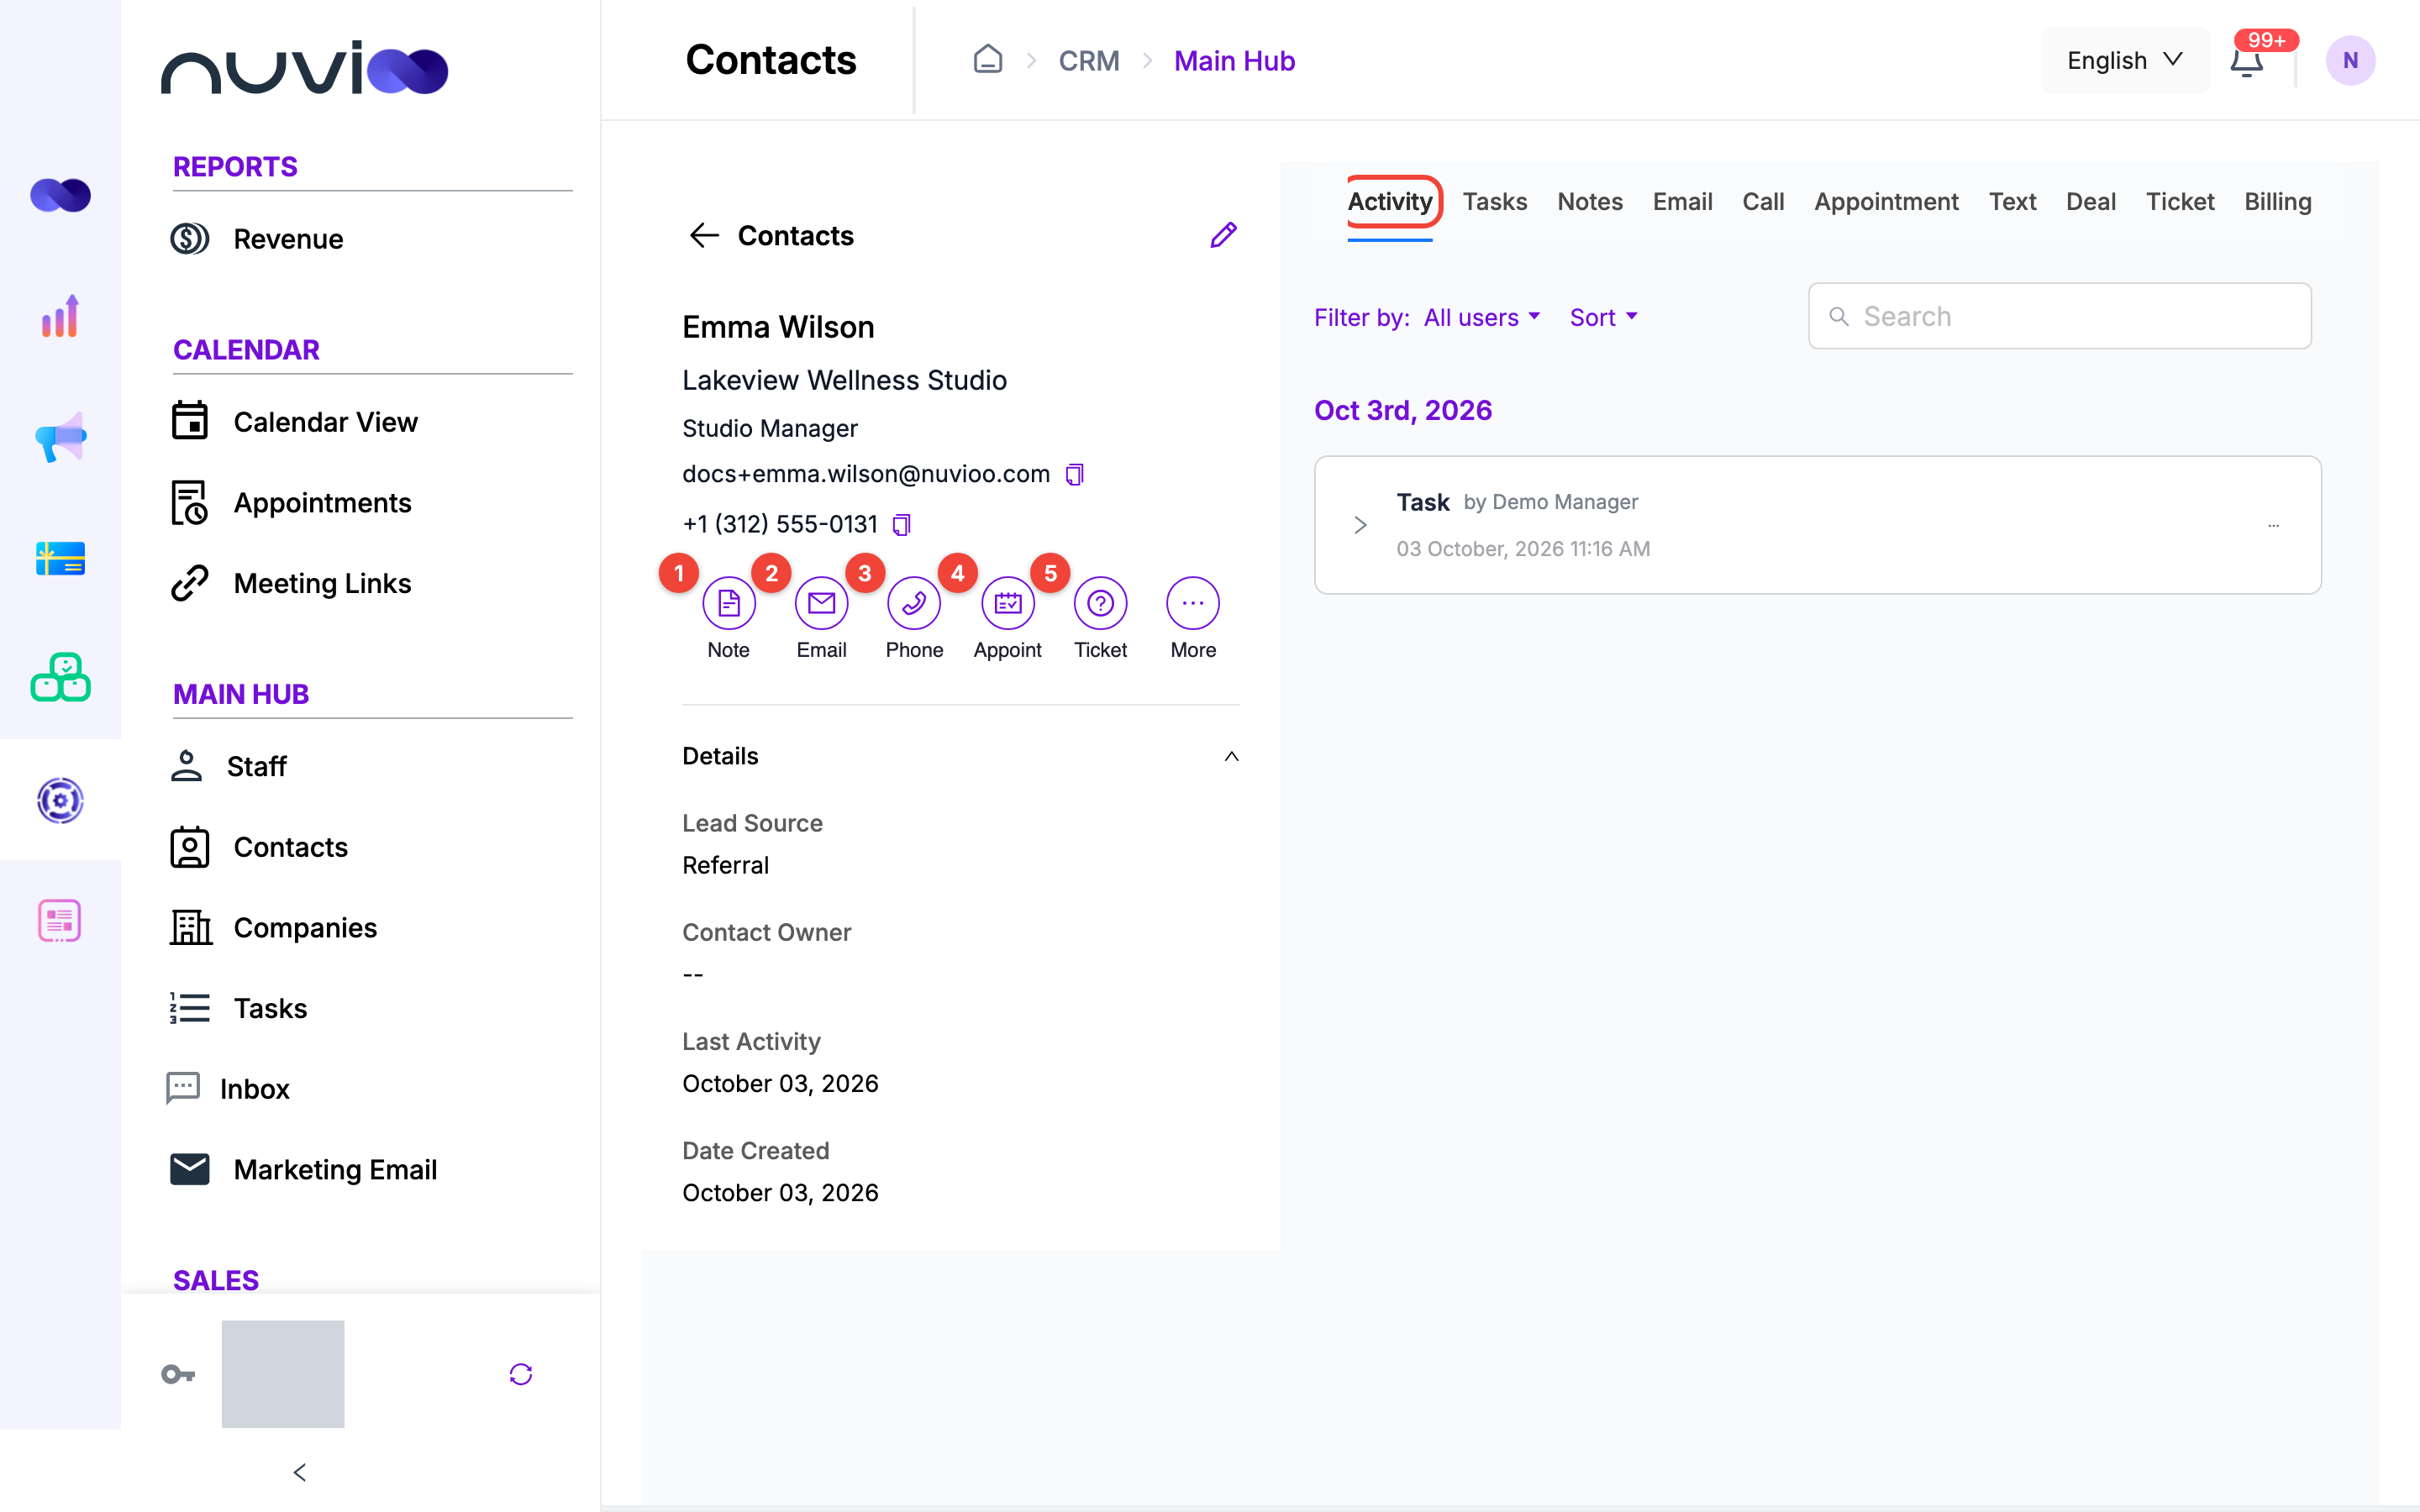
The buttons under the contact’s name start an action straight away:
- Note: write a note about the customer.
- Email: send an email from your connected mailbox.
- Phone: call the customer through Twilio.
- Appoint: book an appointment for them.
- Ticket: open a help desk ticket.
Click More for the rest: Log Call, Log Email, Log appointment, Send Text/SMS and the deal form. The full list is in Contacts.
Activity
Section titled “Activity”Activity shows everything in date order, newest first. Each row has a title, the staff member who did it, and the date and time. Click a row to open its details.
| Control | What it does |
|---|---|
| Filter by | Shows one staff member’s activity, or All users. |
| Sort | Switches between Date DESC and Date ASC. |
| Search | Searches the activity. |
| Load more | Appears at the bottom when there are more rows. The list loads 20 at a time. |
The timeline includes:
- Notes, emails, calls and conference calls.
- Text messages: SMS and MMS, sent and received.
- Form submissions from your website forms.
- Tasks for this contact.
- Marketing email events: when the contact marks an email as spam, unsubscribes, or their address hard bounces.
The other tabs show one kind of record each.
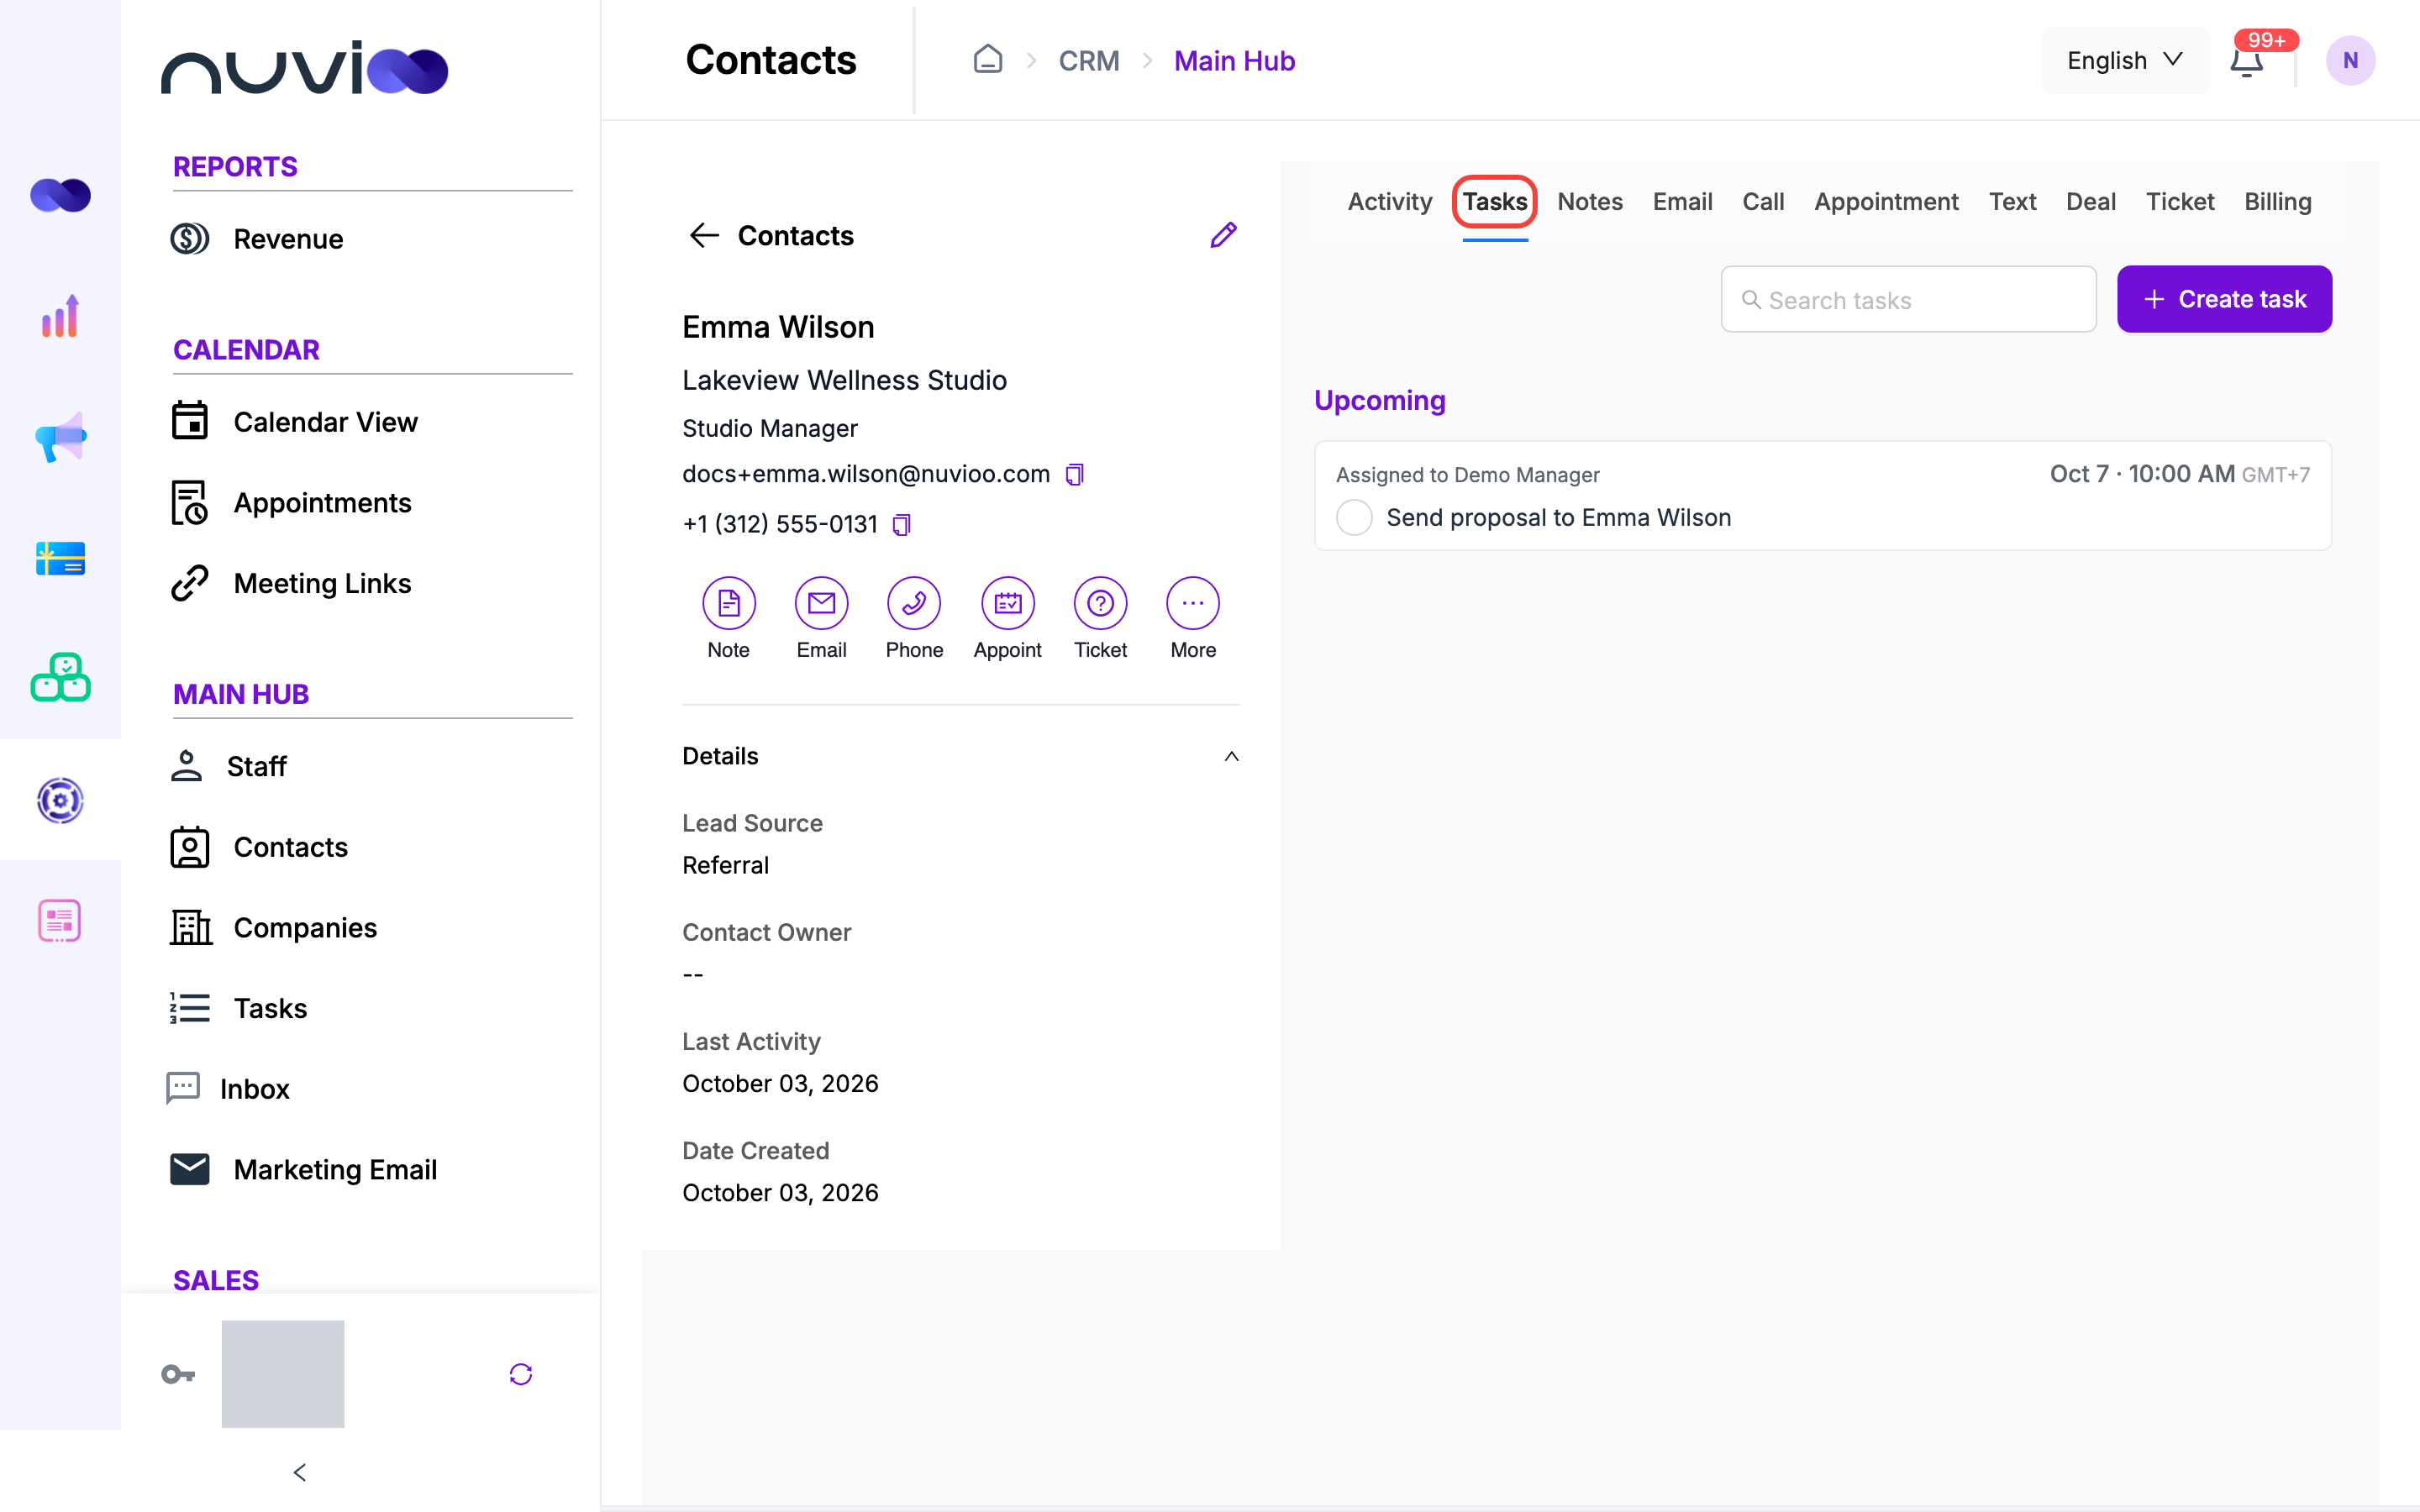
Upcoming and finished tasks for this contact. Click Create task to add one. See Tasks.
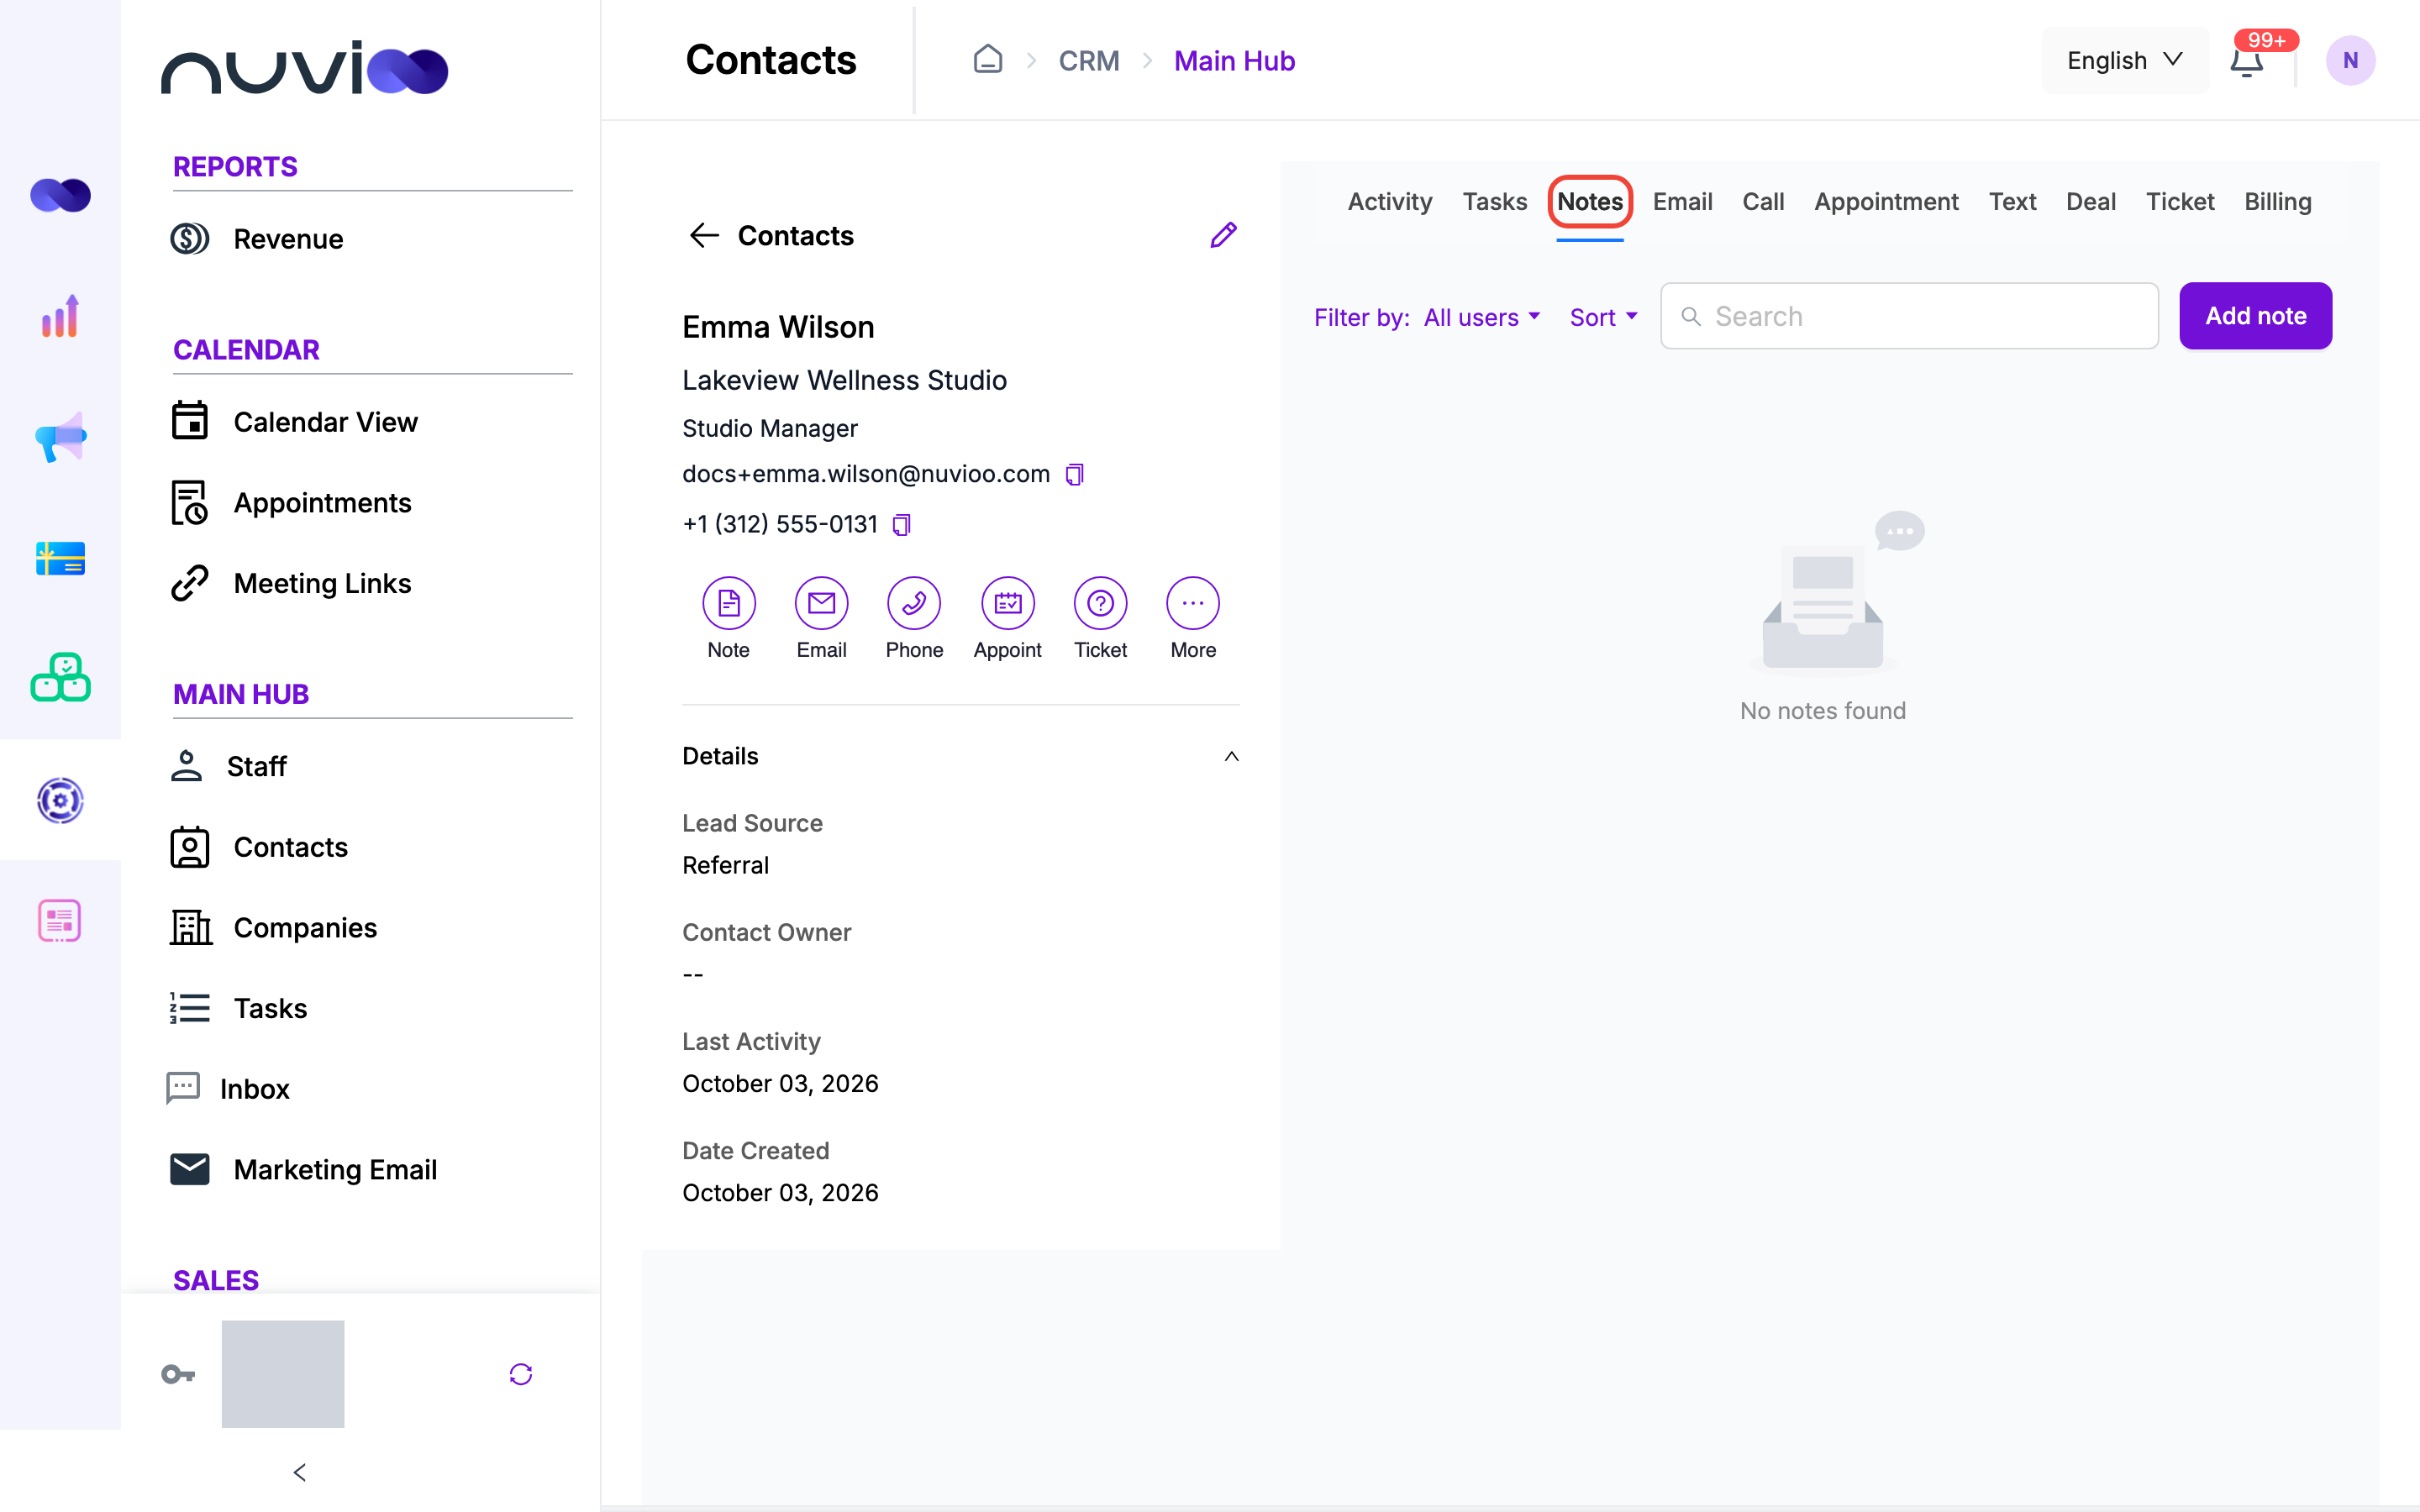
Notes your team has written. Use Filter by, Sort and Search notes and titles… to find one. Click Add note to write a new note in the tab.
Click a note to expand it. Use the arrow on its right to Edit it, Copy link to it or Delete it. Editing and deleting need the matching permission.
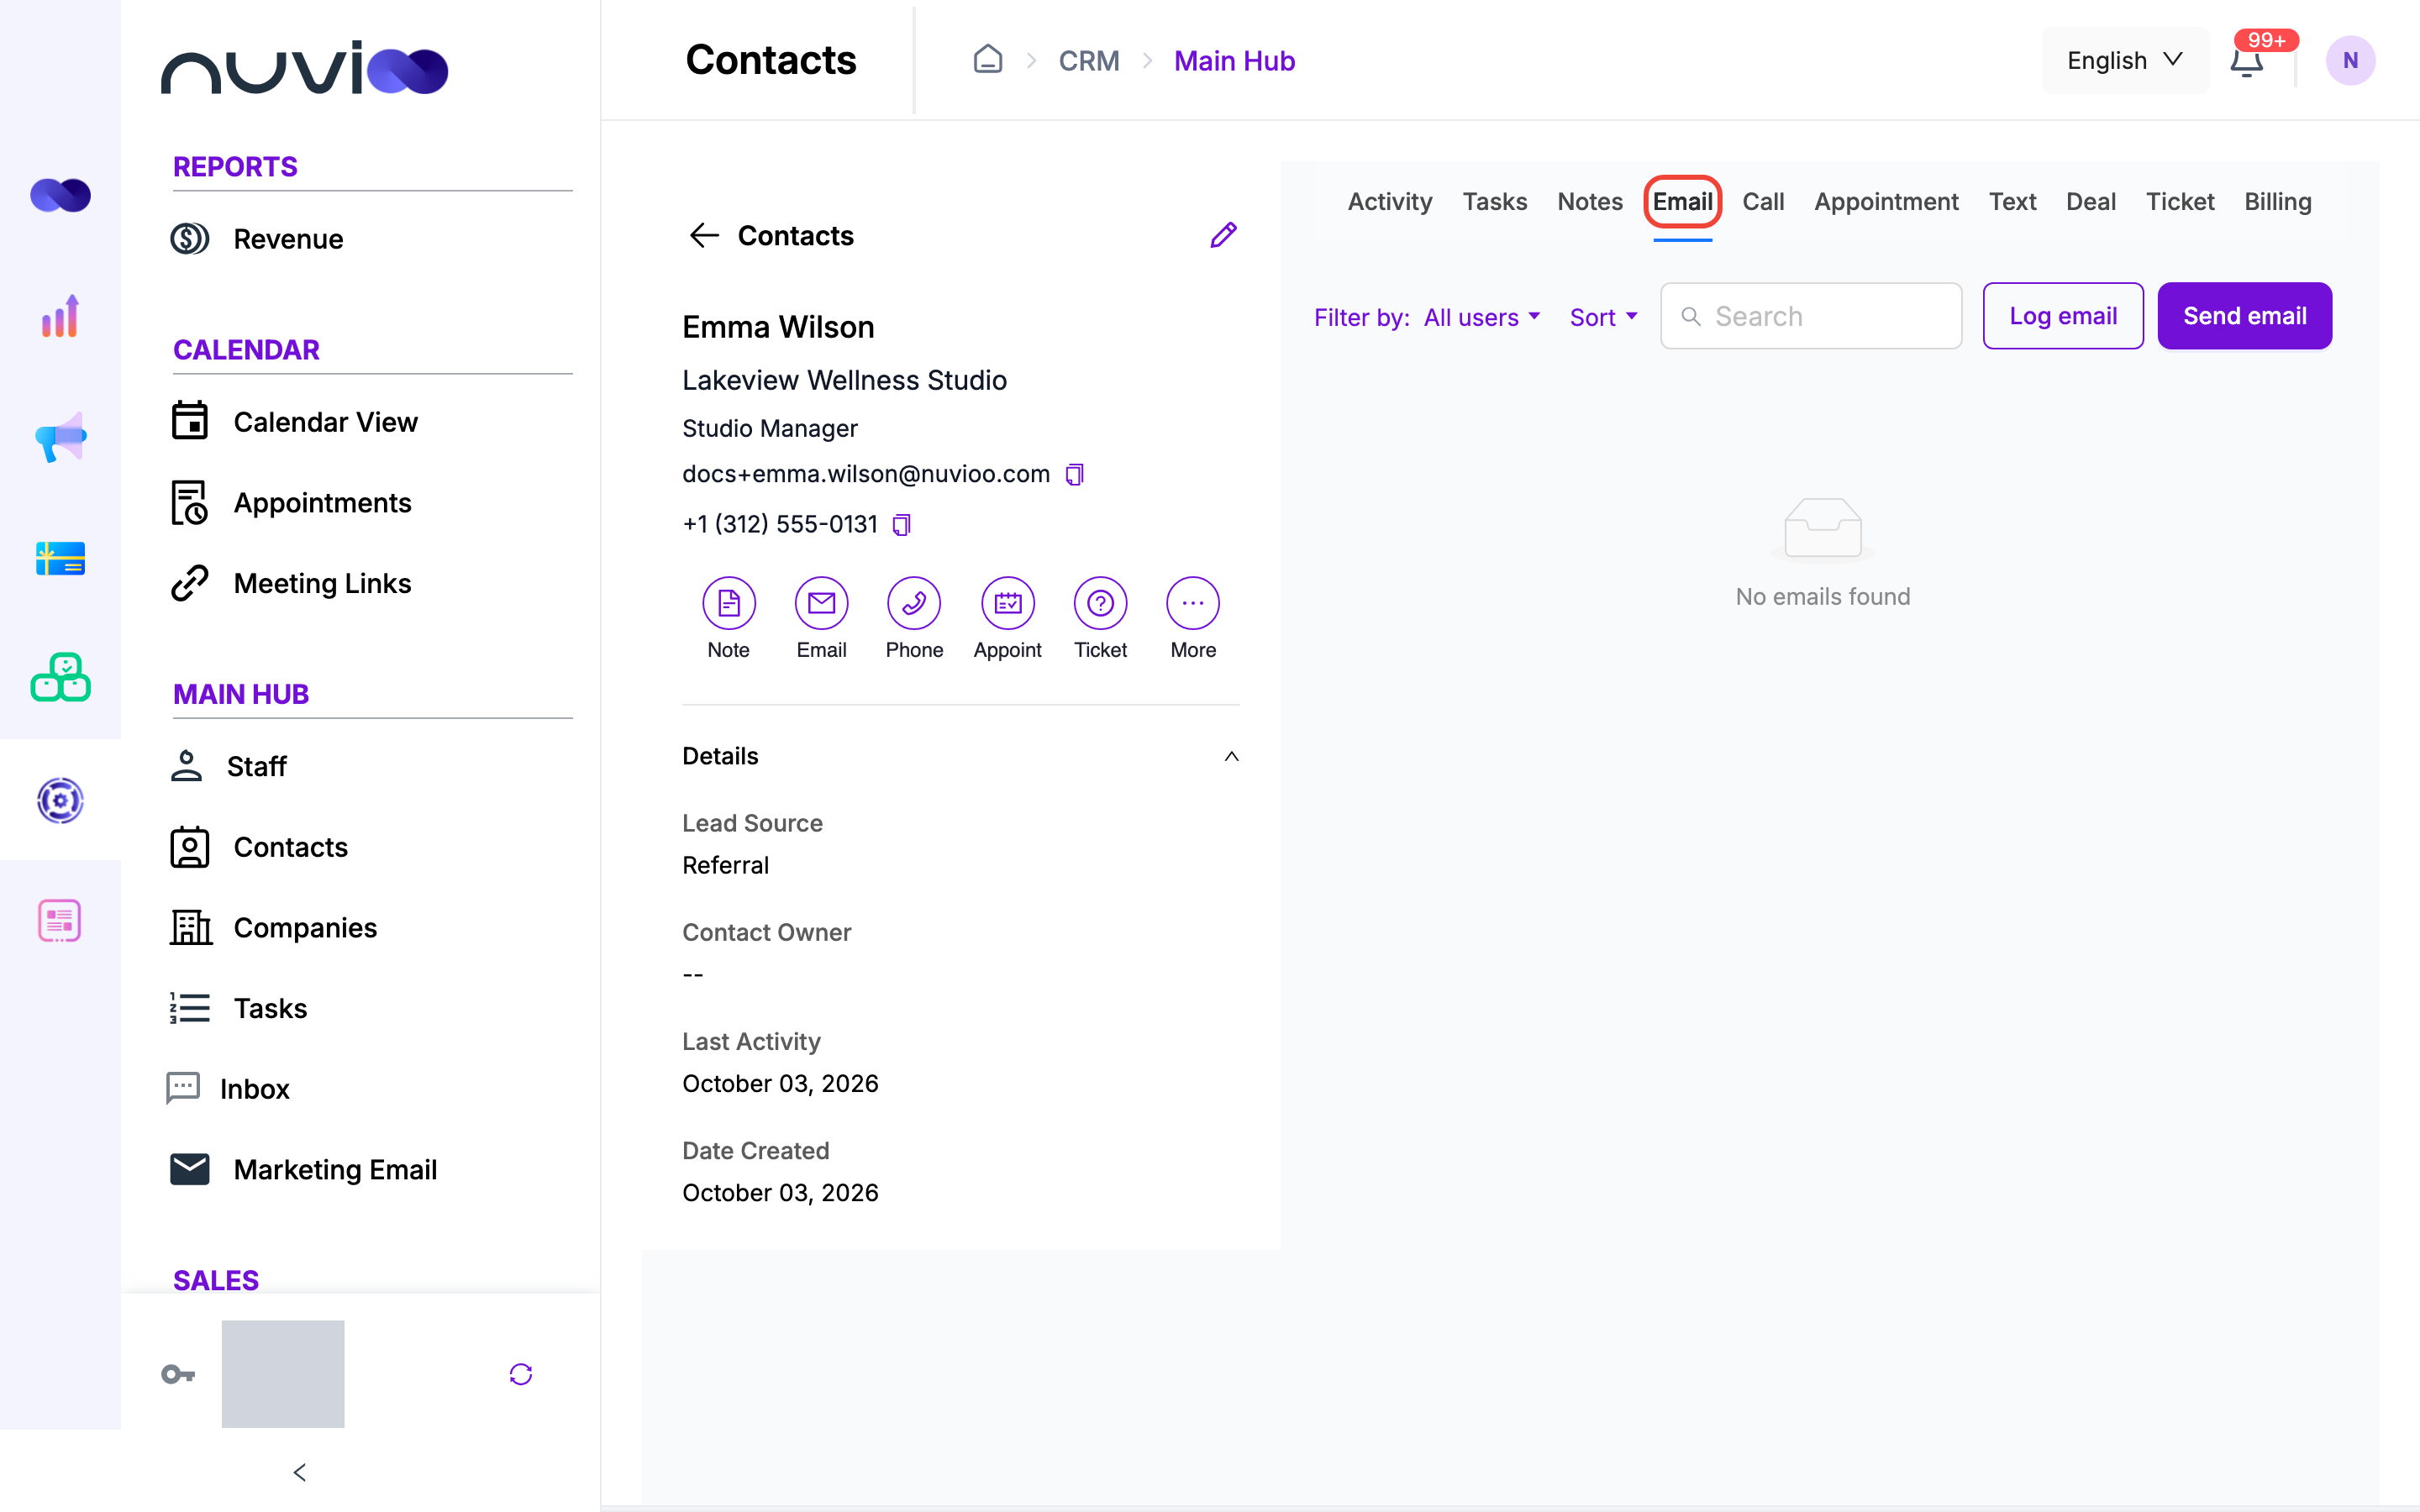
Emails sent to and received from the contact, grouped into conversations. Use Search emails…, Filter by and Sort to find one. Click Send email to write one, or Log email to record an email you sent from somewhere else.
Each message has a status: Sent, Received, Read, Failed or Draft. The arrow on a conversation lets you Pin or Unpin it, or Delete conversation. The arrow on a message lets you Reply, Forward or Delete message. For a logged email it shows Edit and Delete message.
If no mailbox is connected, the tab asks you to connect one. See Integrations.
The contact’s calls and conference calls. Click Log a Call to record a call that already happened, or Make Call to choose one of the contact’s numbers and call it. Expand a call to read or edit its notes, or to edit or delete it.
The tab needs a connected Twilio account. Without one it shows Connect Your Twilio Account and a Connect Twilio Account button. See Integrations.
The contact’s appointments, grouped by month. Use Filter by, Sort and Search appointments… to find one. Click Schedule appointment to book one, or Log appointment to record one that already happened. See Appointments.
Text conversations with the contact. Click New Conversation to start one, give it a Conversation Title, and send messages from your Twilio number. Pick a conversation to read it, type in Type a message… and send. Needs a connected Twilio number that can send texts.
The contact’s deals, with name, amount, stage, tag, close date and pipeline. Click Add deal to create one, or Associate existing deal to link a deal that already exists. The arrow on a row lets you open it with View deal or unlink it with Remove association. Removing the association doesn’t delete the deal. See Deals.
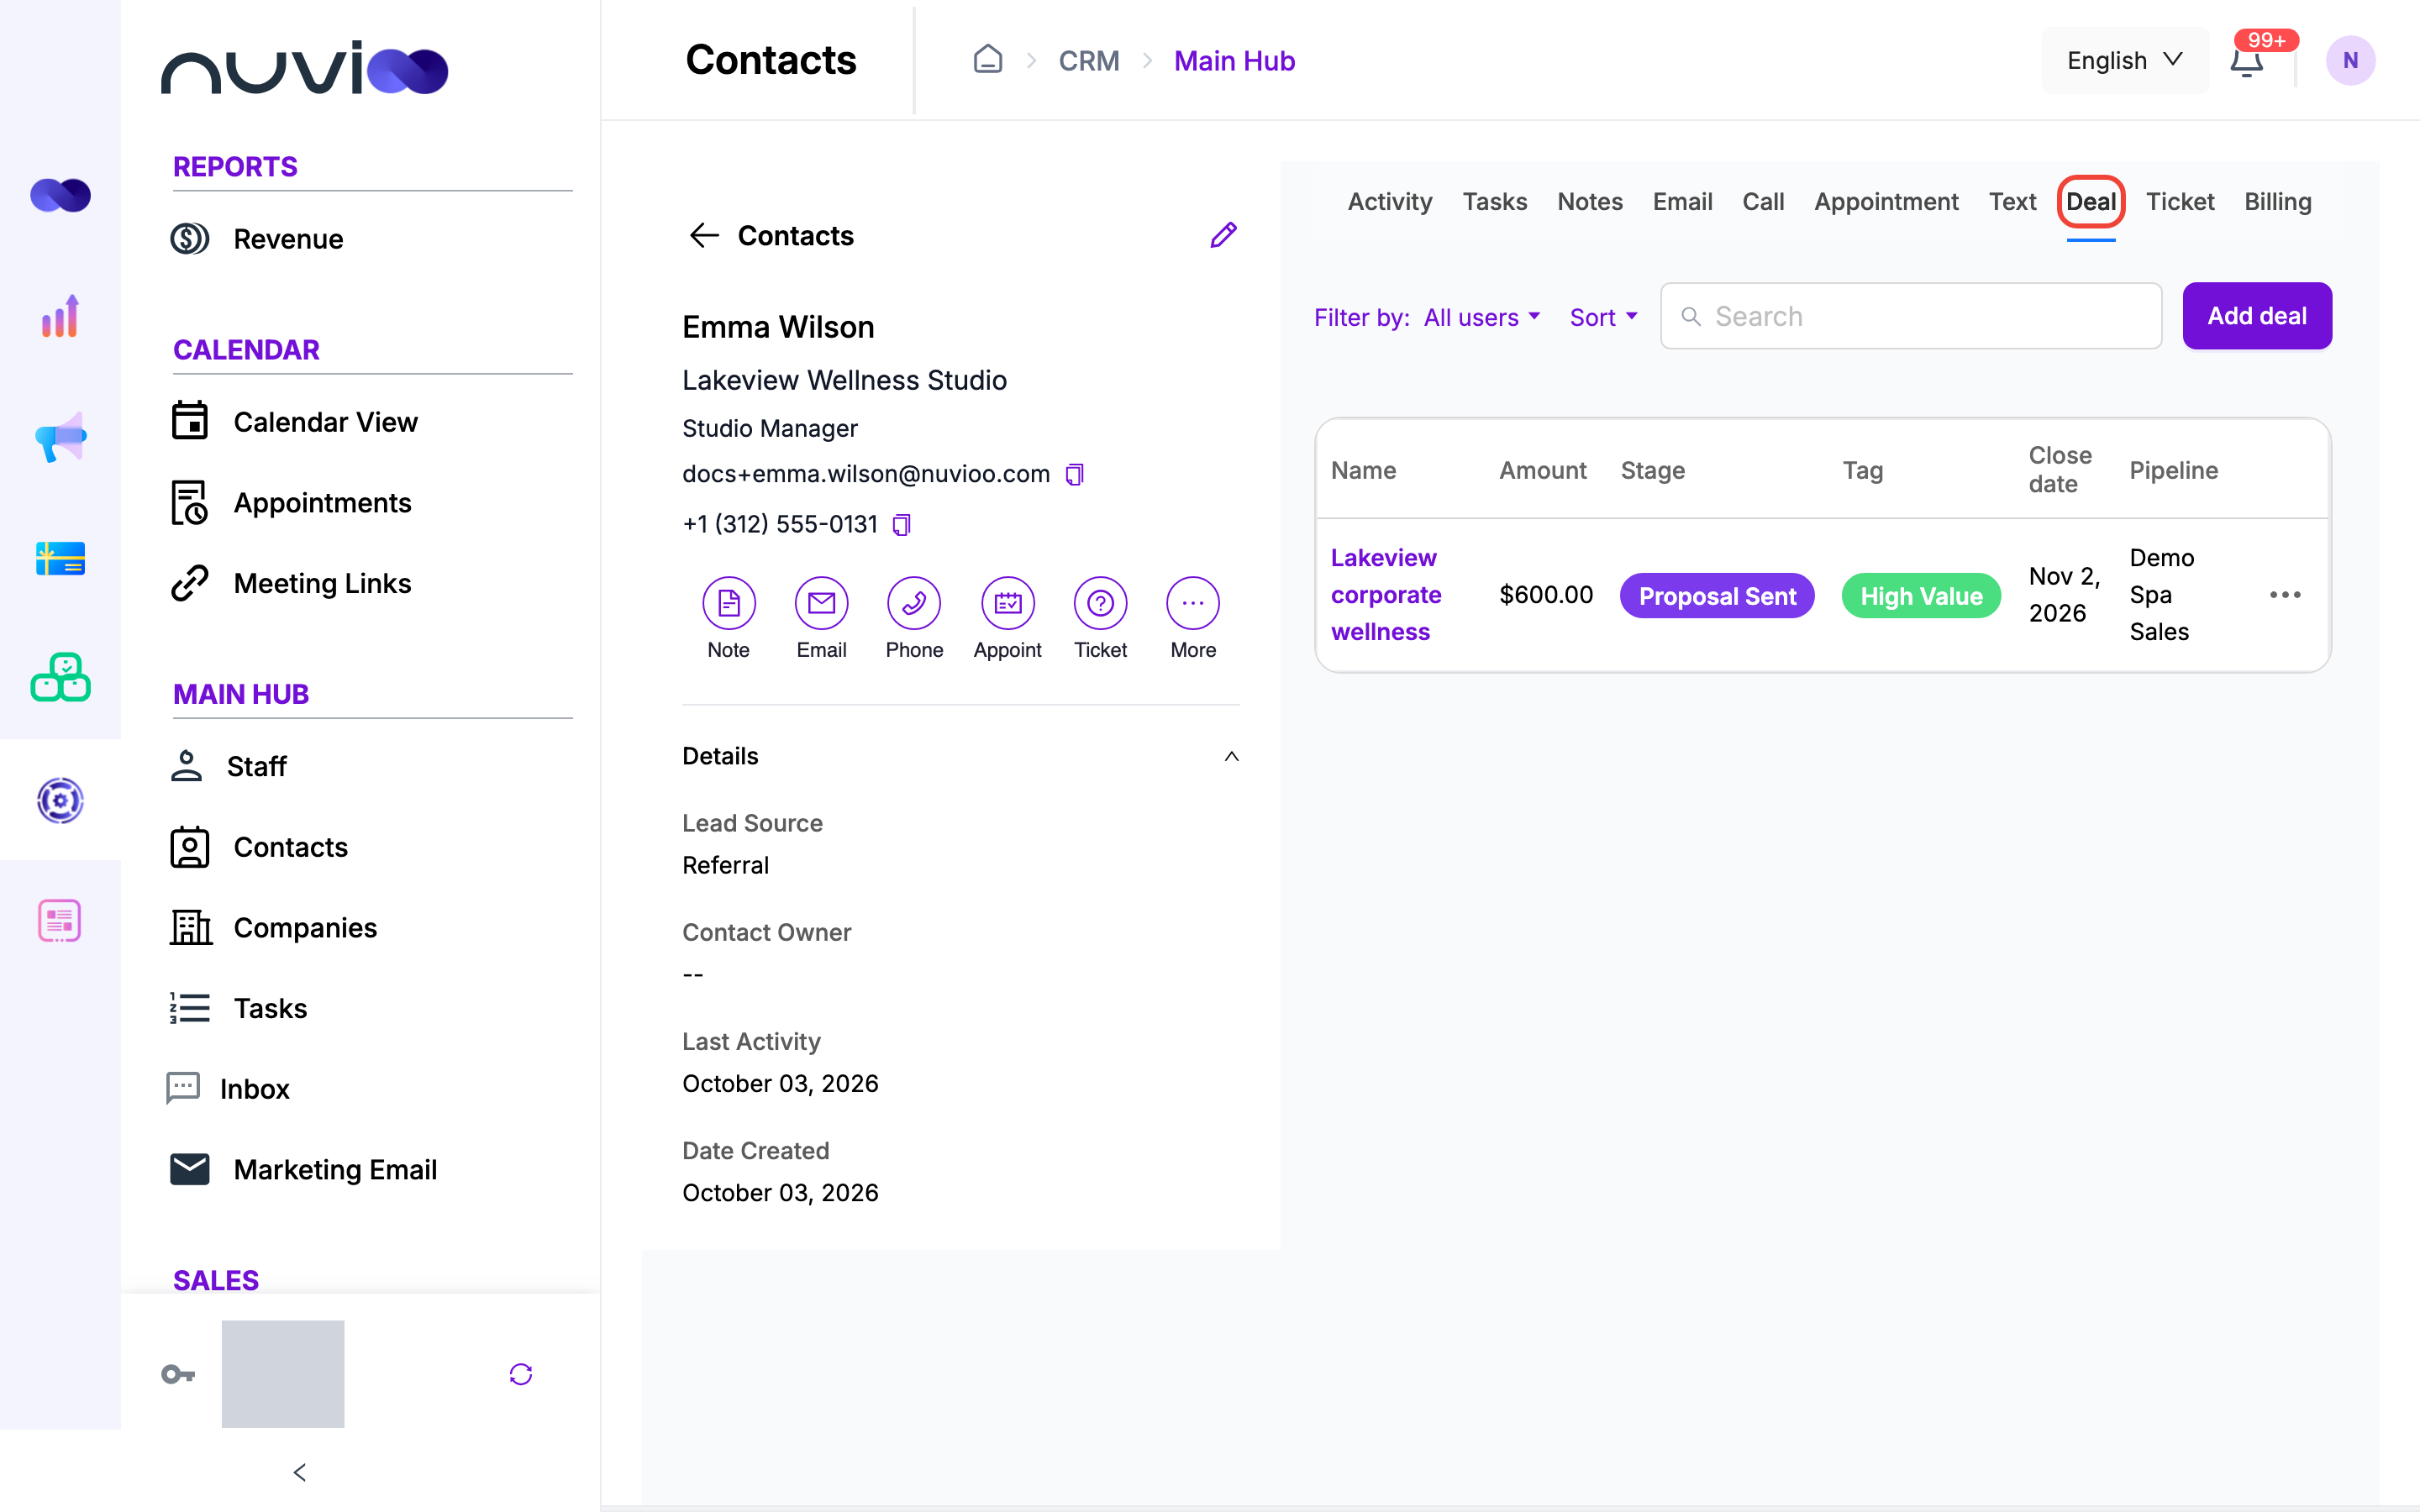
The contact’s help desk tickets, with issue, status, priority, partner or tenant and creation date. Filter by All, Open or Closed, and sort by Newest or Oldest. Click Add ticket to create one. See Help desk.
The contact’s Subscriptions and Payments. A subscription shows its amount, status, how long it’s valid, frequency, type and next invoice. The arrow on a subscription lets you view its billing history, edit it while it’s a draft or pending, or cancel it while it’s active. A payment shows its amount, status (Paid or Refunded), payment method, payment date and billing source.
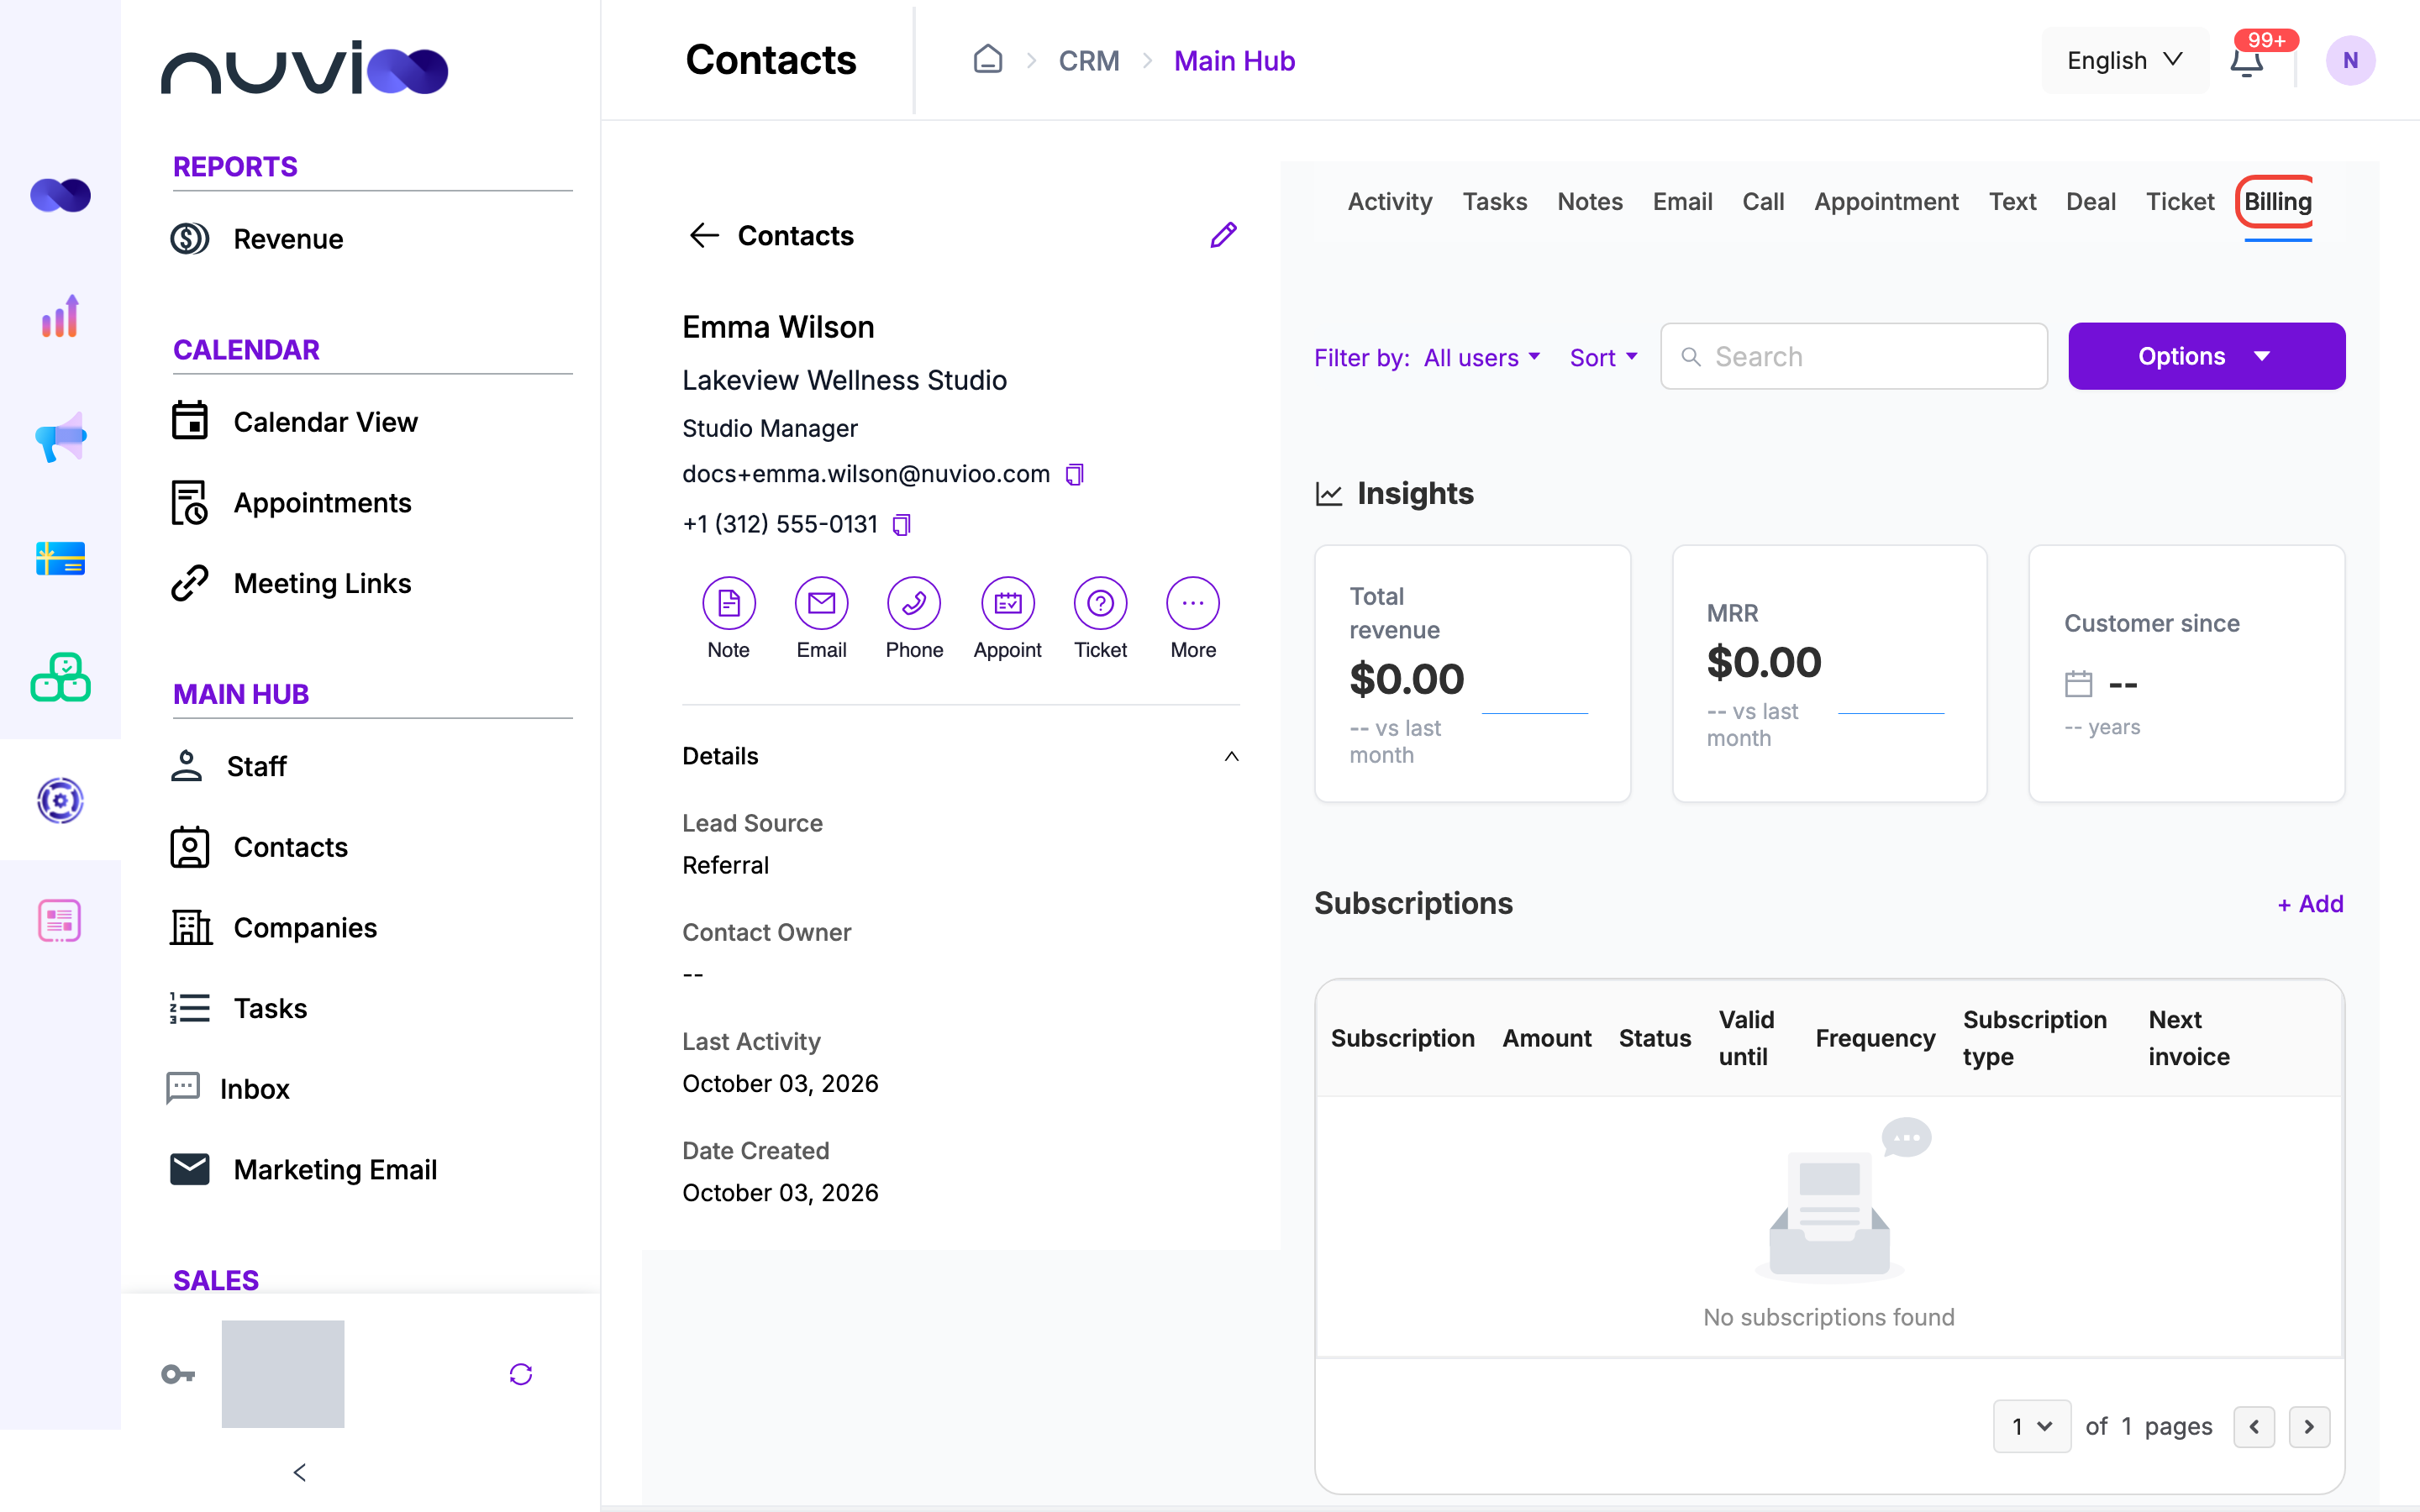
To create subscriptions, invoices and quotes, see Subscriptions, Invoices and Quotes.
Add a note
Section titled “Add a note”Open the note editor
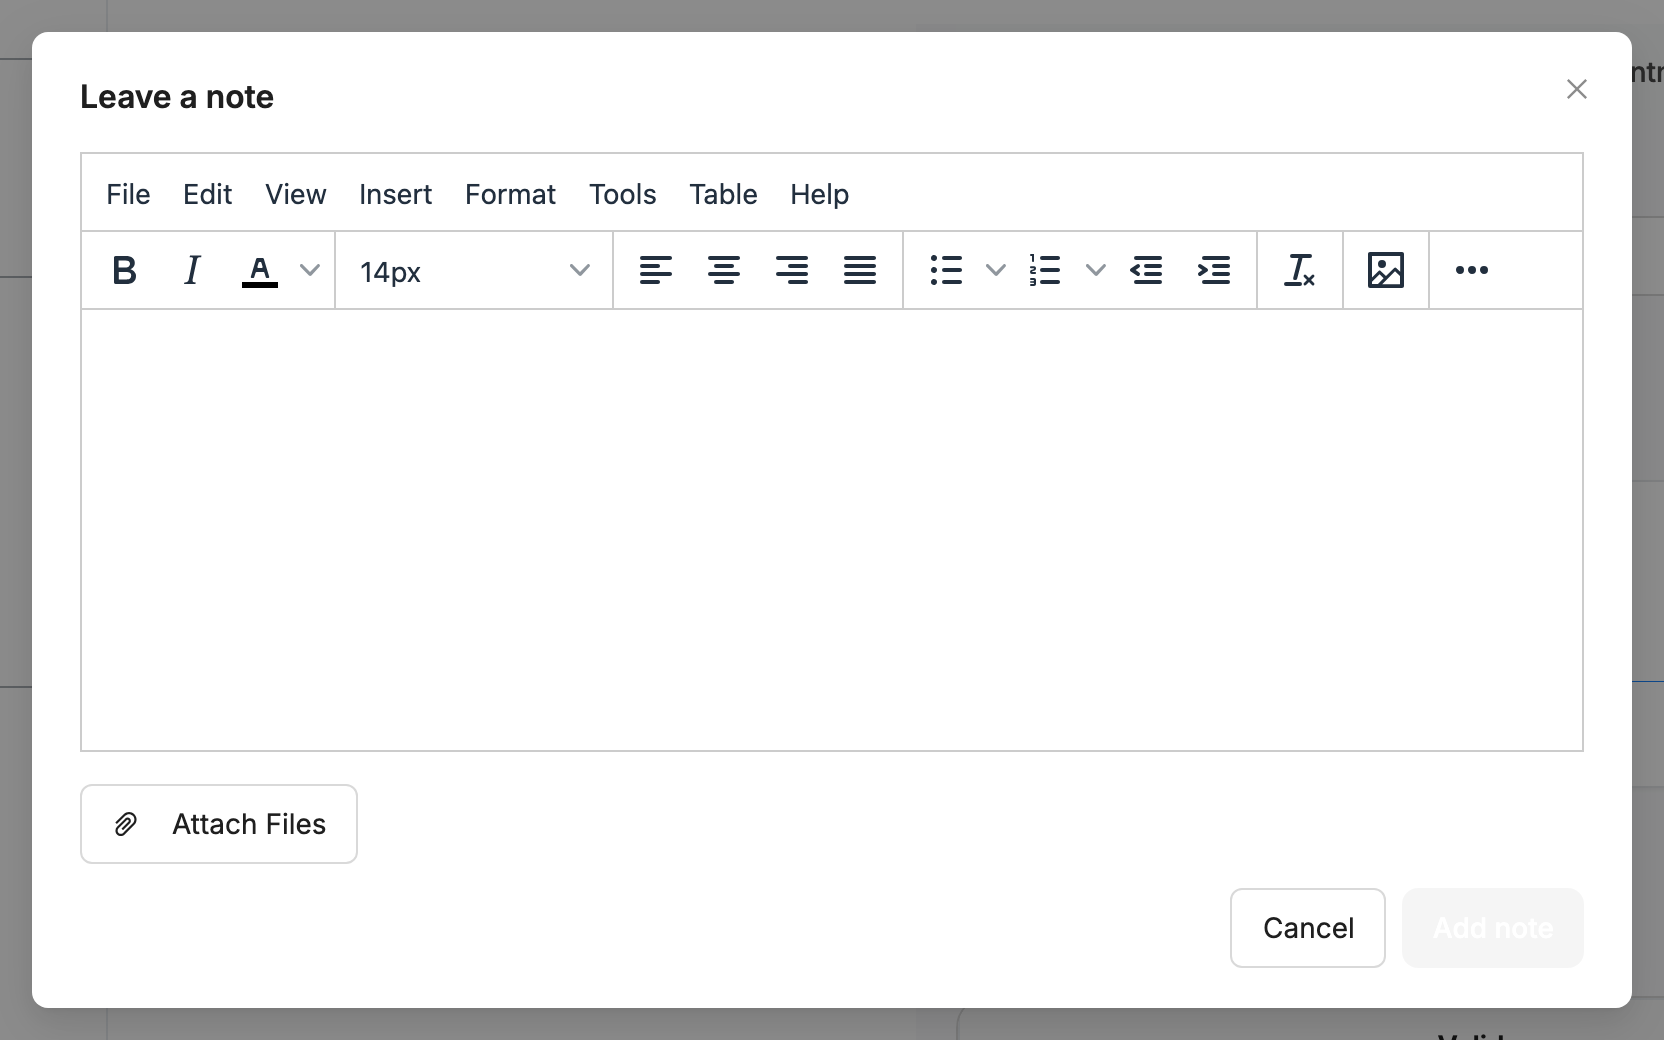
Click Note under the contact’s name. You can also use Add Note in the More menu.
Write and save
Write the note. Click Attach Files to add files. You can attach up to 10 files of up to 25 MB each. Add note stays off until the note has text and uploads have finished. Click Add note.
The note appears on the Notes tab and in Activity.
Send an email
Section titled “Send an email”Open the email editor
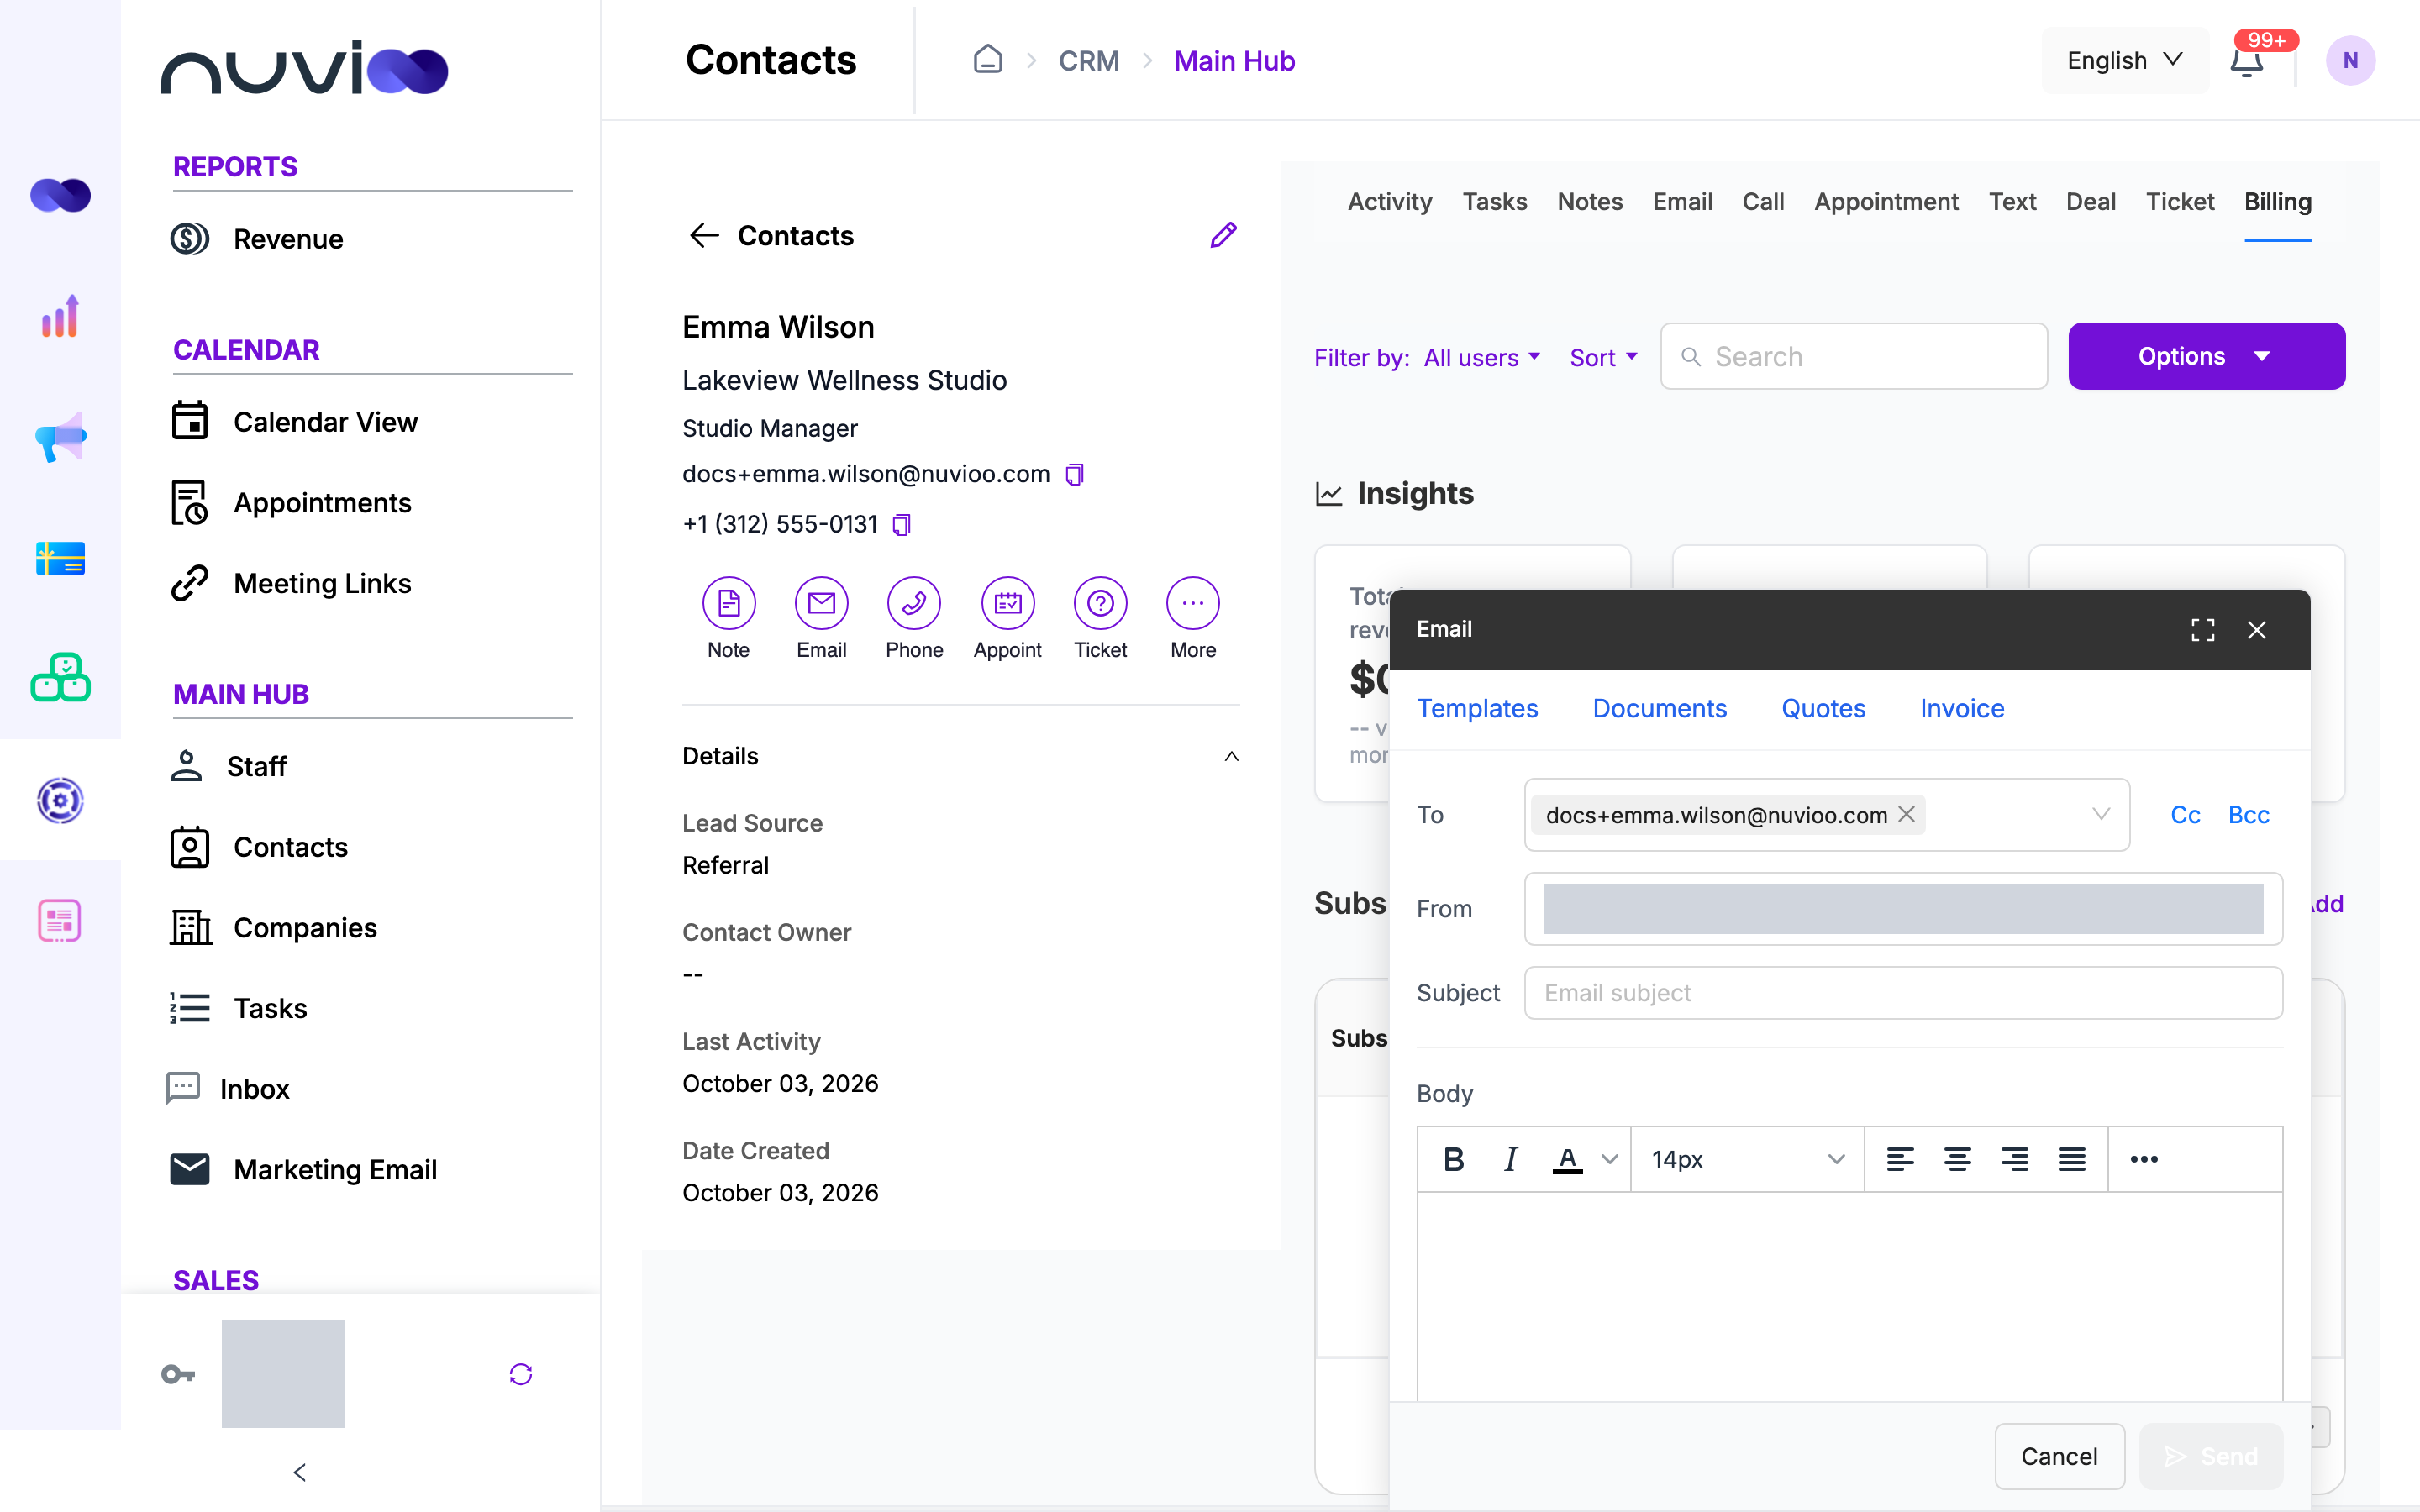
Click Email under the contact’s name. The contact’s address is already in To. From is your connected mailbox. See Integrations to connect one.
Email editor (sender hidden) Write the email
Add a Subject and Body. Add Cc or Bcc recipients if you need them. Use Templates to start from a saved email, or Documents, Quotes and Invoice to attach one. To attach your own files, use Attach files: up to 5 files of up to 10 MB each.
Send
Click Send. The email appears on the Email tab and in Activity.
To record an email you sent somewhere else, use Log Email from the More menu, or Log email on the Email tab. It opens the same editor with a Log button instead of Send. The email is saved on the timeline and isn’t sent.
Log a call
Section titled “Log a call”Open the log
Click More, then Log Call. You can also click Log a Call on the Call tab.
Fill it in
A small window opens. The contact is already set under Contacted. Choose the Date and Time, and add your notes. Date and Time are required.
Save
Click Send in the window. Despite the name, this only saves the log. It doesn’t call or message the contact. The log appears on the Call tab and in Activity. To change it later, expand the call and edit it.
Create a ticket
Section titled “Create a ticket”Open the ticket form
Click Ticket under the contact’s name. The Create New Issue form opens.
Fill it in
Field Required What it does Subject Yes A short title for the issue. Message Yes What the issue is. Priority Yes Low, Normal, High or Critical. To Yes Choose Contact or User. Create
Click Create Issue. The ticket is linked to this contact and appears on the Ticket tab.