

Calendar view
The calendar shows appointments, blocked-off time, group and round robin events, and events from your connected Google and Outlook calendars for the staff you select.
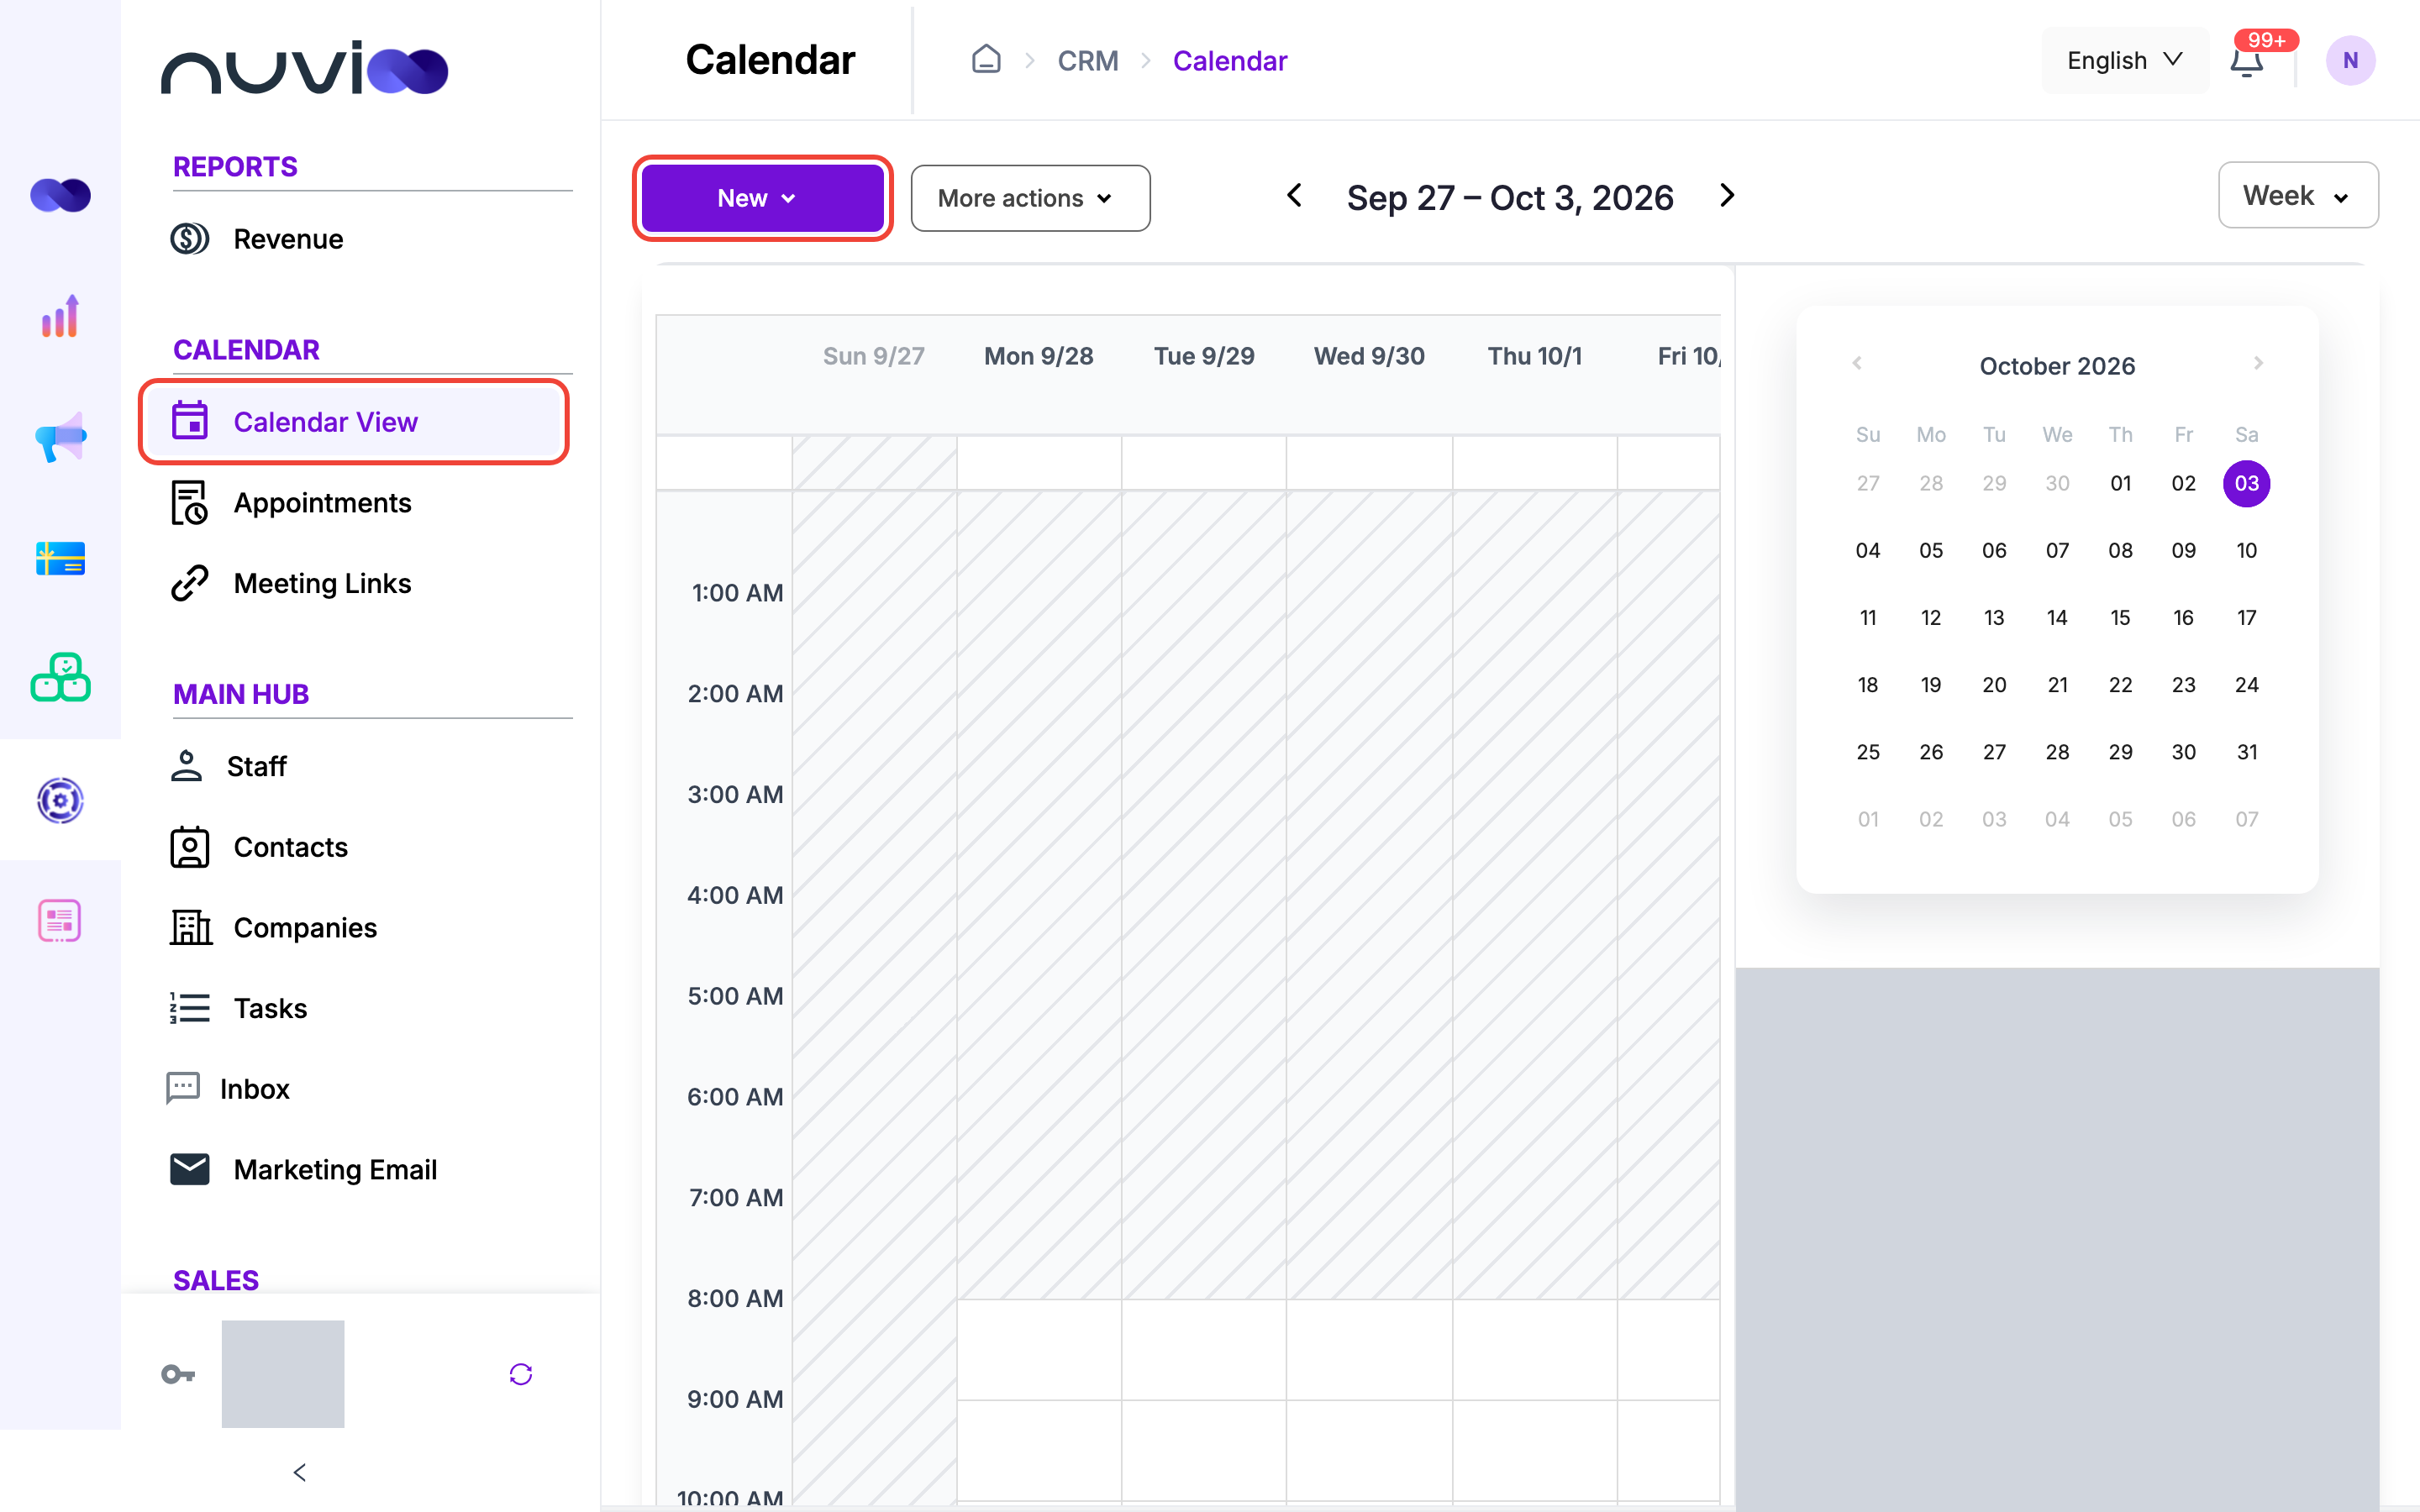
In the sidebar, under Calendar, click Calendar View.
Move around and filter
Section titled “Move around and filter”| Control | What it does |
|---|---|
| Week, Day, Month list | Changes the view. The calendar opens in Week. |
| Arrows next to the title | Move to the previous or next period. |
| Month picker on the left | Click a date to jump to it. |
| Staff list | Tick a staff member to show their events. Tick All for everyone. |
In Day view, each ticked staff member gets their own column. Each staff member has a colour, so you can tell whose event is whose. Click the menu icon next to a name and choose Change Color to pick a new colour, if your role allows it.
On a small screen, the menu button opens Calendar Tools with the month picker and staff list.
Time outside your working hours is greyed out. You can’t click, drag or resize into it. The slot length follows Time slot increments in Content display.
Add an event
Section titled “Add an event”Click New, then choose:
| Option | What happens |
|---|---|
| Appointment | Opens Schedule an appointment. Shown if your role can create appointments. |
| Group Event, Round Robin | Starts a new meeting link of that type. Shown if your role can create meeting links. |
| Block off time | Opens a form. See below. |
| Special availability | Sets hours for specific dates. See below. Shown if your role can edit calendar settings. |
| Invite client to schedule | See Invite clients to book. |
You can also click an empty slot to start an appointment at that time. The form opens with the date and a one-hour slot filled in. This works only for future times inside working hours, and only if your role can create appointments.
Block off time
Section titled “Block off time”Use this to stop bookings, for example for a holiday or a meeting. New appointments will be declined during this timeframe.
In Block off time, enter an Event title, Date, Start time and End time, and choose one or more Staff. Add a Description if you want. Click Save. The end must be after the start.
Special availability
Section titled “Special availability”Date specific availability lets you set hours for particular dates. Use the arrows to move between weeks. Tick a date to make it available, set its hours, and click Add more time for a second range. Click Save. If an appointment falls outside the new hours, a dialog asks whether to Proceed.
Open an event
Section titled “Open an event”Click an event to see its details. What you can do depends on the event.
| Event | Actions |
|---|---|
| Appointment | Reschedule, Edit and Cancel, plus Accept payment on an unpaid one. These work as described in Appointments. Reschedule and Edit are turned off for past appointments. |
| Group or round robin event | Reschedule, Edit and Delete. |
| Blocked-off time | Edit and Delete. |
| Google or Outlook event | See below. |
The appointment actions show only if your role can edit appointments.
A Google or Outlook event shows its time, location, guests and how many said yes, maybe or no. If you’re a guest, answer with Yes, Maybe or No. Click Join Meeting for an online meeting. Under More, Edit in Calendar (organizer only), Copy Details and Delete Event are available.
Drag to reschedule
Section titled “Drag to reschedule”Drag an event to a new time or day. Drag its bottom edge to change its length. Nuvioo asks you to Confirm change time. Click Confirm to save it, or Cancel to put the event back.
This works for appointments, blocked-off time and Google or Outlook events, if your role can edit events. The staff conflict checks for appointments apply here too.
Invite clients to book
Section titled “Invite clients to book”Send contacts a link to one of your meeting links by email.
Choose the contacts
Click New, then Invite client to schedule. You can also use More actions, then Invite to schedule. Search and tick the attendees. Click Add new attendee to create a contact. Click Continue.
Write the email
Choose the Meeting link (only active links are listed) and Send from, which is a staff member’s email. Pick a template in Select email template, or click Create new. Edit the Subject and Body. Templates can include placeholders such as the staff name and the meeting link, which are filled in when you send.
Send
Click Send. You see Invitation sent successfully! Click Back to change the contacts.
More actions
Section titled “More actions”More actions also opens Notification settings.