

Manage vendors
Vendors are the suppliers you buy materials from. You choose a vendor when you bring stock in with a request inbound or an in/out transaction.
Add a vendor
Section titled “Add a vendor”Open Vendors
In the sidebar, under General settings, click Vendors, then click Add New.
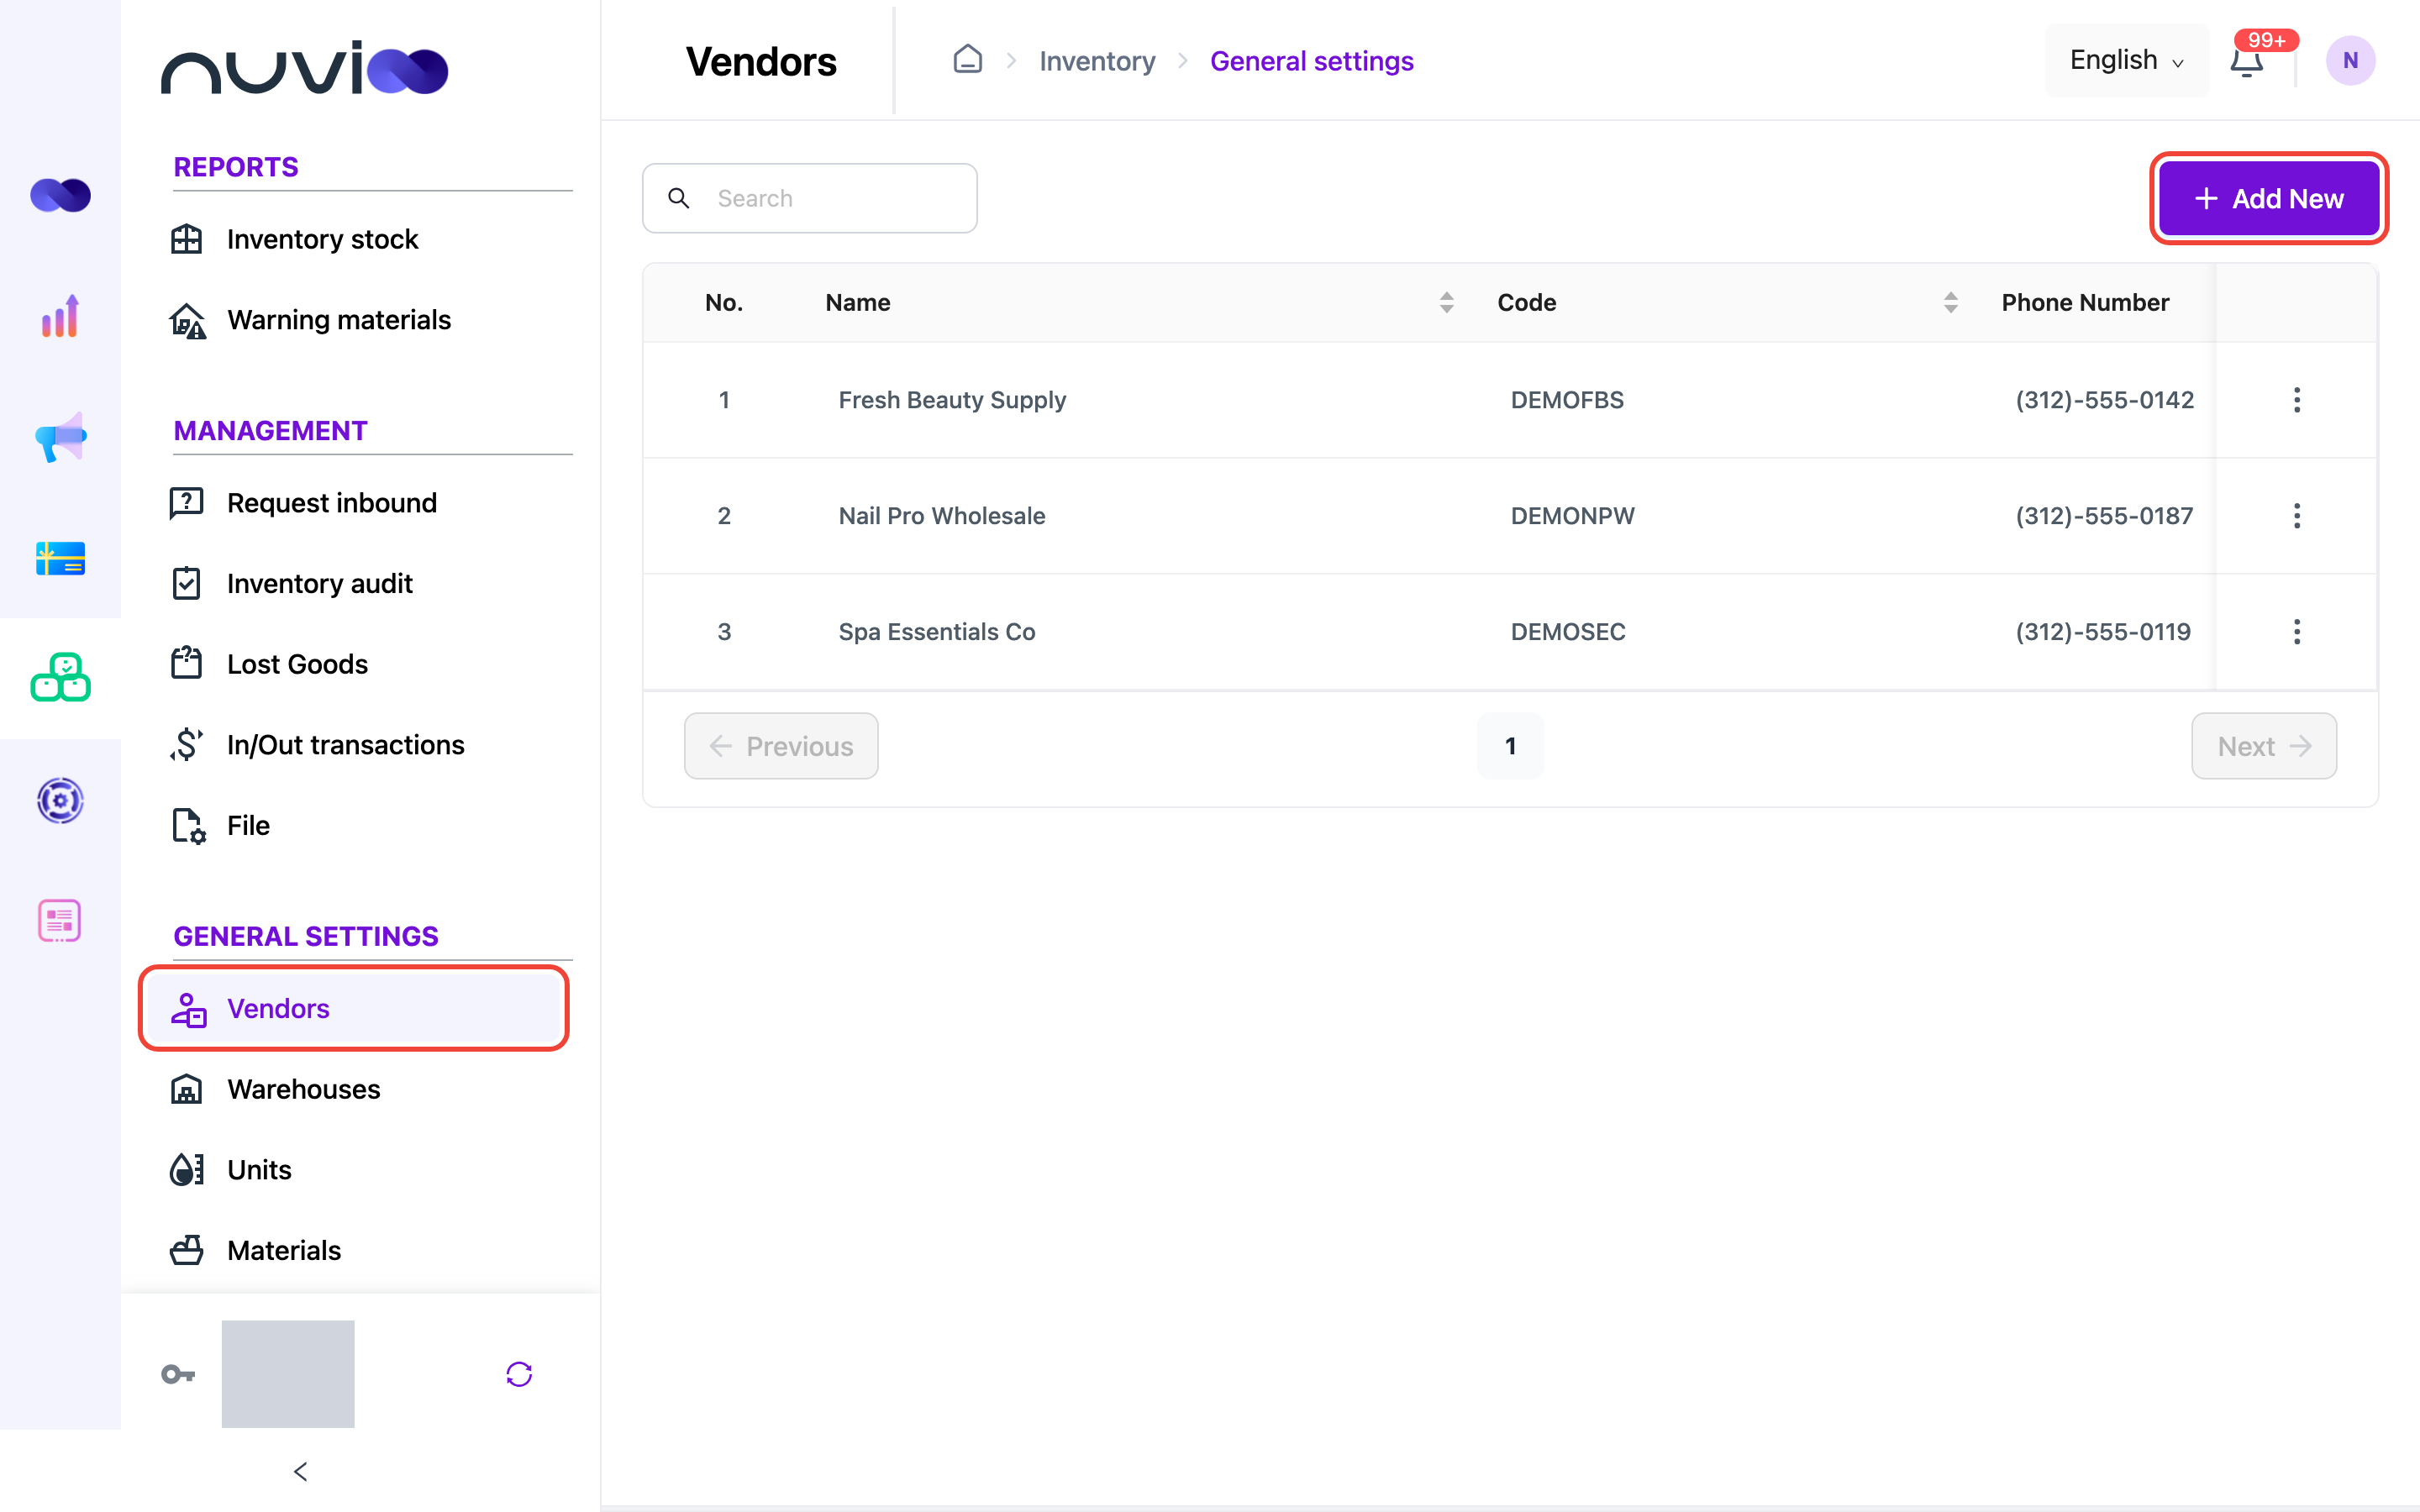
The Vendors list Enter the vendor details
In Create Vendor, fill in the fields. Fields marked with a red asterisk (*) are required.
Field What to enter Name * The supplier’s name. It must be unique. Code A short code of up to 25 characters, with no spaces or special characters. It must be unique. Select country, Select state, Select city * Choose the country first, then the state, then the city. Postal code * The supplier’s postal code. Address * The street address. Phone Number * The supplier’s phone number. 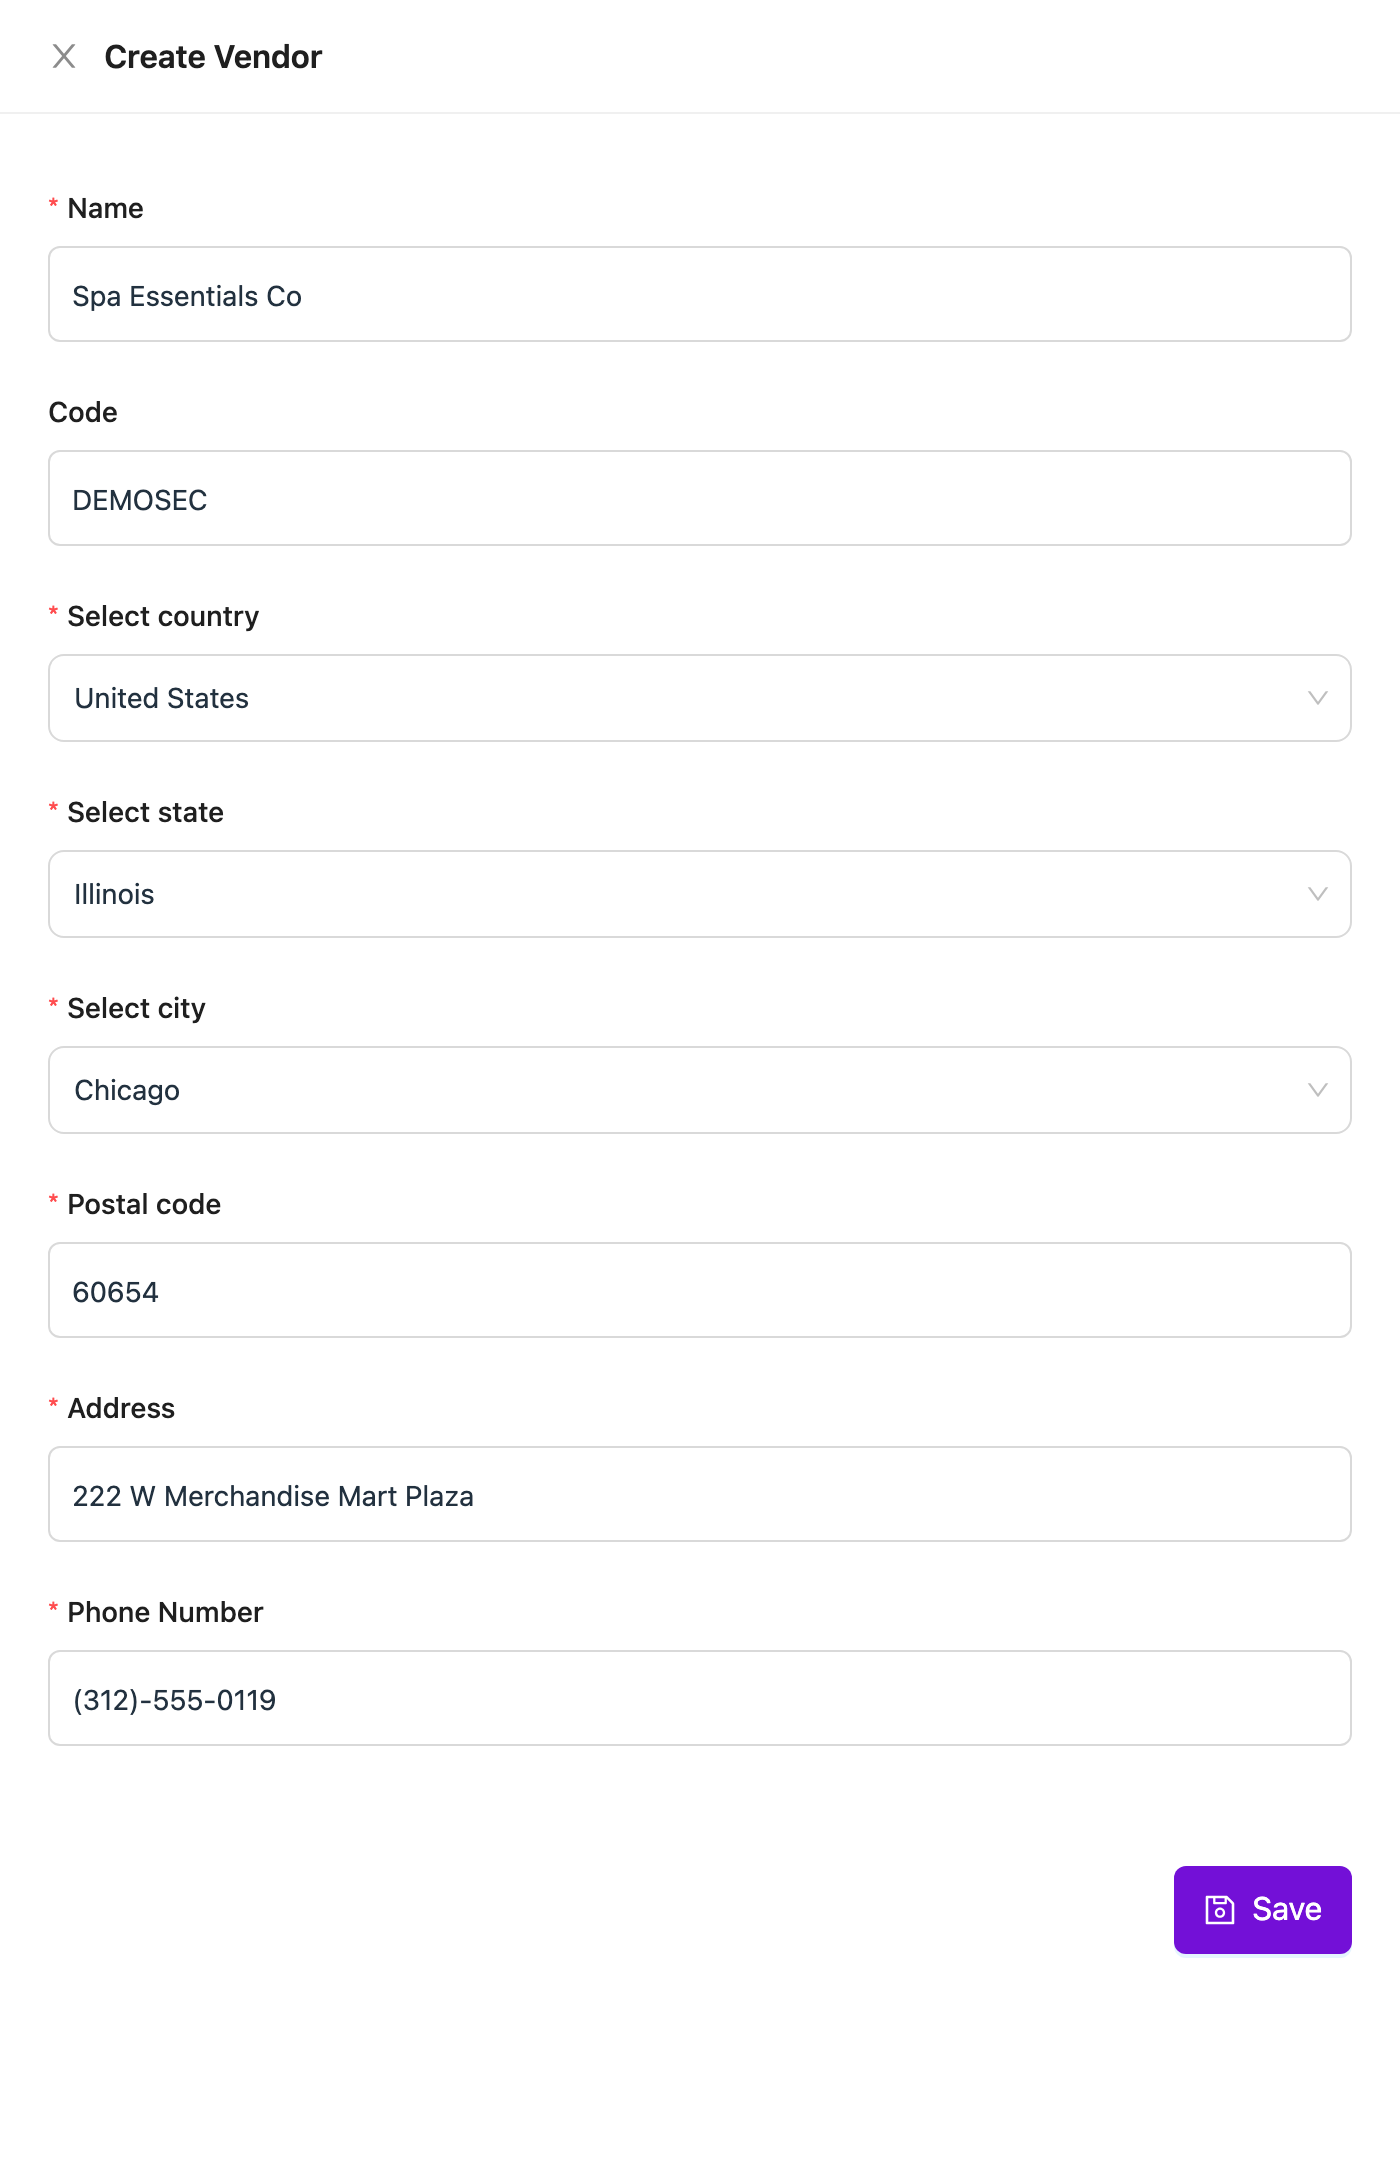
Create Vendor form Save
Click Save. The vendor appears in the list.
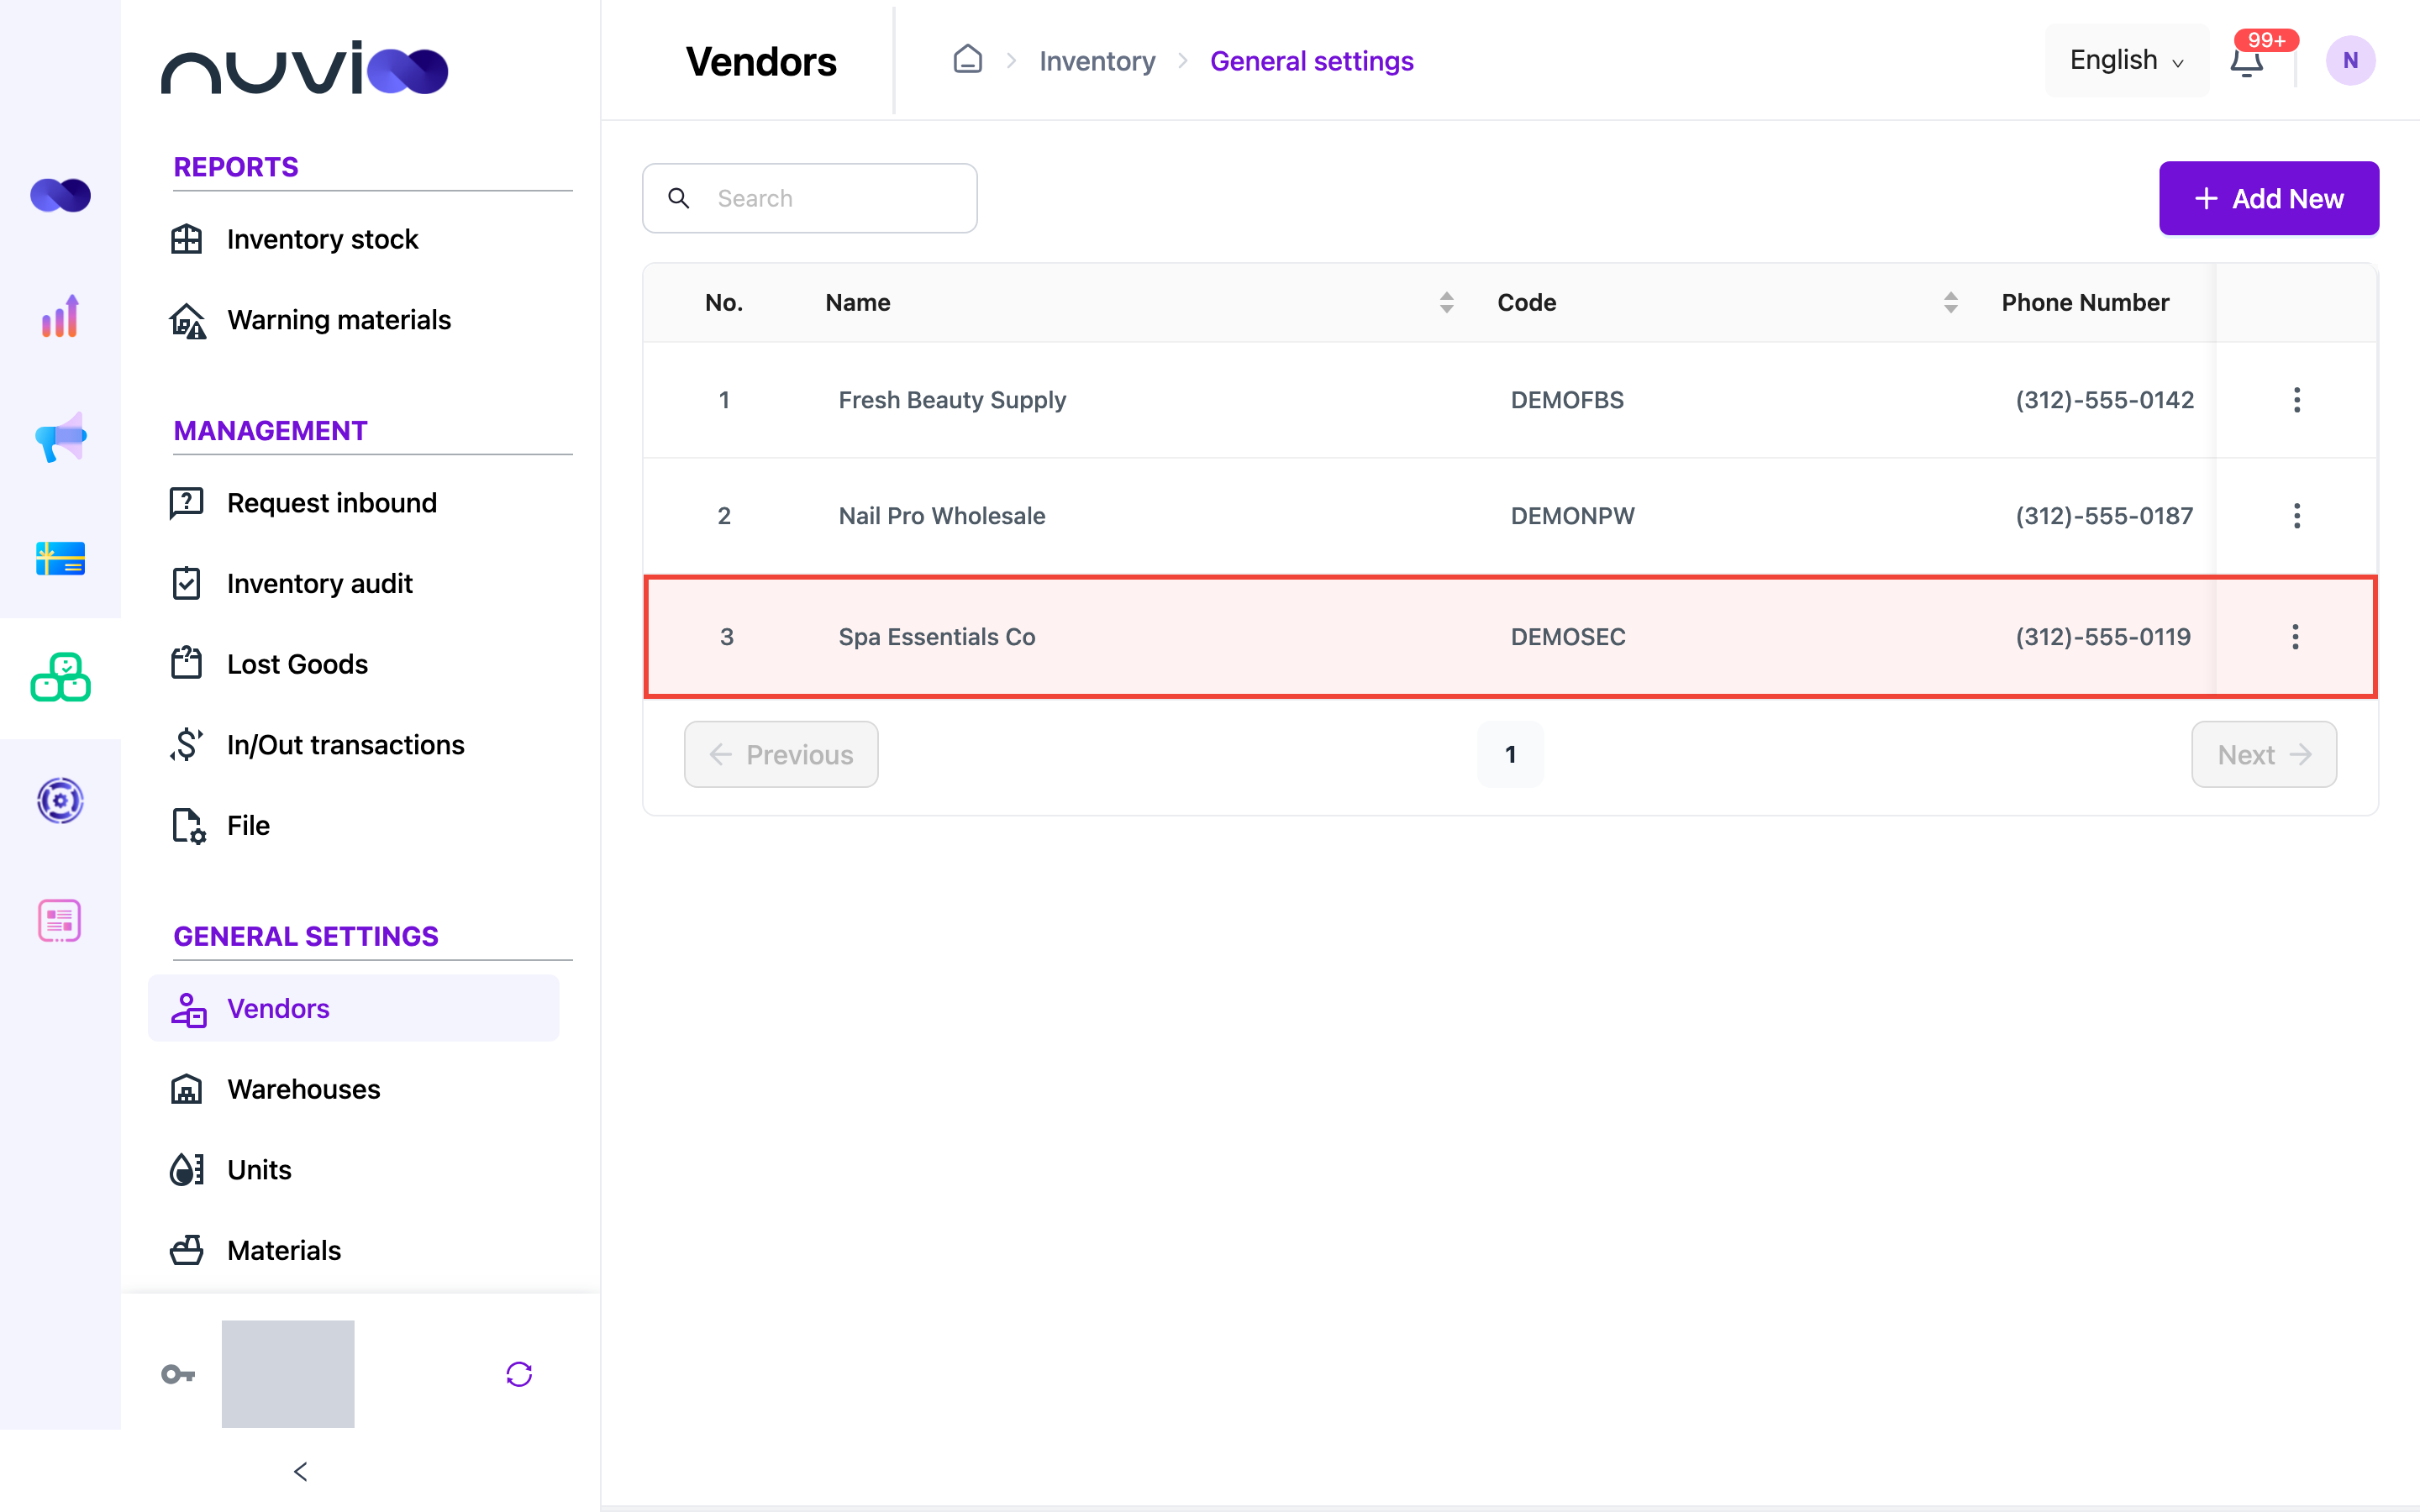
Edit or delete a vendor
Section titled “Edit or delete a vendor”Click ⋮ at the end of the vendor’s row, then choose Edit or Delete.
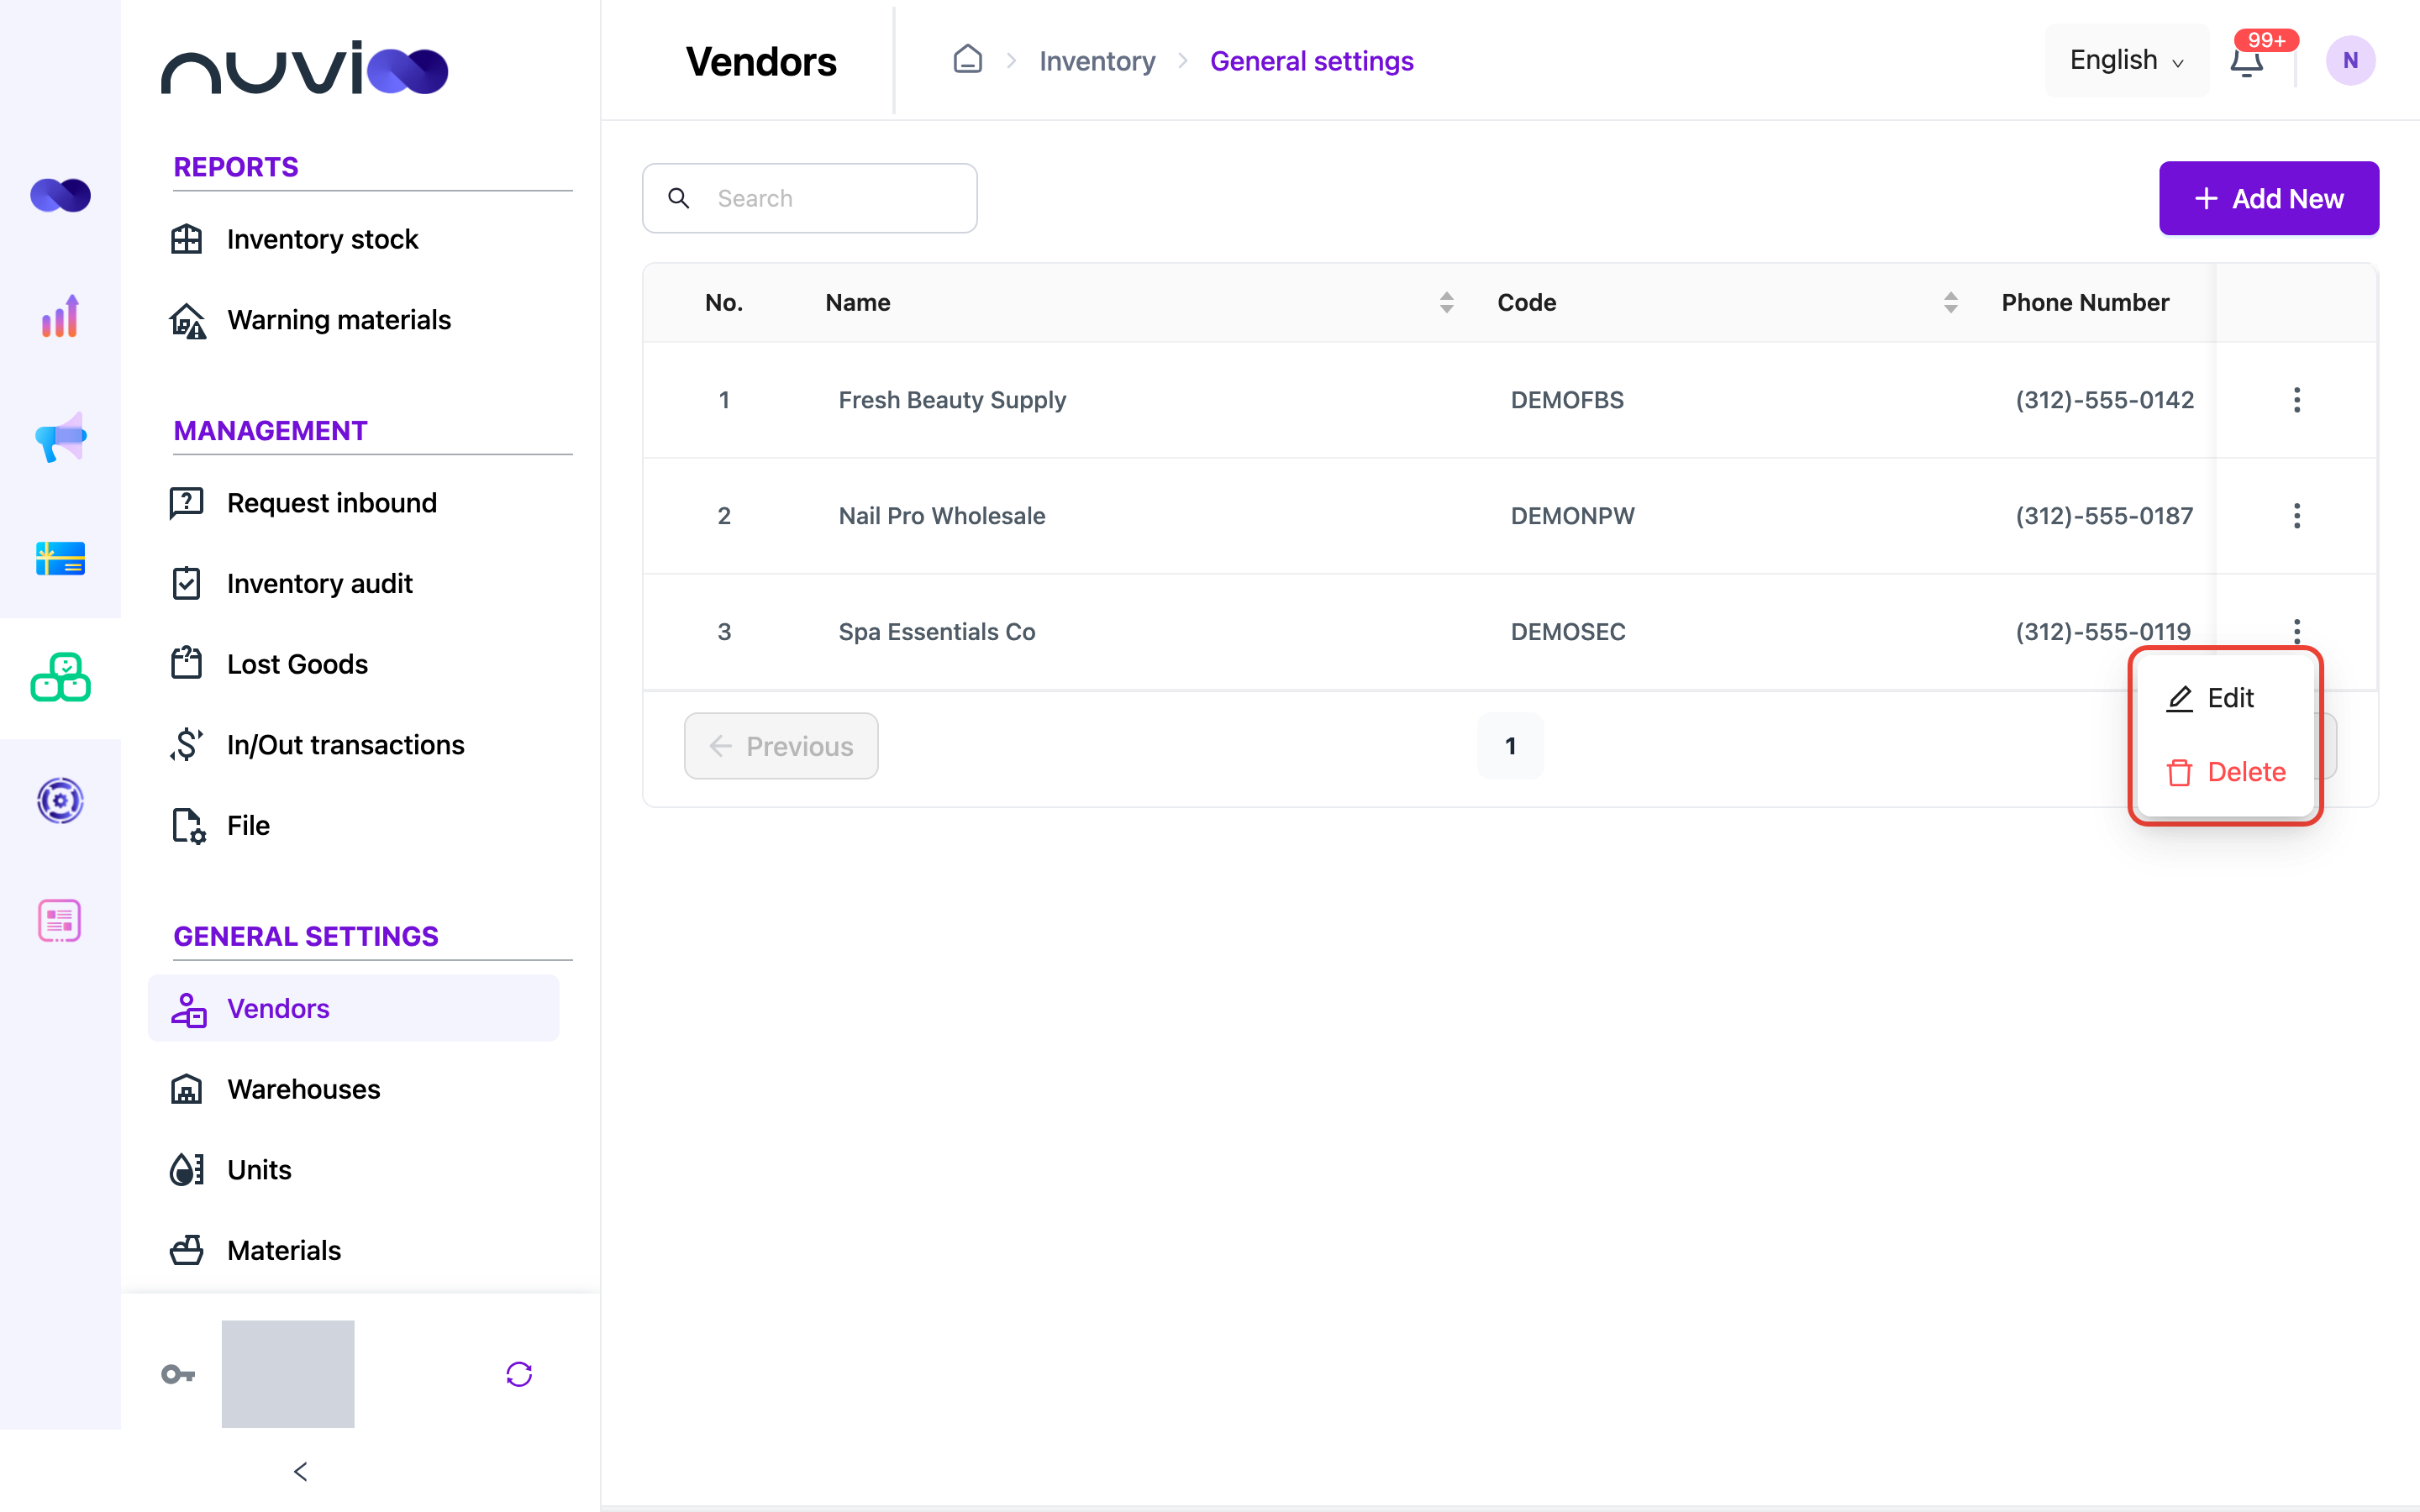
Past transactions and reports keep the vendor’s name, so your history stays complete. Requests from a deleted vendor that are still waiting for approval can no longer be edited. Delete them and create new ones with another vendor.
- Use the search box above the list to find a vendor by name.
- Click the arrows next to a column header to sort by name, code, phone number, postal code or address.