

Manage users and roles
Users are the people who sign in to Nuvioo. Each user has one role, and the role decides which modules and pages they can use.
In the sidebar, under Management, click Users.
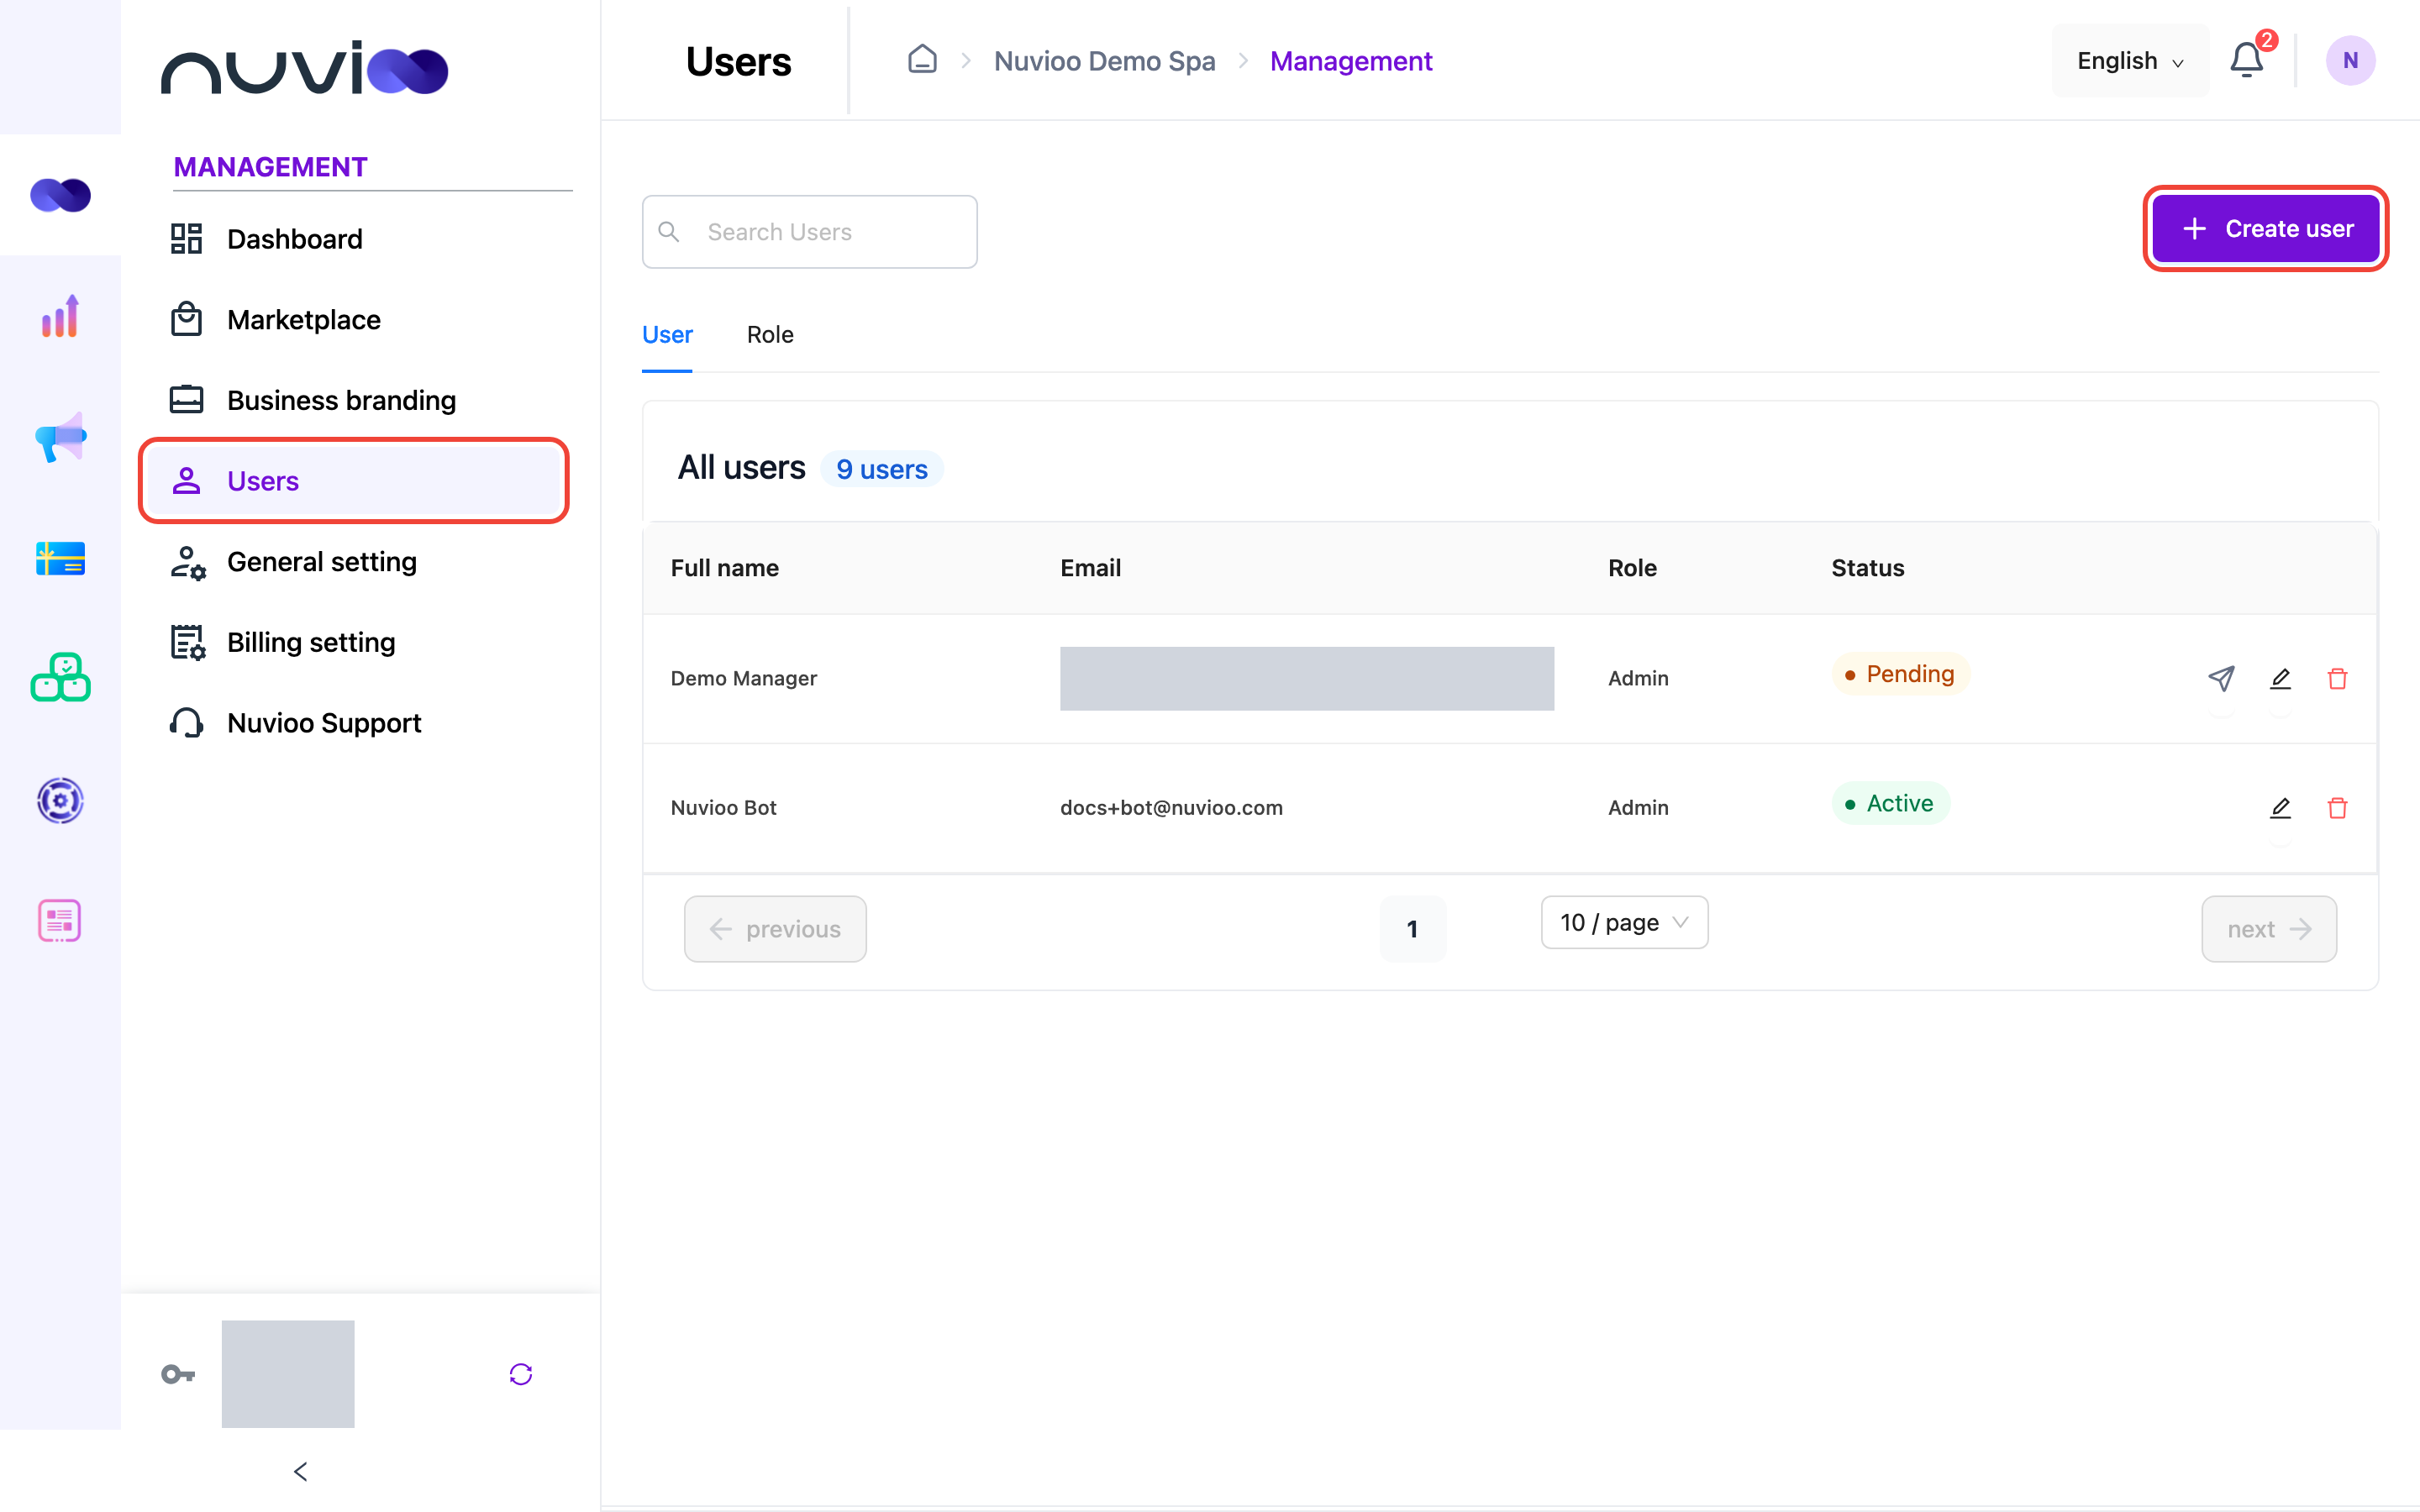
The Status column shows Pending until the person accepts their invitation, then Active.
Before you start
Section titled “Before you start”Create the roles you need, such as Front desk or Manager.
Invite a user
Section titled “Invite a user”Open the form
On the User tab, click Create user.
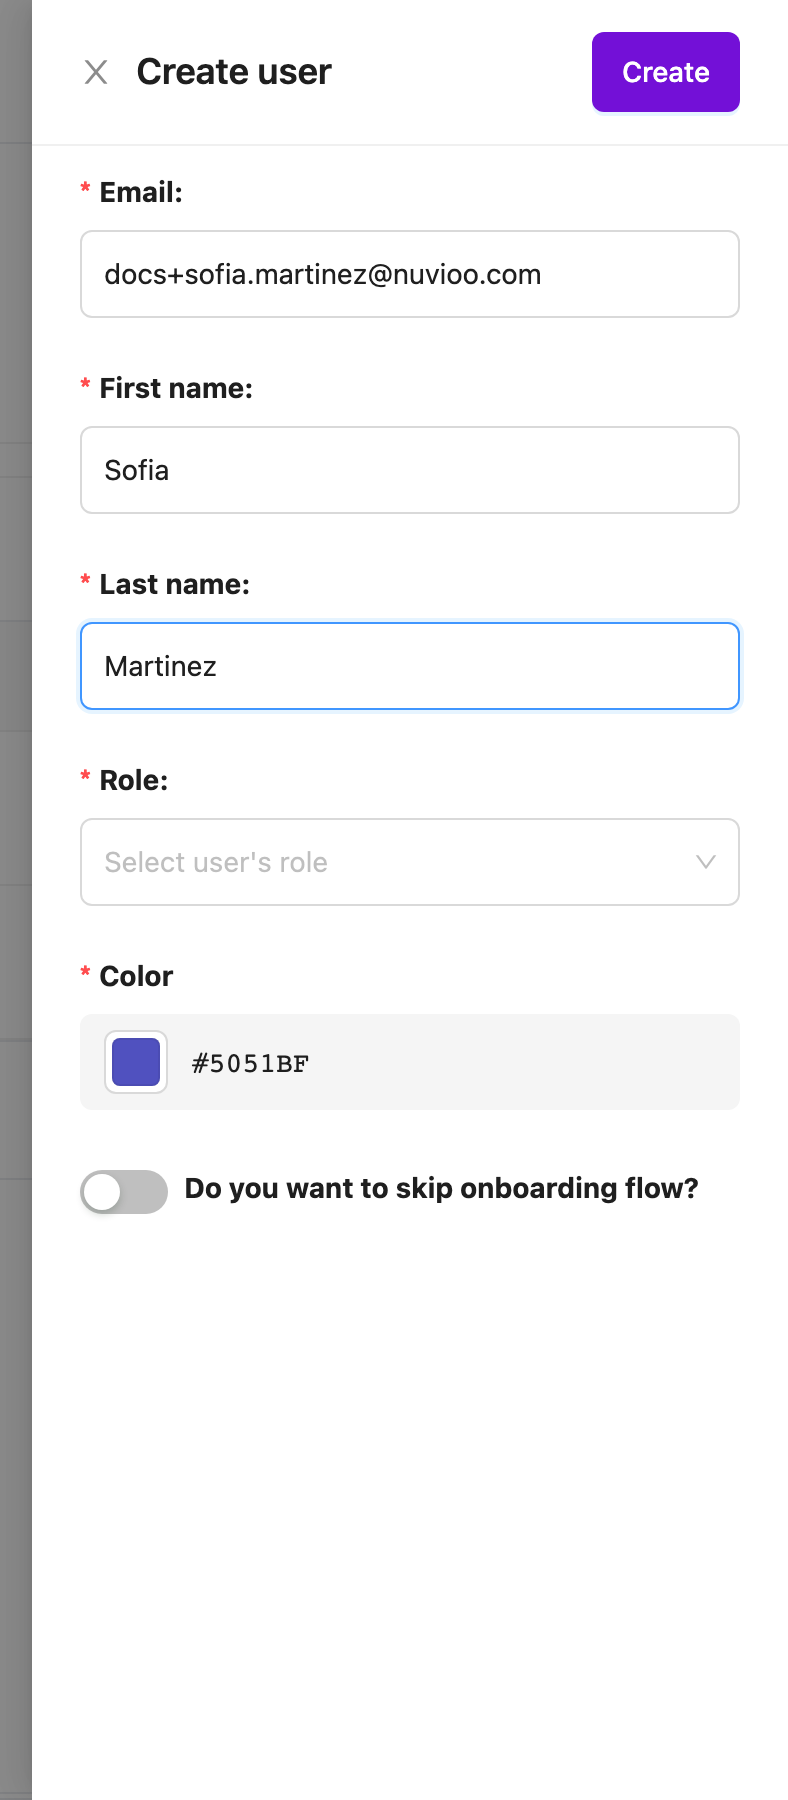
Enter their details
- Email, First name and Last name.
- Role: what they can do.
- Color: helps tell people apart, for example on their avatar.
- Do you want to skip onboarding flow?: turn on to skip the welcome steps when they first sign in.
Send the invitation
Click Create. Nuvioo emails the person an invitation to set their password.
If someone didn’t get the email, click the send icon on their row to send the invitation again.
Edit or remove a user
Section titled “Edit or remove a user”Use the icons at the end of the row:
- Pencil: change their name, role or color. You can’t change the email address.
- Bin: delete the user, then click Yes. They can no longer sign in.
You can’t edit or delete your own account here. Use My profile instead.
Create a role
Section titled “Create a role”Open the Role tab
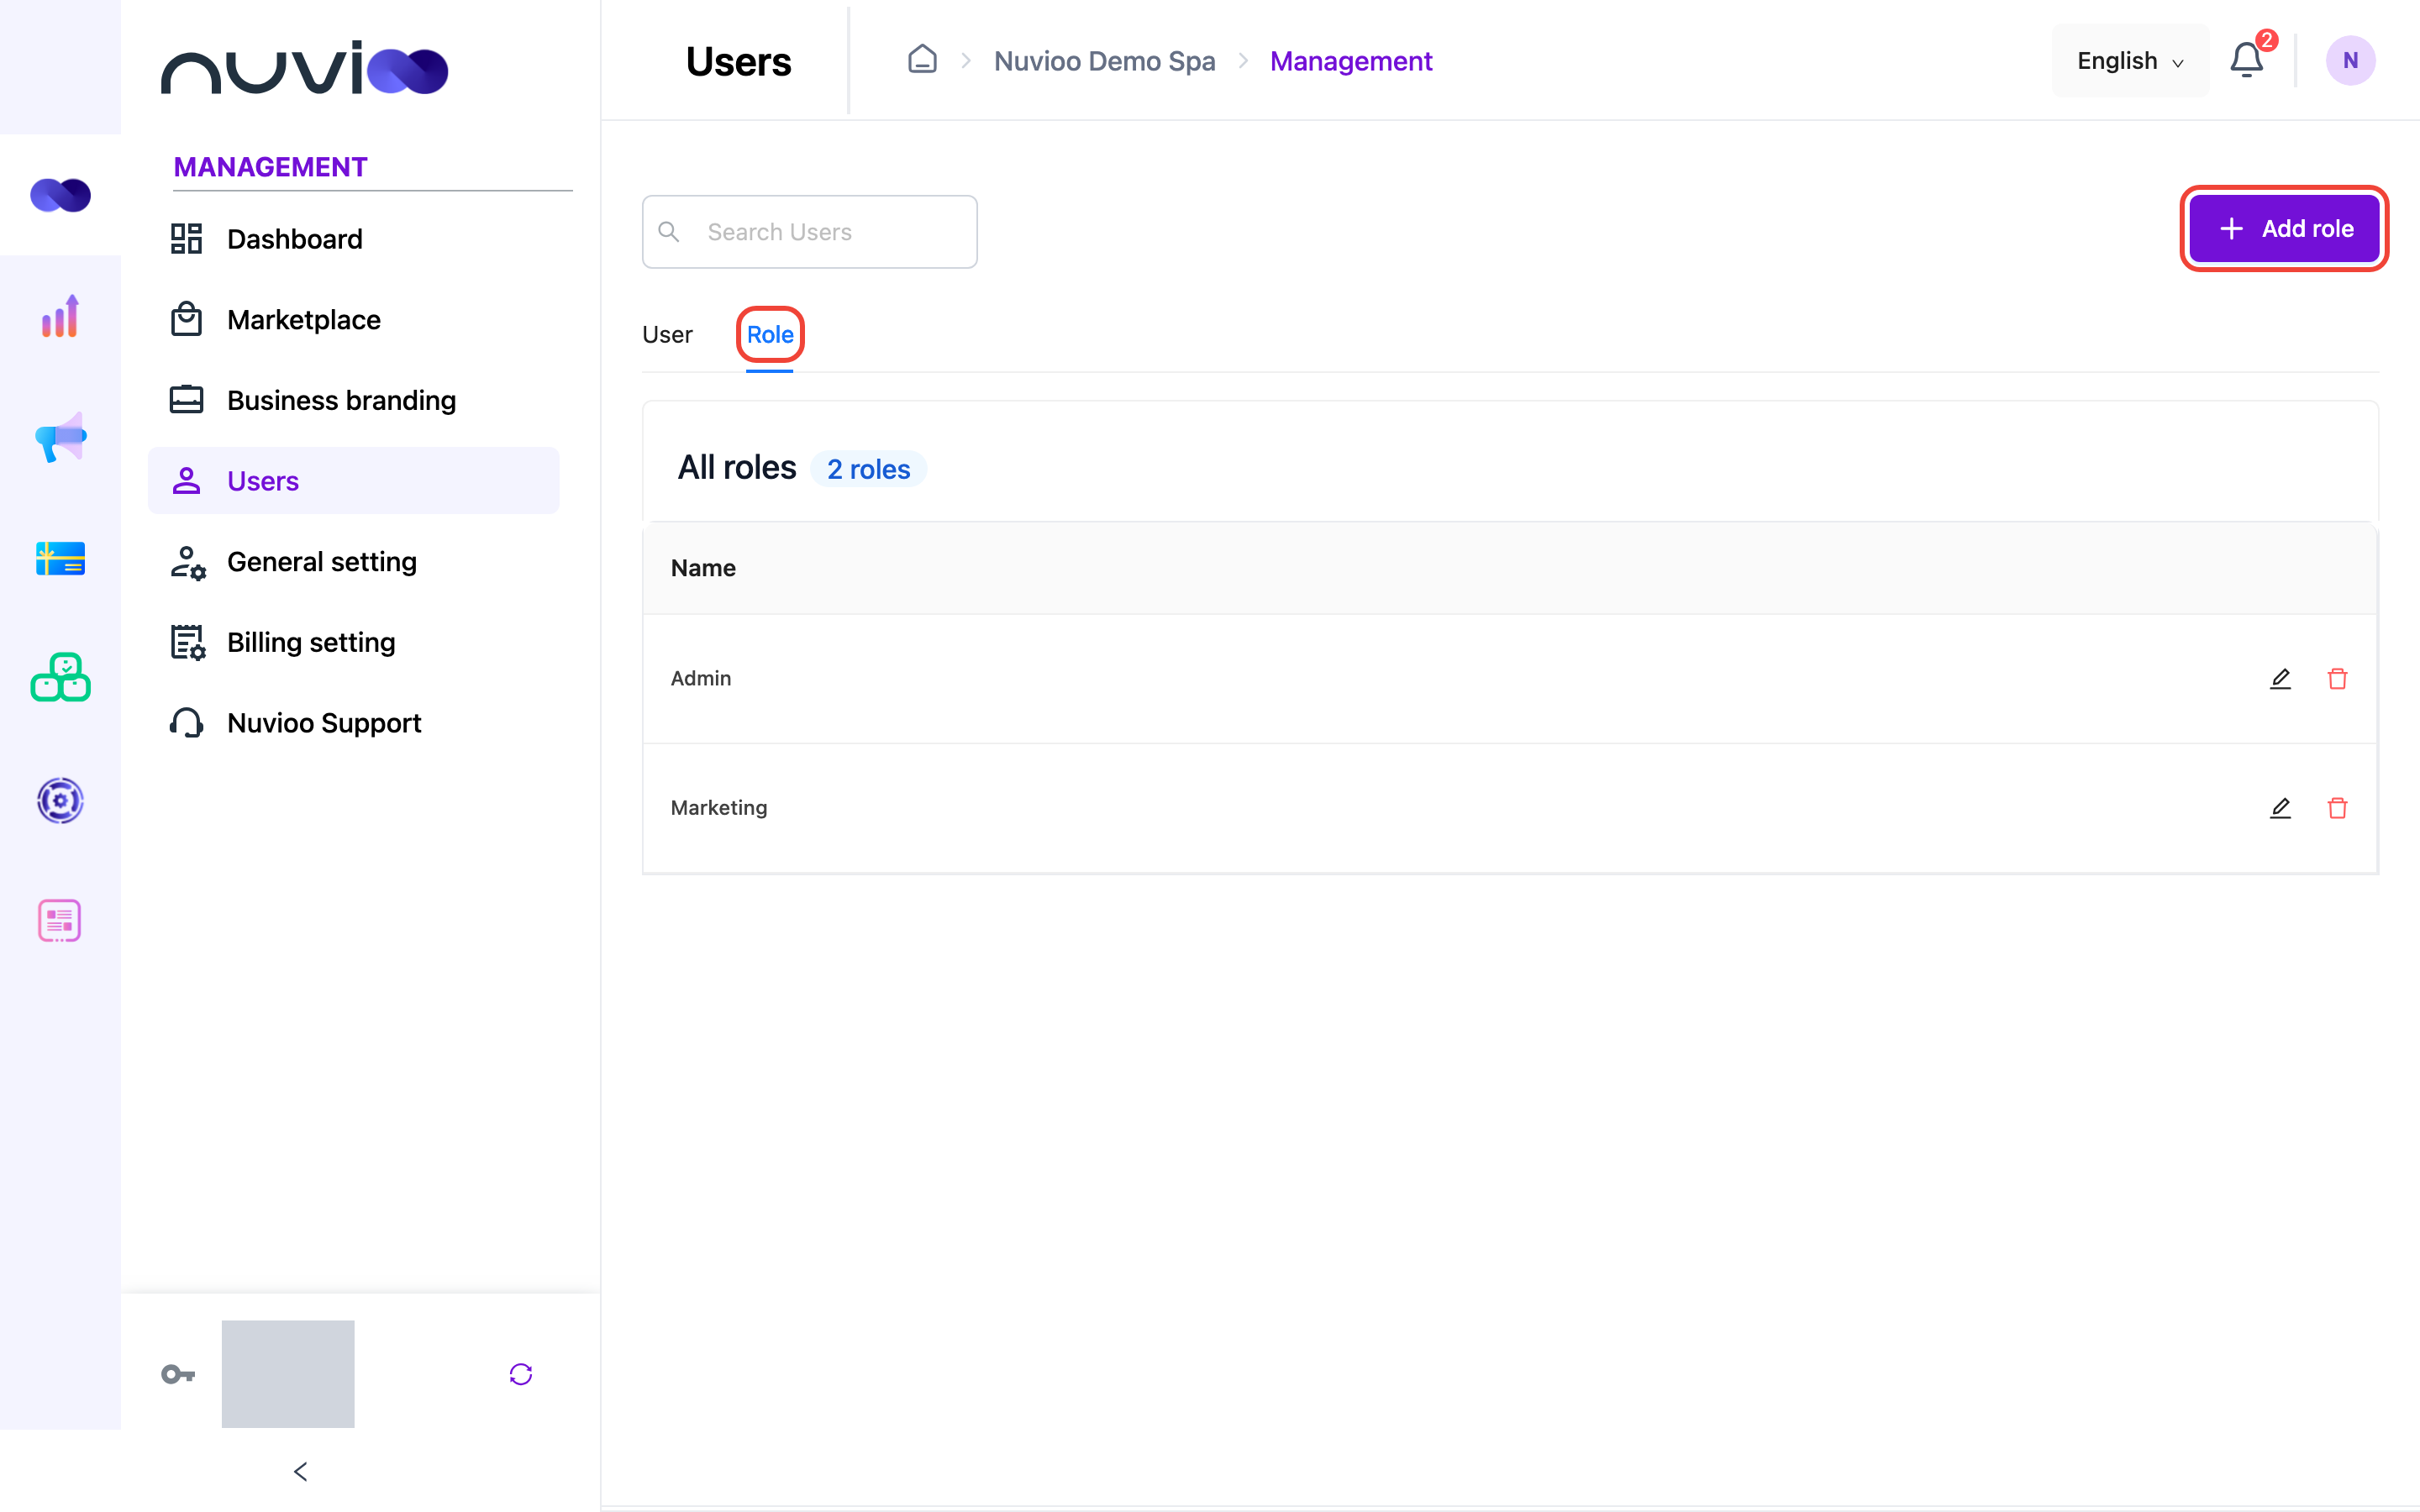
Click the Role tab, then Add role.
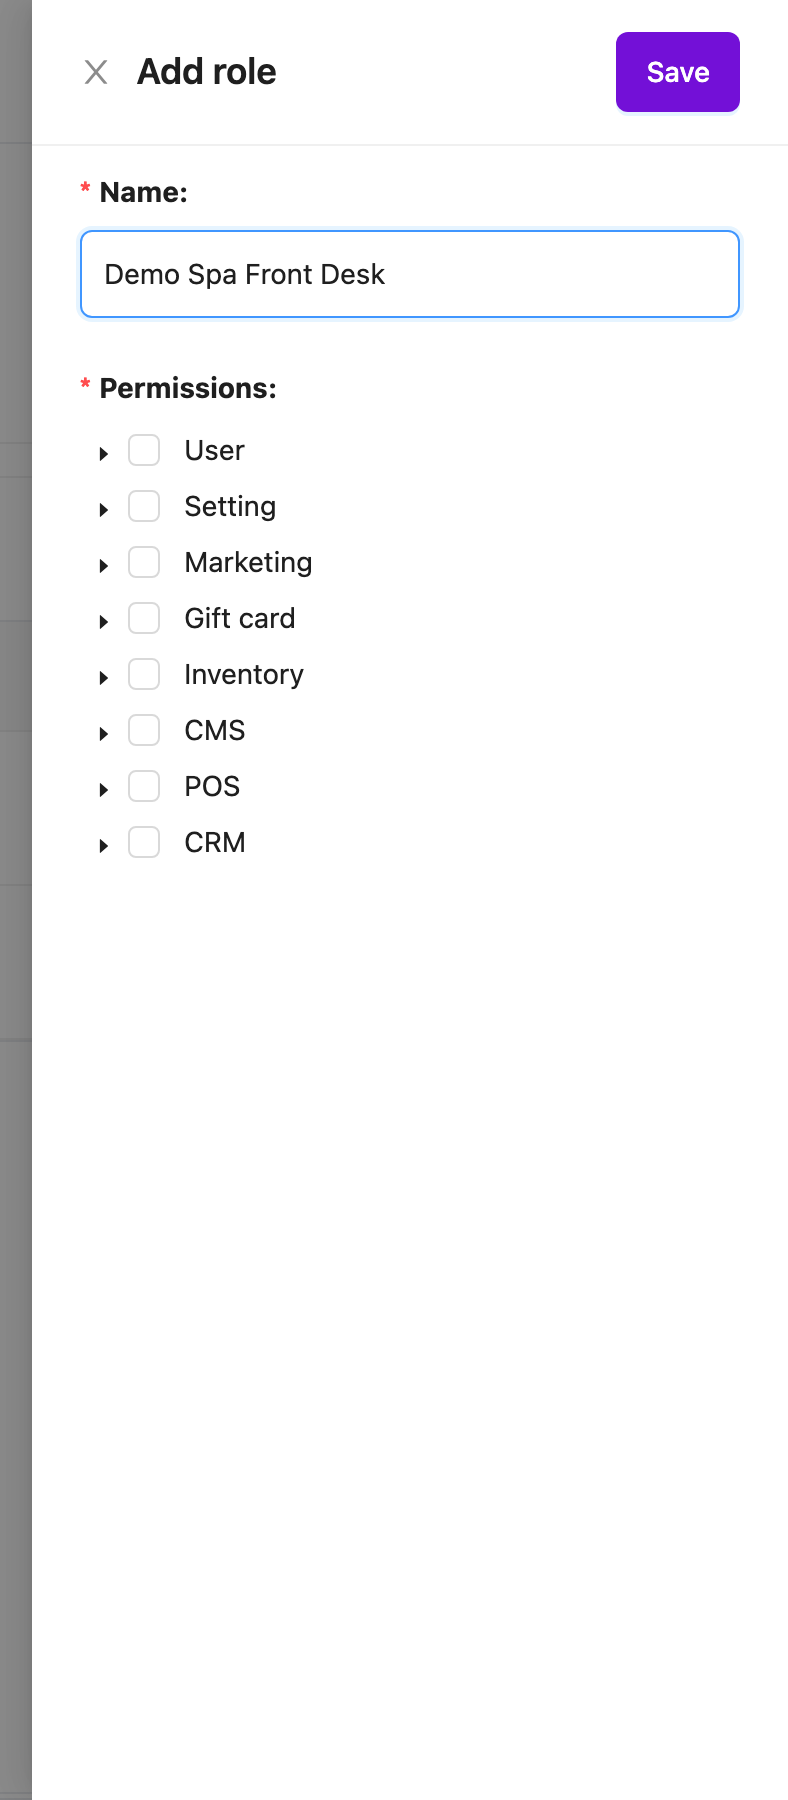
Name it and choose permissions
Enter a Name. Under Permissions, tick what this role can do. Permissions are grouped by module (User, Setting, Marketing, Gift card, Inventory, CMS, POS, CRM). Click the arrow next to a module to choose single actions, such as view, create, edit or delete.
Save
Click Save. You can now choose the role when you invite or edit a user.
To change a role, click the pencil on its row. Changes apply to everyone with that role.